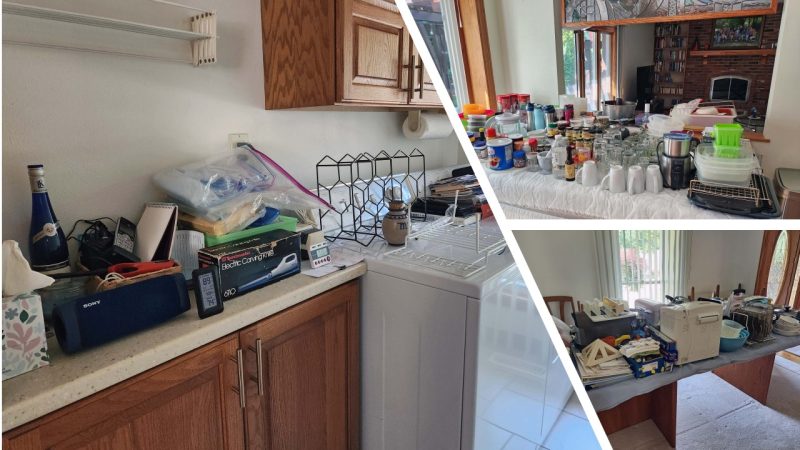
In addition to setting up temporary kitchen/dining areas in the basement, we had to empty all of the kitchen cabinets before the crew could begin their work.
Just like closets, you can get a lot of stuff in cabinets!
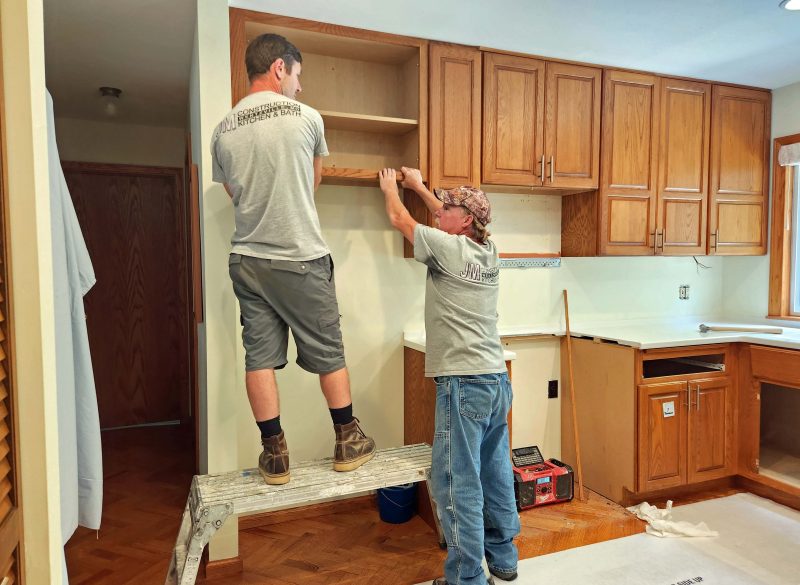
Jimmy, the company owner, sent Christian (left) and Craig (obviously, right) to start working on our kitchen on June 21. The two guys worked daily through July 16. They started by removing our old (20+ years) cabinets. The cabinets were installed from right to left, so needed to be removed in the opposite direction.
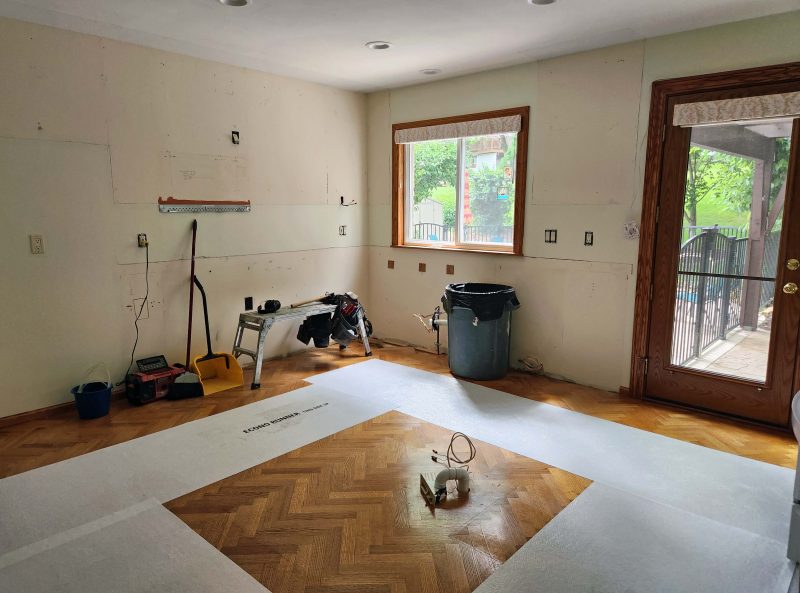
The cabinets are gone and the hardwood floor is well-protected. The kitchen looks so spacious!
When we replaced the original kitchen cabinets in our house, we put some of them in the basement to provide closed/covered storage. They are now 44 years old and definitely show their age. In our current kitchen contract, we included removing those original cabinets and replacing them with some of our current (now old) cabinets.
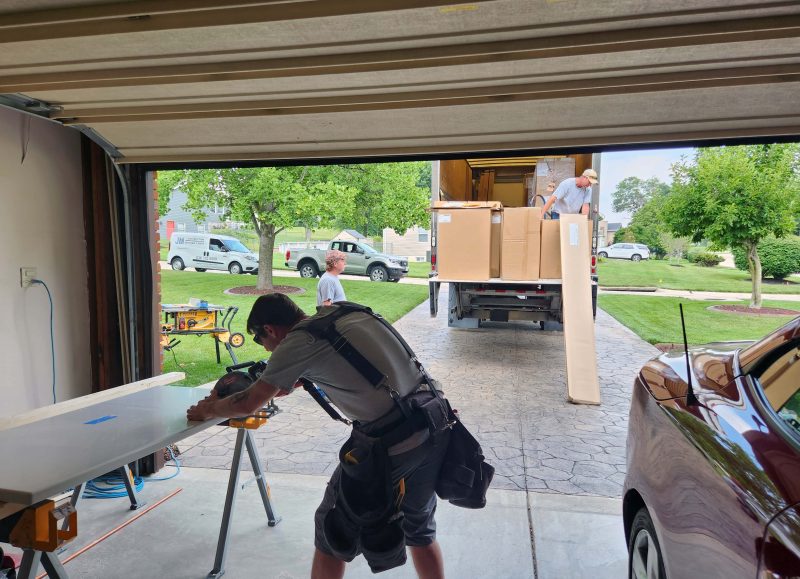
During this project, the guys made their mess in the garage and in the driveway, and cleaned it up every day. In the photo below, the truck is delivering the new cabinets and Christian is cutting one of our current/now old countertops to fit the new/old cabinet arrangement in the basement.
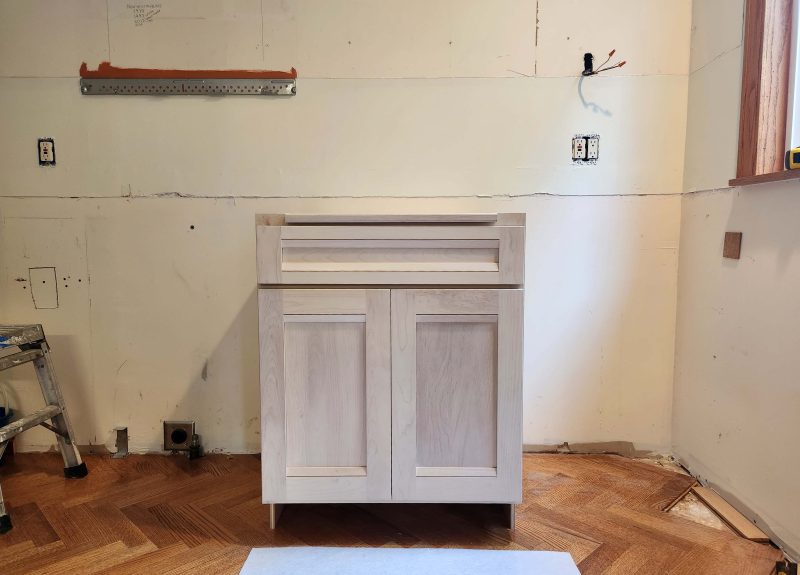
The first cabinet is installed. The wood is birch.
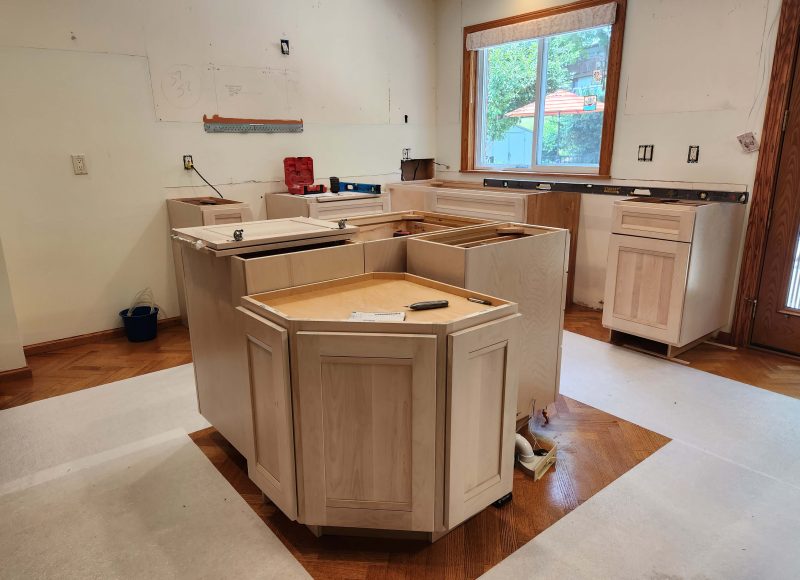
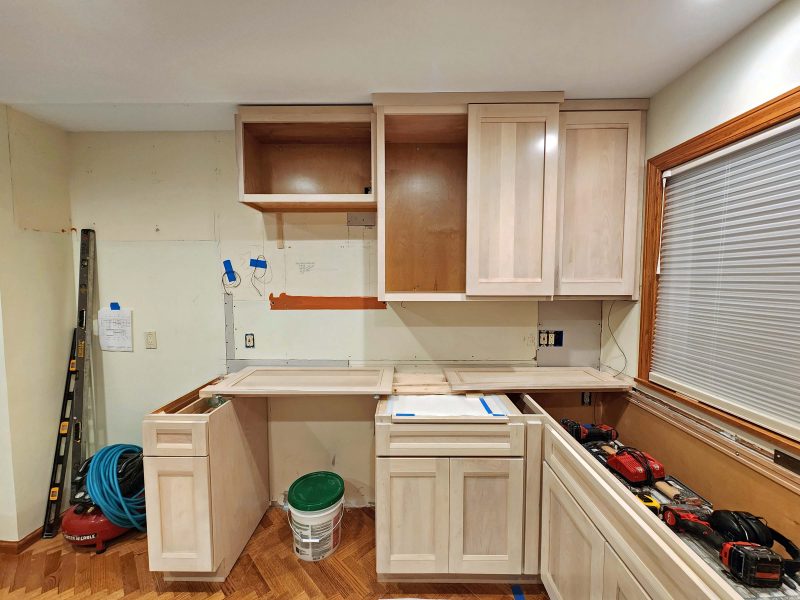
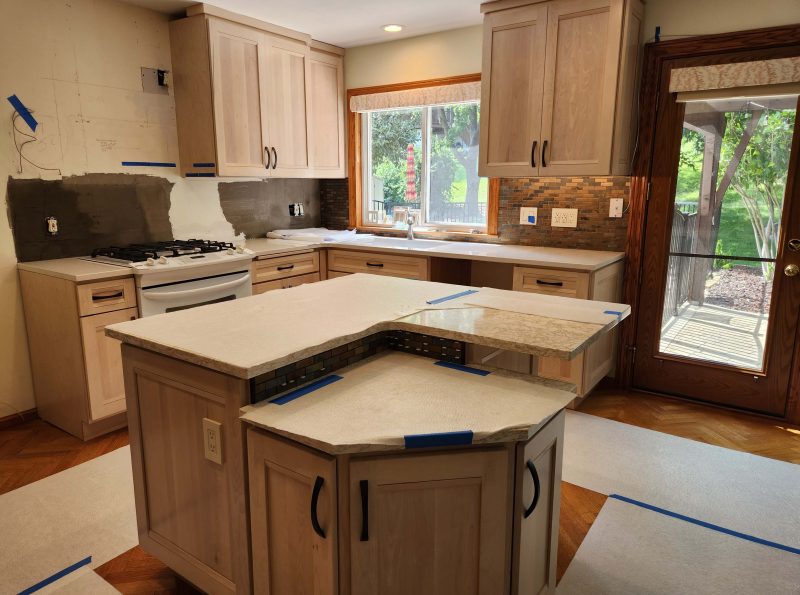
All of the base cabinets are installed. By doing the lower cabinets first, the guys can keep busy working on the upper cabinets while waiting for the countertops to be measured, manufactured, and installed. The island is actually four cabinets. It looks like a cabinet puzzle fitted together in this photo.
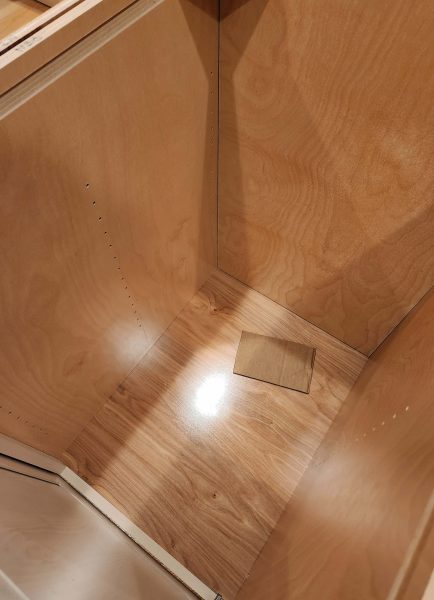
Even the interiors of the cabinets are beautifully finished.
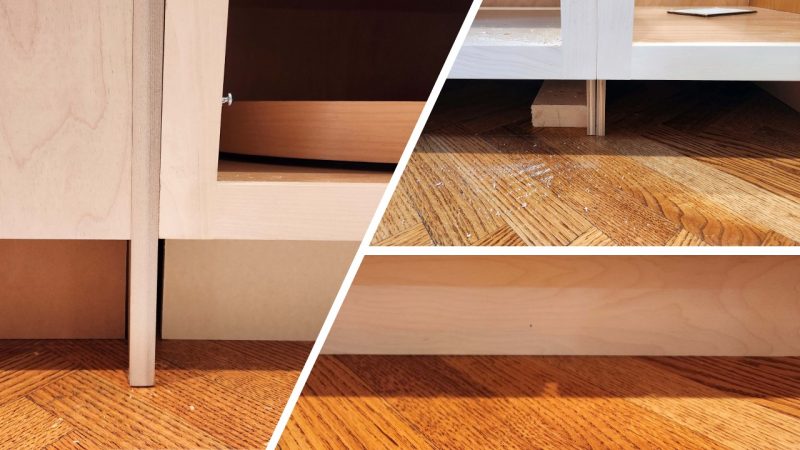
Some of the separate cabinets for the island were built with full-length side panels. When two cabinets were placed side-by-side, this created a great place to stub toes while working at the island (left image). Fortunately, Christian had a neat little toe kick saw that could cut a square corner under the cabinet (upper right image) to allow for a continuous toe kick all the way around the island (lower right image).
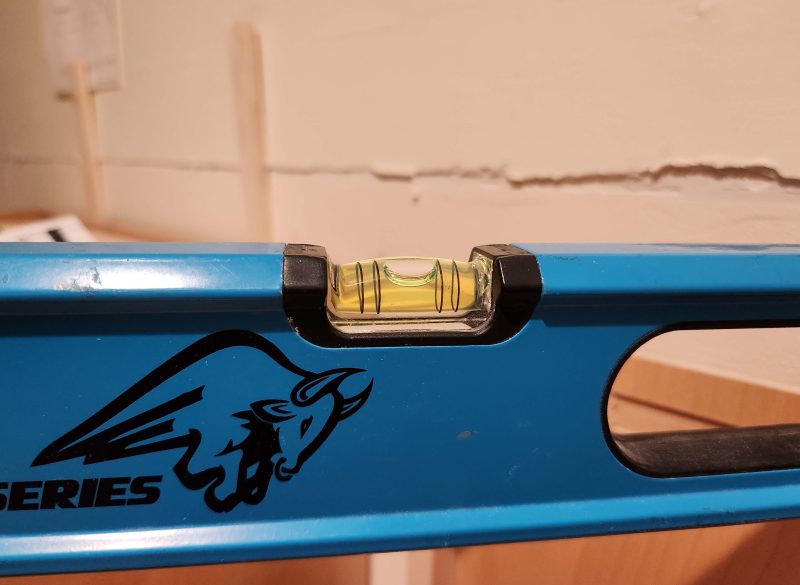
Christian was at least as picky as I am about details. His level was his constant companion. Are these cabinets level by themselves as well as with each other? . . .
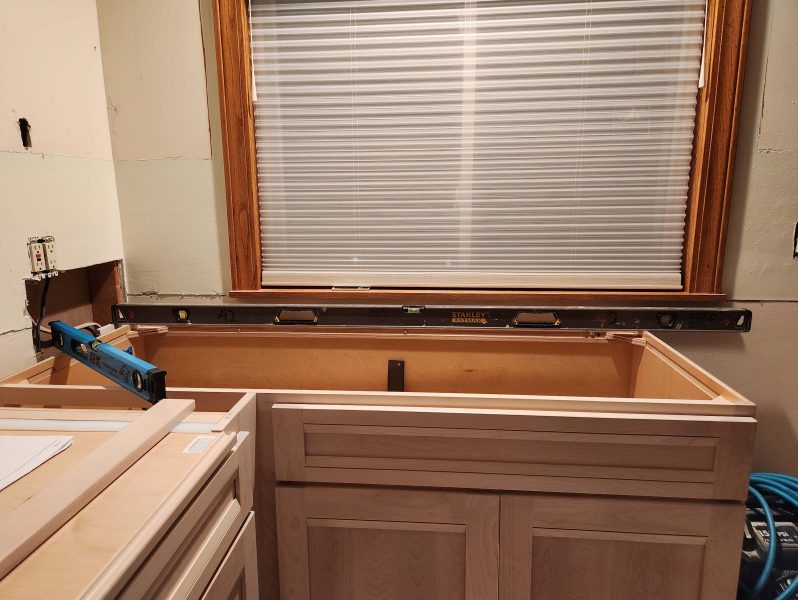
. . . You bet they are!
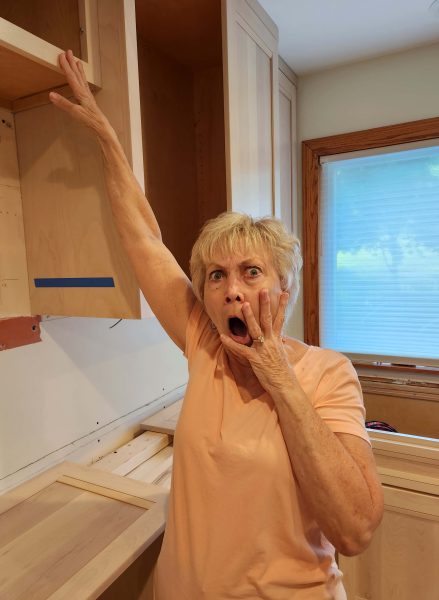
Under-cabinet lighting for all the upper cabinets was part of our design and required new electrical work. You can see the large hole in the wall and wires extending from the walls where the lights will be connected to the switch.
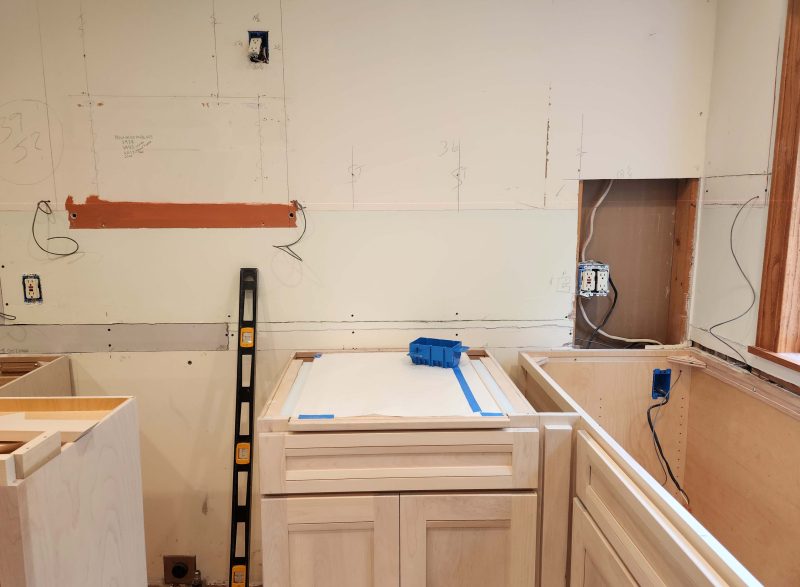
At this point, we ran into a problem and the guys had to pause their work for ten days while we waited for the countertops and a new cabinet to be made and delivered. Notice that rust-colored stripe of paint in the left center of the above photo. That was formerly covered by our microwave, which was mounted beneath a 24-inch long cabinet. You can also see the outline of the microwave installation template in that photo as well as the handwritten dates for each new microwave oven we installed. The delivered cabinet (short upper one, below) was only 18 inches long. Christian said he called the designer to verify the size because it seemed high to him. She verified an 18-inch long cabinet, so he installed it.
Why was that a problem? If we’d installed the microwave beneath that 18-inch cabinet, the bottom edge of the microwave would be where the top edge of the blue tape is in the photo below. The microwave cooking tray would be three inches above that line and the top edges of the cooking dishes in the microwave would be even higher. Check the blue tape line and my line of sight. I would have been unable to see whatever was in the microwave! Christian and Craig removed the 18-inch cabinet and the contractor ordered a longer one.
The mystery is why the designer planned an 18-inch cabinet for that space and why Jimmy, the boss man, who came to measure the cabinet dimensions in person didn’t catch the error either. As for Ted and me, cabinet length never came up in our design conversations, and we made the assumptions that the experts used standard lengths, and that the length of the two 24-inch long cabinets we’ve had above the microwave over the past 44 years was a standard length.
After the ten-day hiatus, work resumed on July 26 with the installation of the countertops.

After the countertops were installed (still waiting for that over-the-microwave cabinet), Christian got started on the backsplash. You can see it below on the island between the two countertop levels and to the left of the exterior door. The wall above the cabinets on the left is multi-colored because there was another problem.
After Christian and Craig installed the stove, I noticed that its back edge was more than one-quarter inch farther from the wall on the left than on the right. Even to a non-perfectionist, the stove looked like it wasn’t pushed in all the way on the left. I tried pushing it in, but it was tight against the front edge of the lower cabinets and didn’t budge. I told Christian it was going to drive me crazy to have the stove looking crooked every day for the next 20 (?) years and he agreed. He explained that he (as a fellow perfectionist) squared that line of cabinets with the line of cabinets under the window. Doing that revealed that the two walls formed a greater-than-90-degree corner. This didn’t affect the line of the cabinets, because the countertop was measured and fitted after they were installed and it fit tightly against the fronts of the cabinets and against the wall.
To compensate for the crooked wall, Christian painstakingly built up the wall surface (the dark-colored stuff) that would be behind the backsplash. When the backsplash was installed, the back edge of the stove was in parallel with the backsplash. The refrigerator covers the left edge of the backsplash, but if you move the refrigerator and examine that backsplash edge, you’ll see that there’s one-quarter inch of built-up surface material visible behind the standard backsplash trim piece. Christian is my kind of project worker!
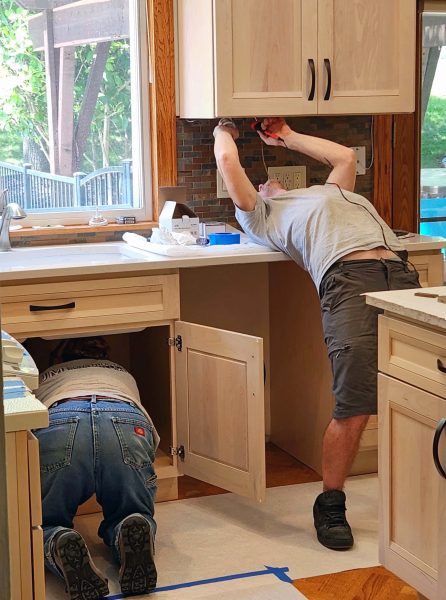
In this photo, Craig is installing the garbage disposal and Christian is finishing up the under-cabinet lighting. He admitted it was hard on his back and he was glad to be finished with that task.
The guys worked through August 1 and then went on another hiatus and worked on other jobs. The cabinet for over the microwave had not yet arrived, and Ted and I needed to prepare for our overseas trip. The remaining upper cabinets and some finishing work were completed on October 21 after we returned home.