I liked the puppy quilt I made for Ollie’s first birthday, so I decided to continue the fun by making a quilt for Hadley’s first birthday too. I searched “baby quilts” and “crib blankets” online, hoping to find an inspiration for “girlie” colors and themes. Eh! There were no “aha!” moments online. Hoping fabric choices would point me toward a design, I went fabric shopping and–unbelievably!–found nothing I liked in fabrics. I saw a lot of fabric, but inspiration continued to elude me, so I went home to mull things over. After a few weeks, I thought the fabric store might have some new fabrics. They did, and I settled on a butterfly print and a complementary fabric for the backing. I felt like my fabric choices were satisfactory, but not thrilling. I liked the puppy fabric and the puppy paw print appliqué idea for Ollie immediately. It wasn’t that way with my Hadley project, but the longer I worked on it, and the more finished it became, the more I liked it.
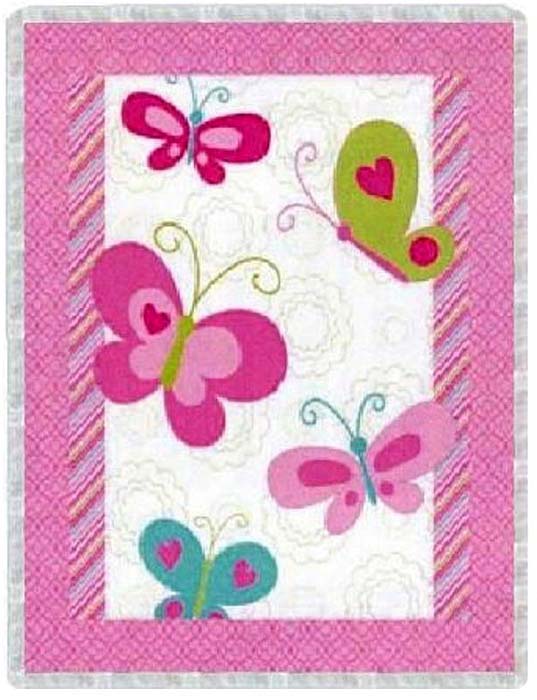
My next online search was for butterflies to go with my fabric choice. This was my online inspiration. It’s garish, but I liked the idea of butterflies fluttering over the entire surface of the quilt.
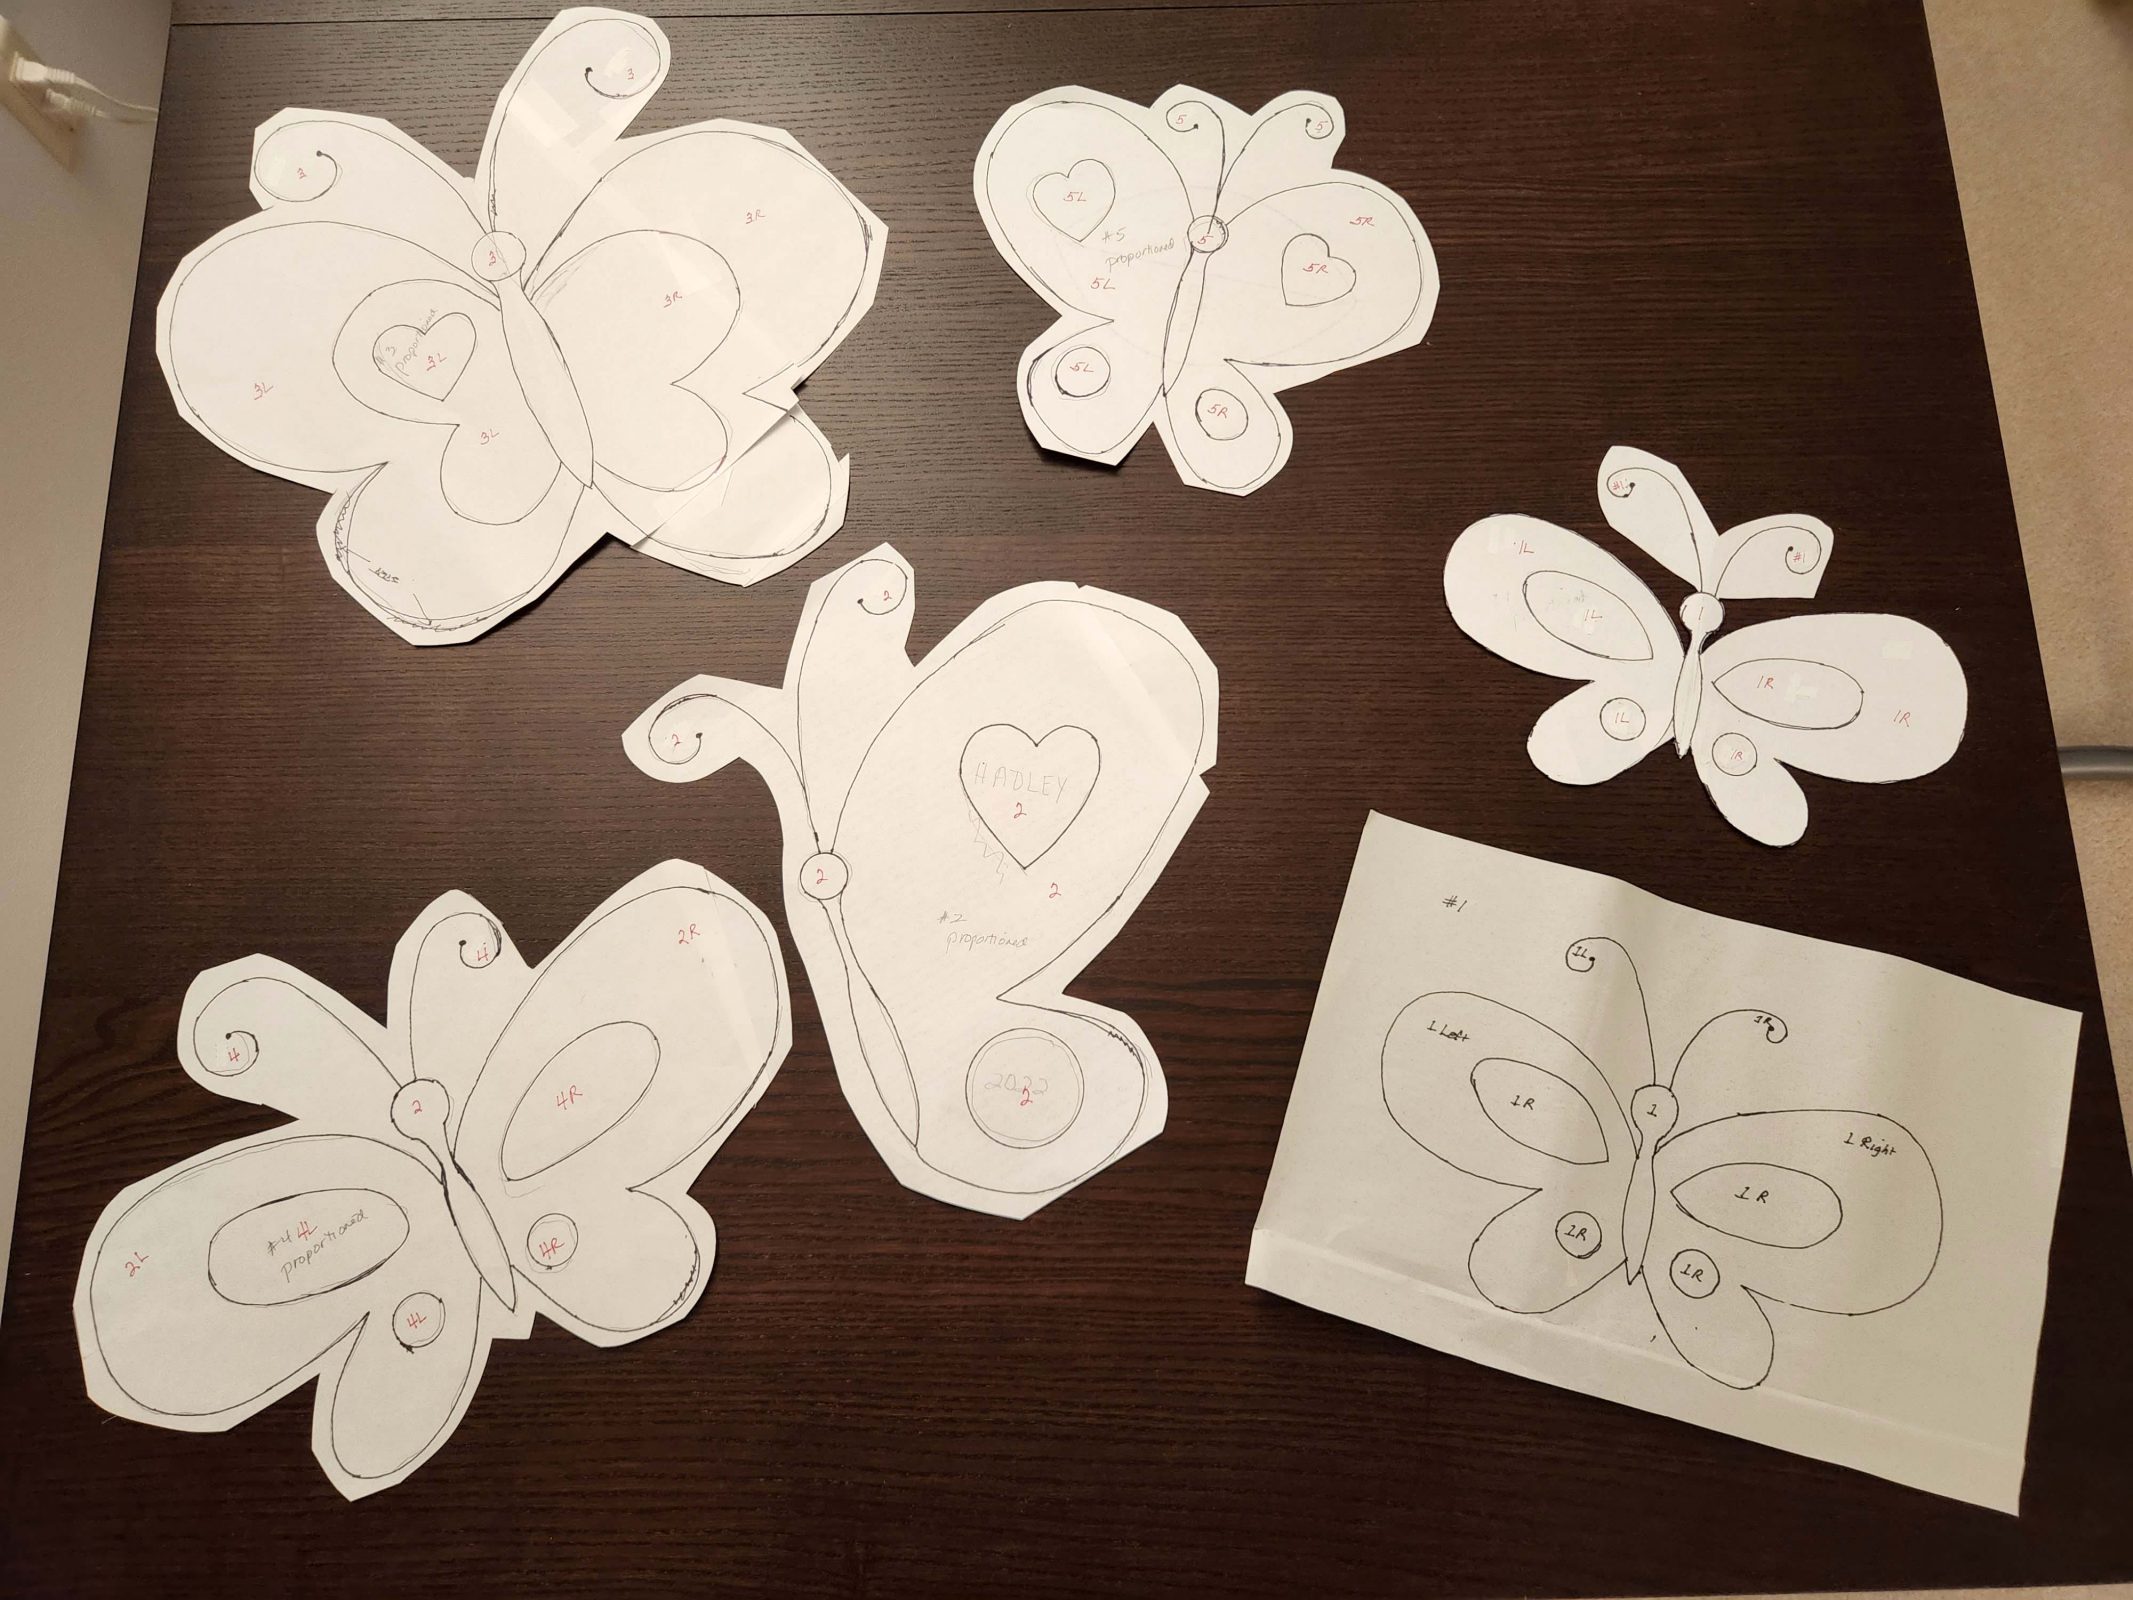
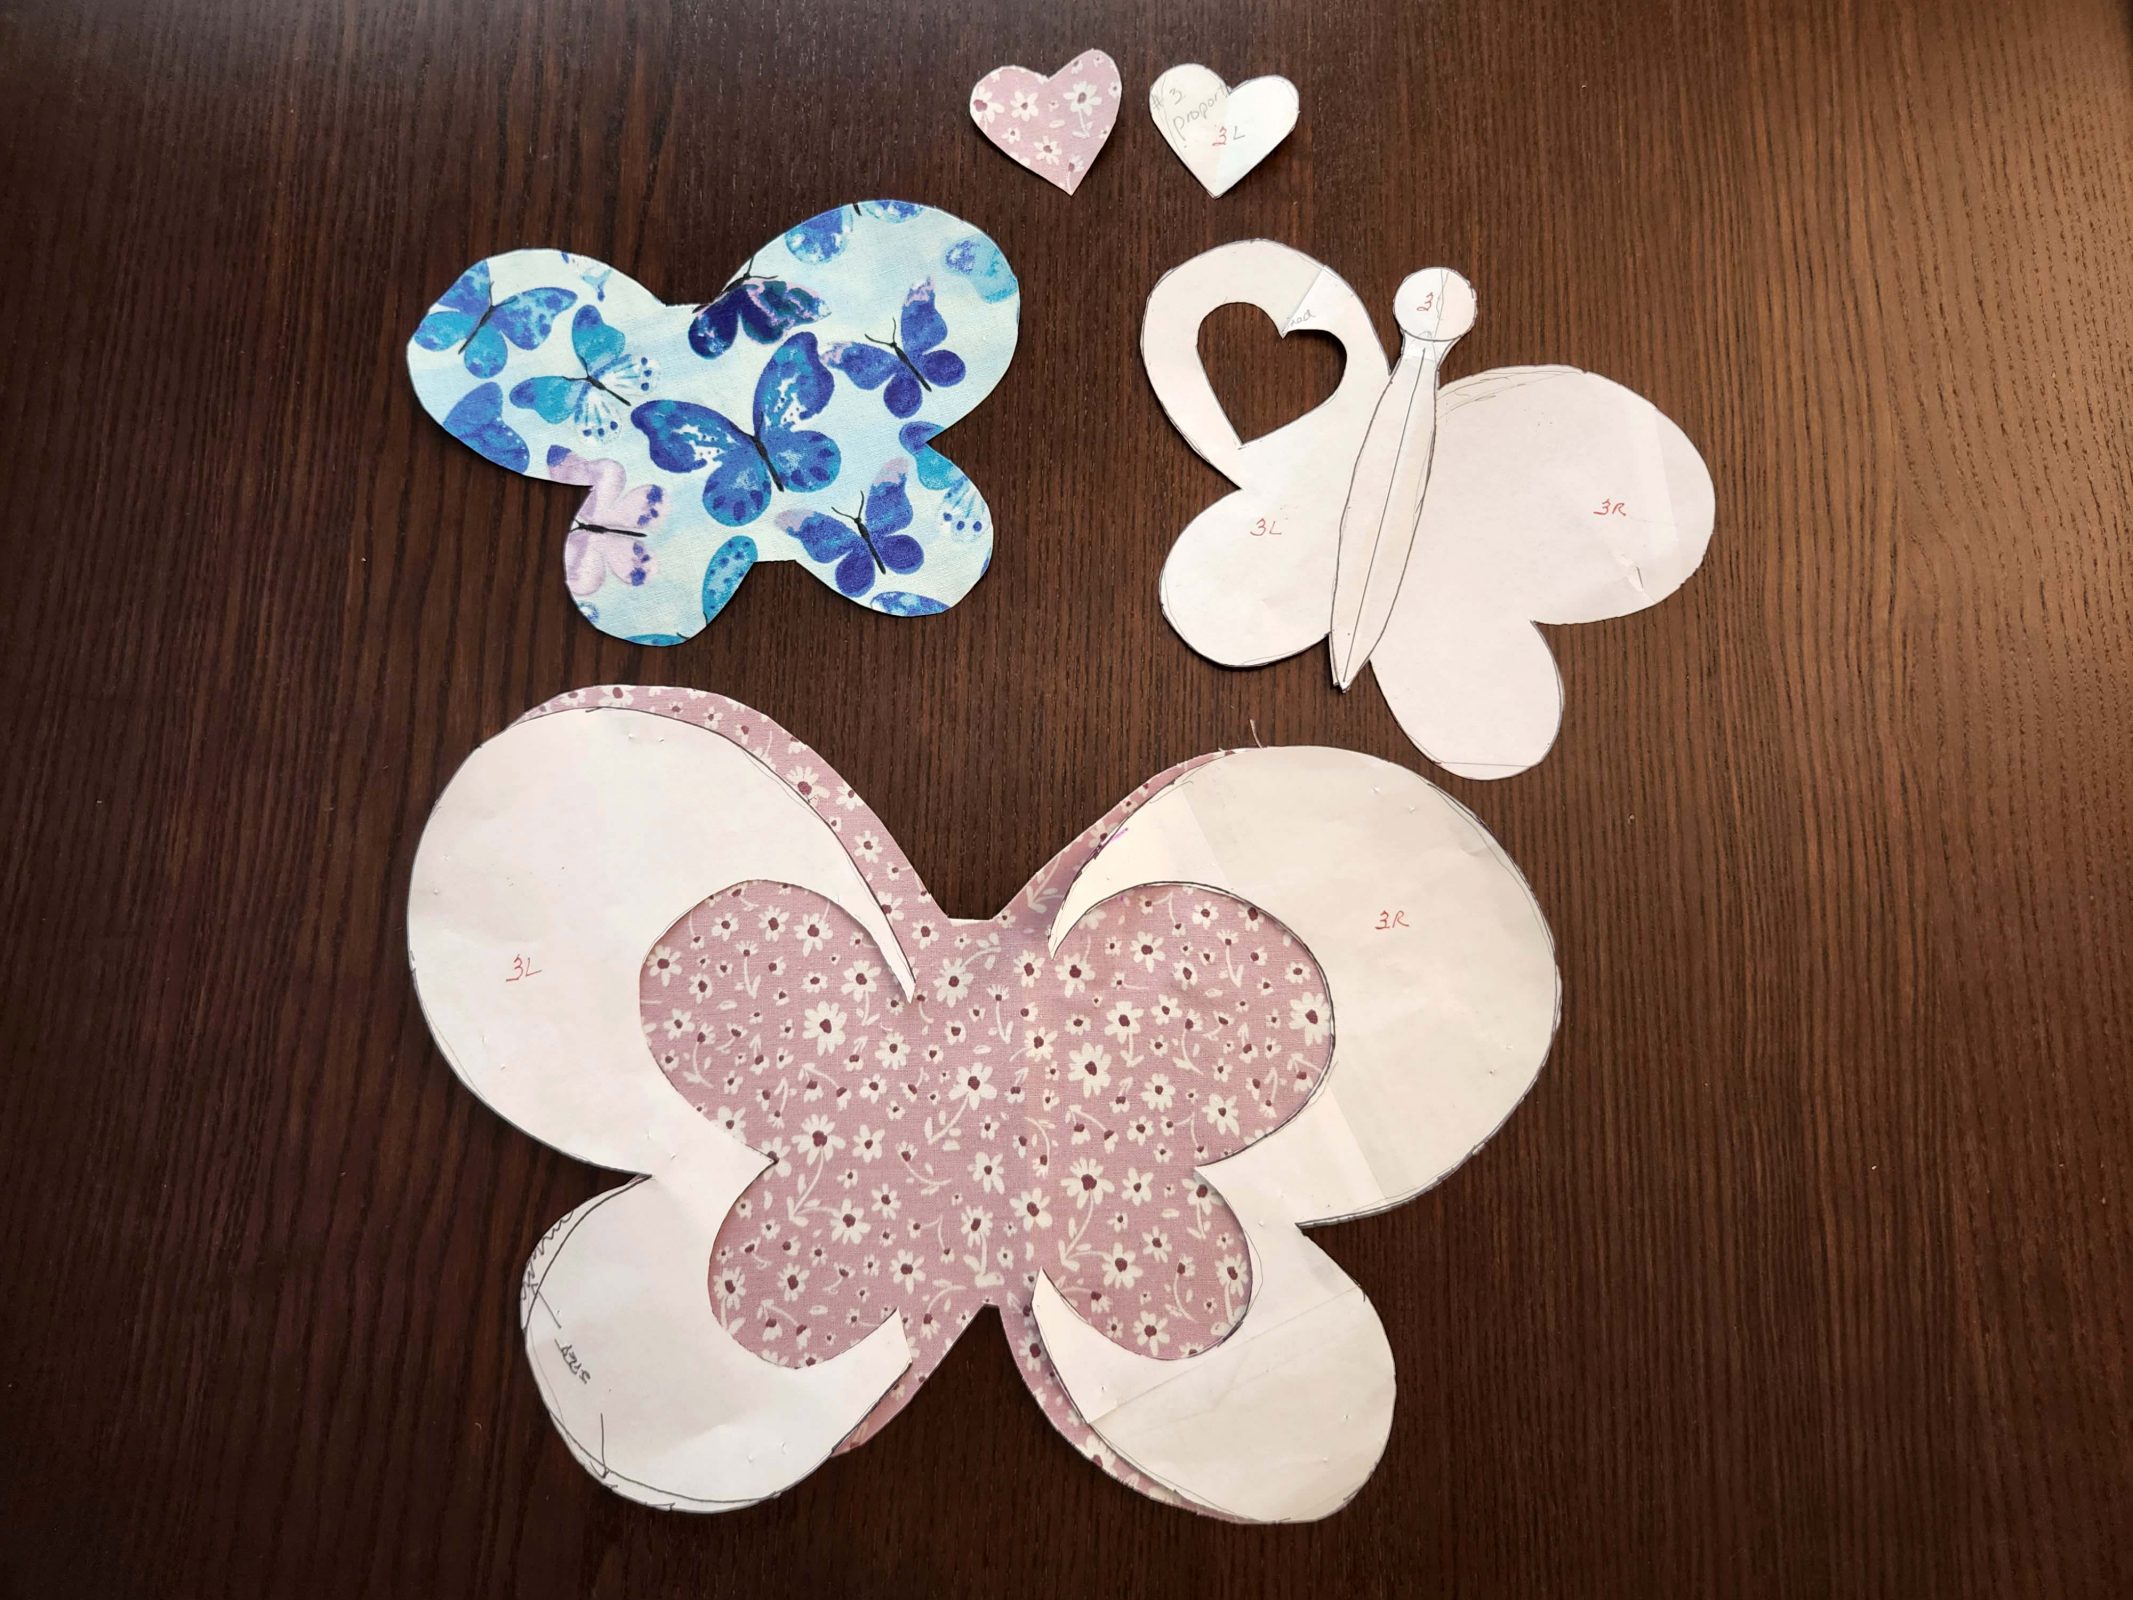
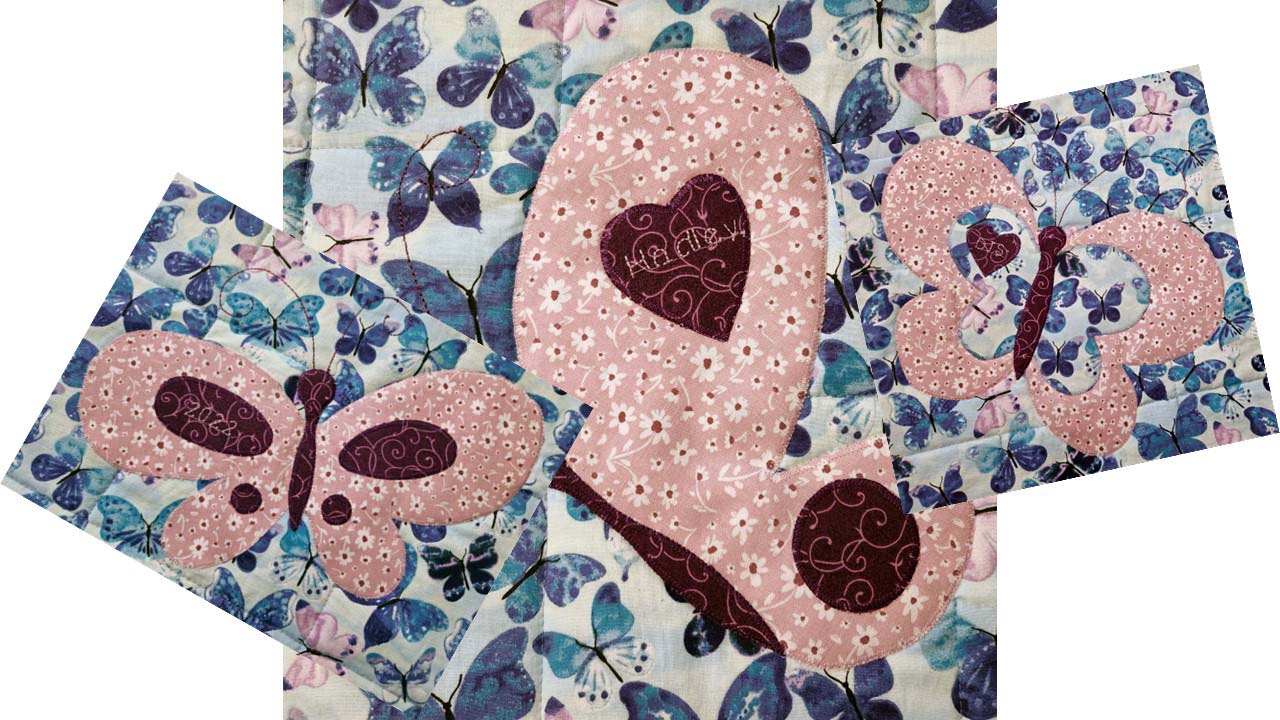
After buying fabric, my next step was to draw butterfly patterns. Four of the butterfly appliqués required two layers of fabric; the one in the upper left needed three layers.
I’ve got fabric and I’ve got patterns, but there are more decisions to be made: Which colors shall I use for the butterflies, and in which combinations shall I use them? What kind of lettering design shall I choose? Which colors of threads (matching or contrasting) and which stitching patterns shall I select to attach the butterfly pieces to each other and to the quilt? How will I get the antennas drawn and how can I stitch them? I made lots of samples to help me make these decisions.

I decided to purchase a third fabric (the dark purple) for the butterfly markings; lettering will be Comic Sans (one of my sewing machine choices); thread should match the fabric; zigzag will be best for assembling the butterflies and for attaching them to the top quilt fabric; I’ll use a disappearing marker to draw the antennas and I’ll stitch them with a triple stitch and embroidery thread. I tried sewing a double line to make the antennas bolder, but it was too difficult to keep the two lines of stitching exactly side-by-side, so I went with less visible (but more error-free) antennas. Whew! I’m glad that’s all decided!
The next step was to make the appliqués. First, fuse the Wonder Under (I like it better than HeatnBond) to the fabric; second, mark the patterns on the backing of the fused Wonder Under; . . .
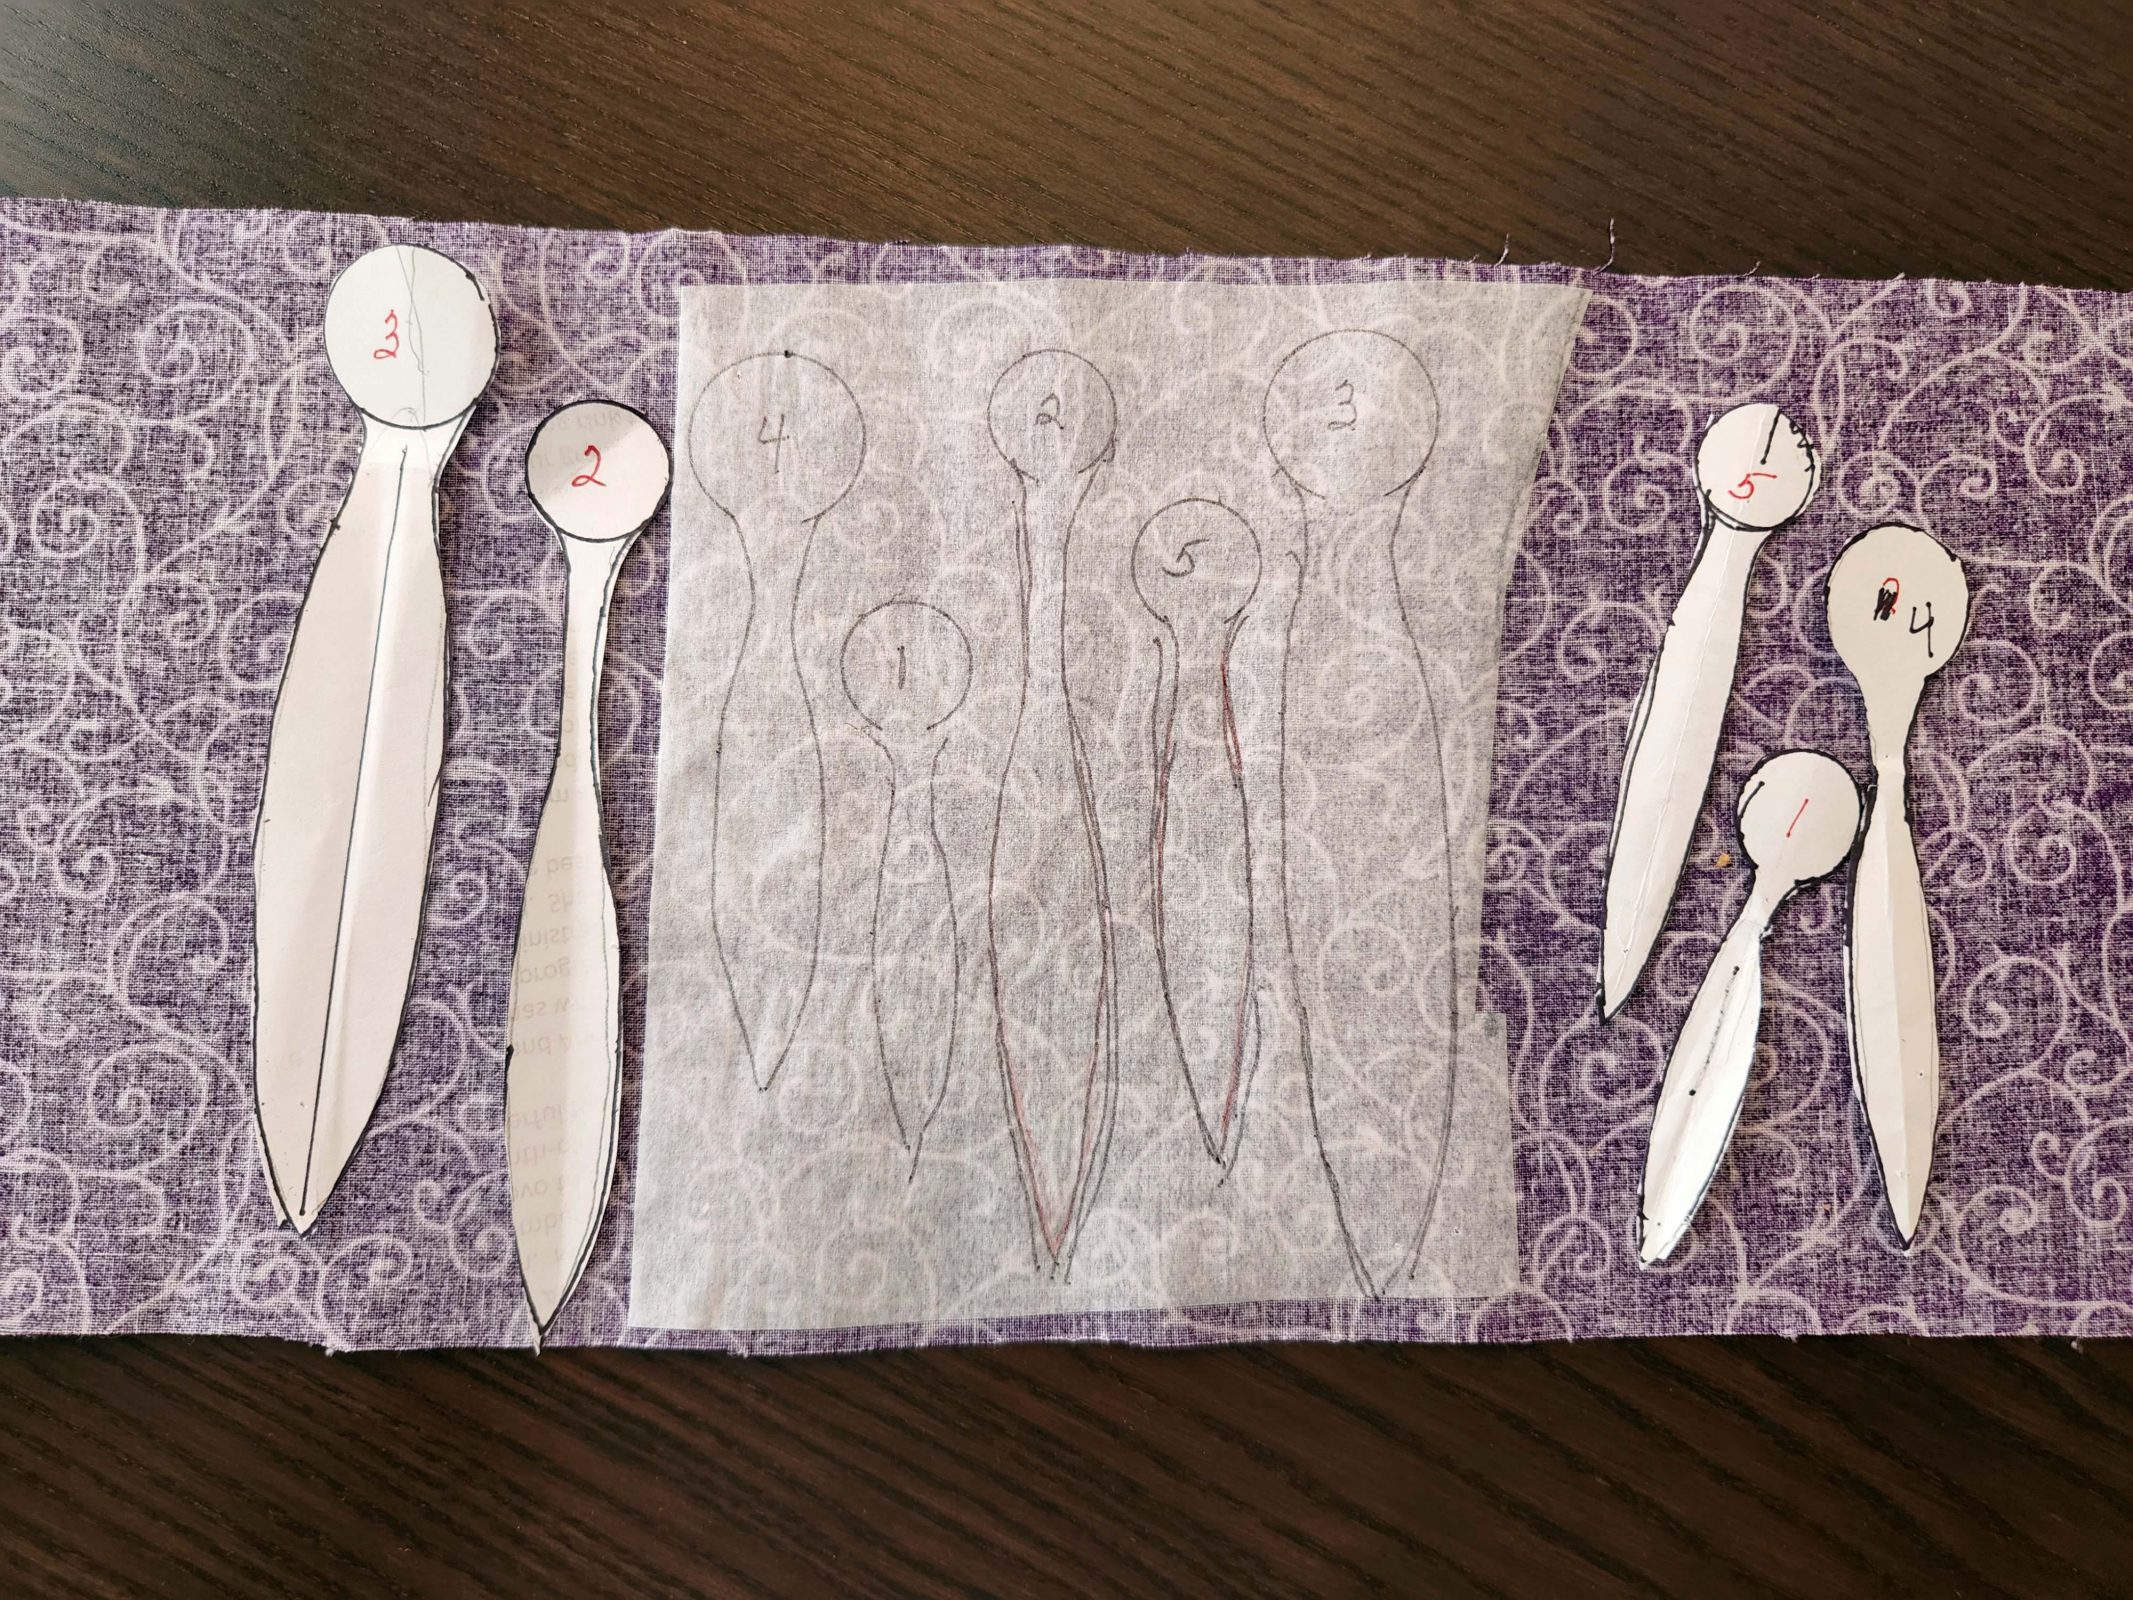
. . . third, cut the pieces along the pattern lines; . . .
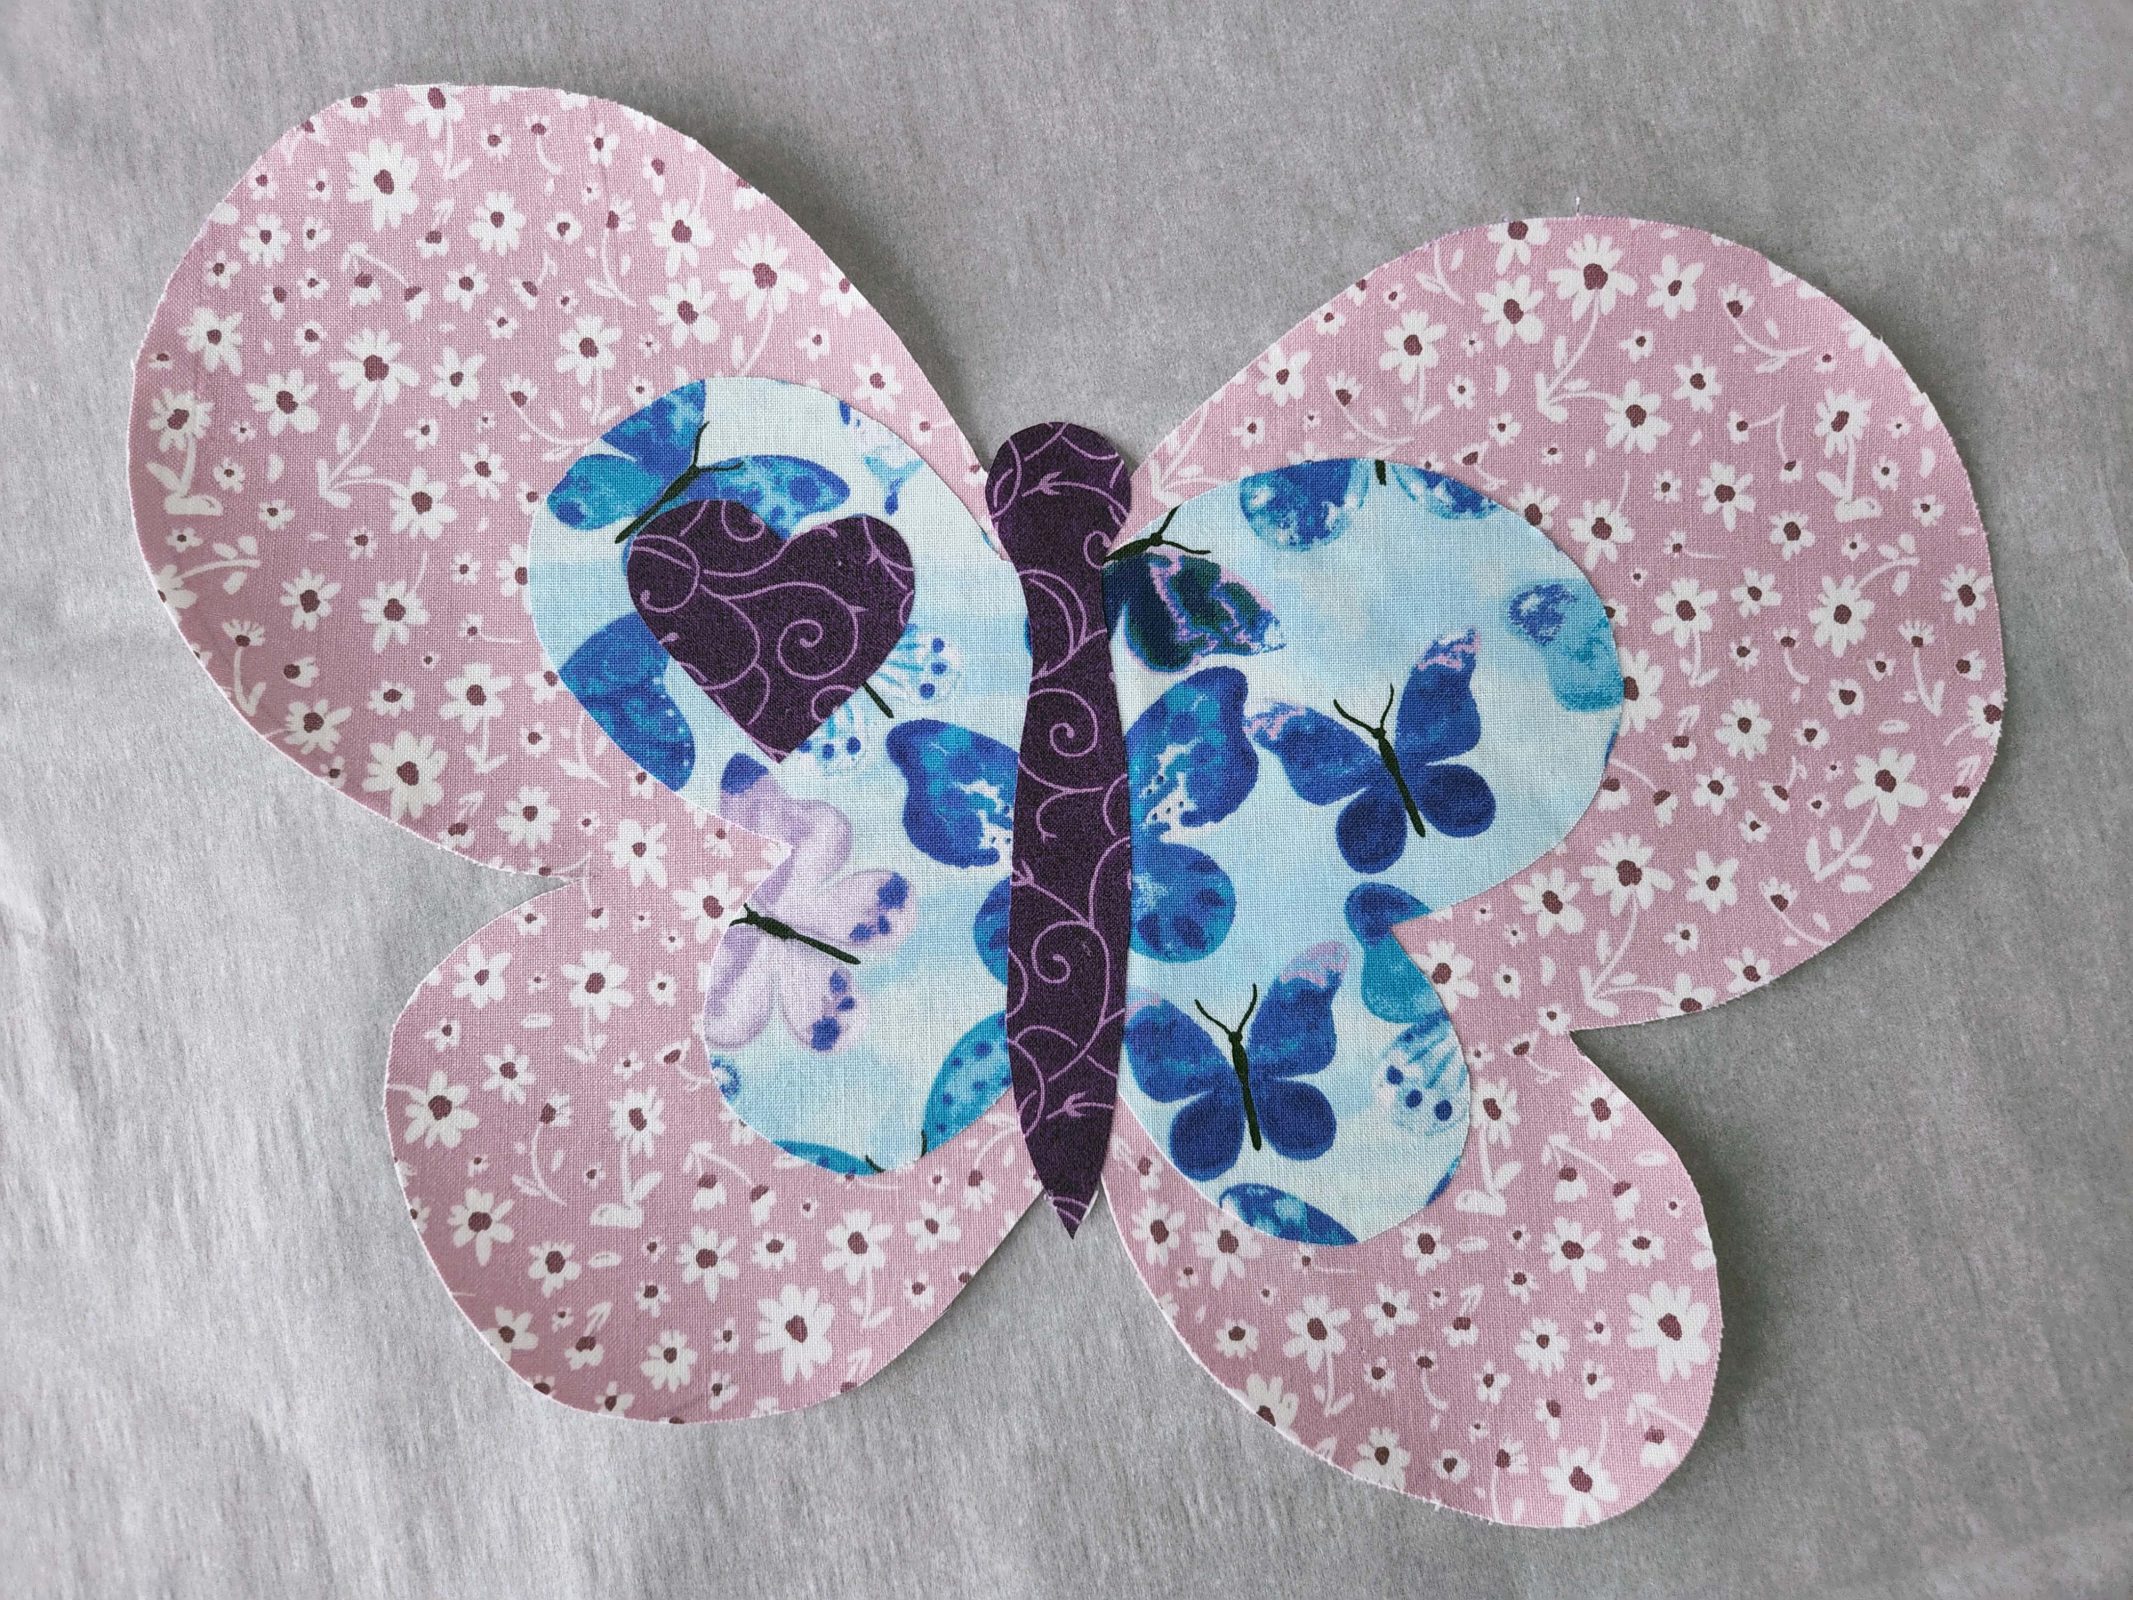
. . . fourth, fuse the butterfly pieces together, then zigzag the decorative pieces to the base butterfly; . . .
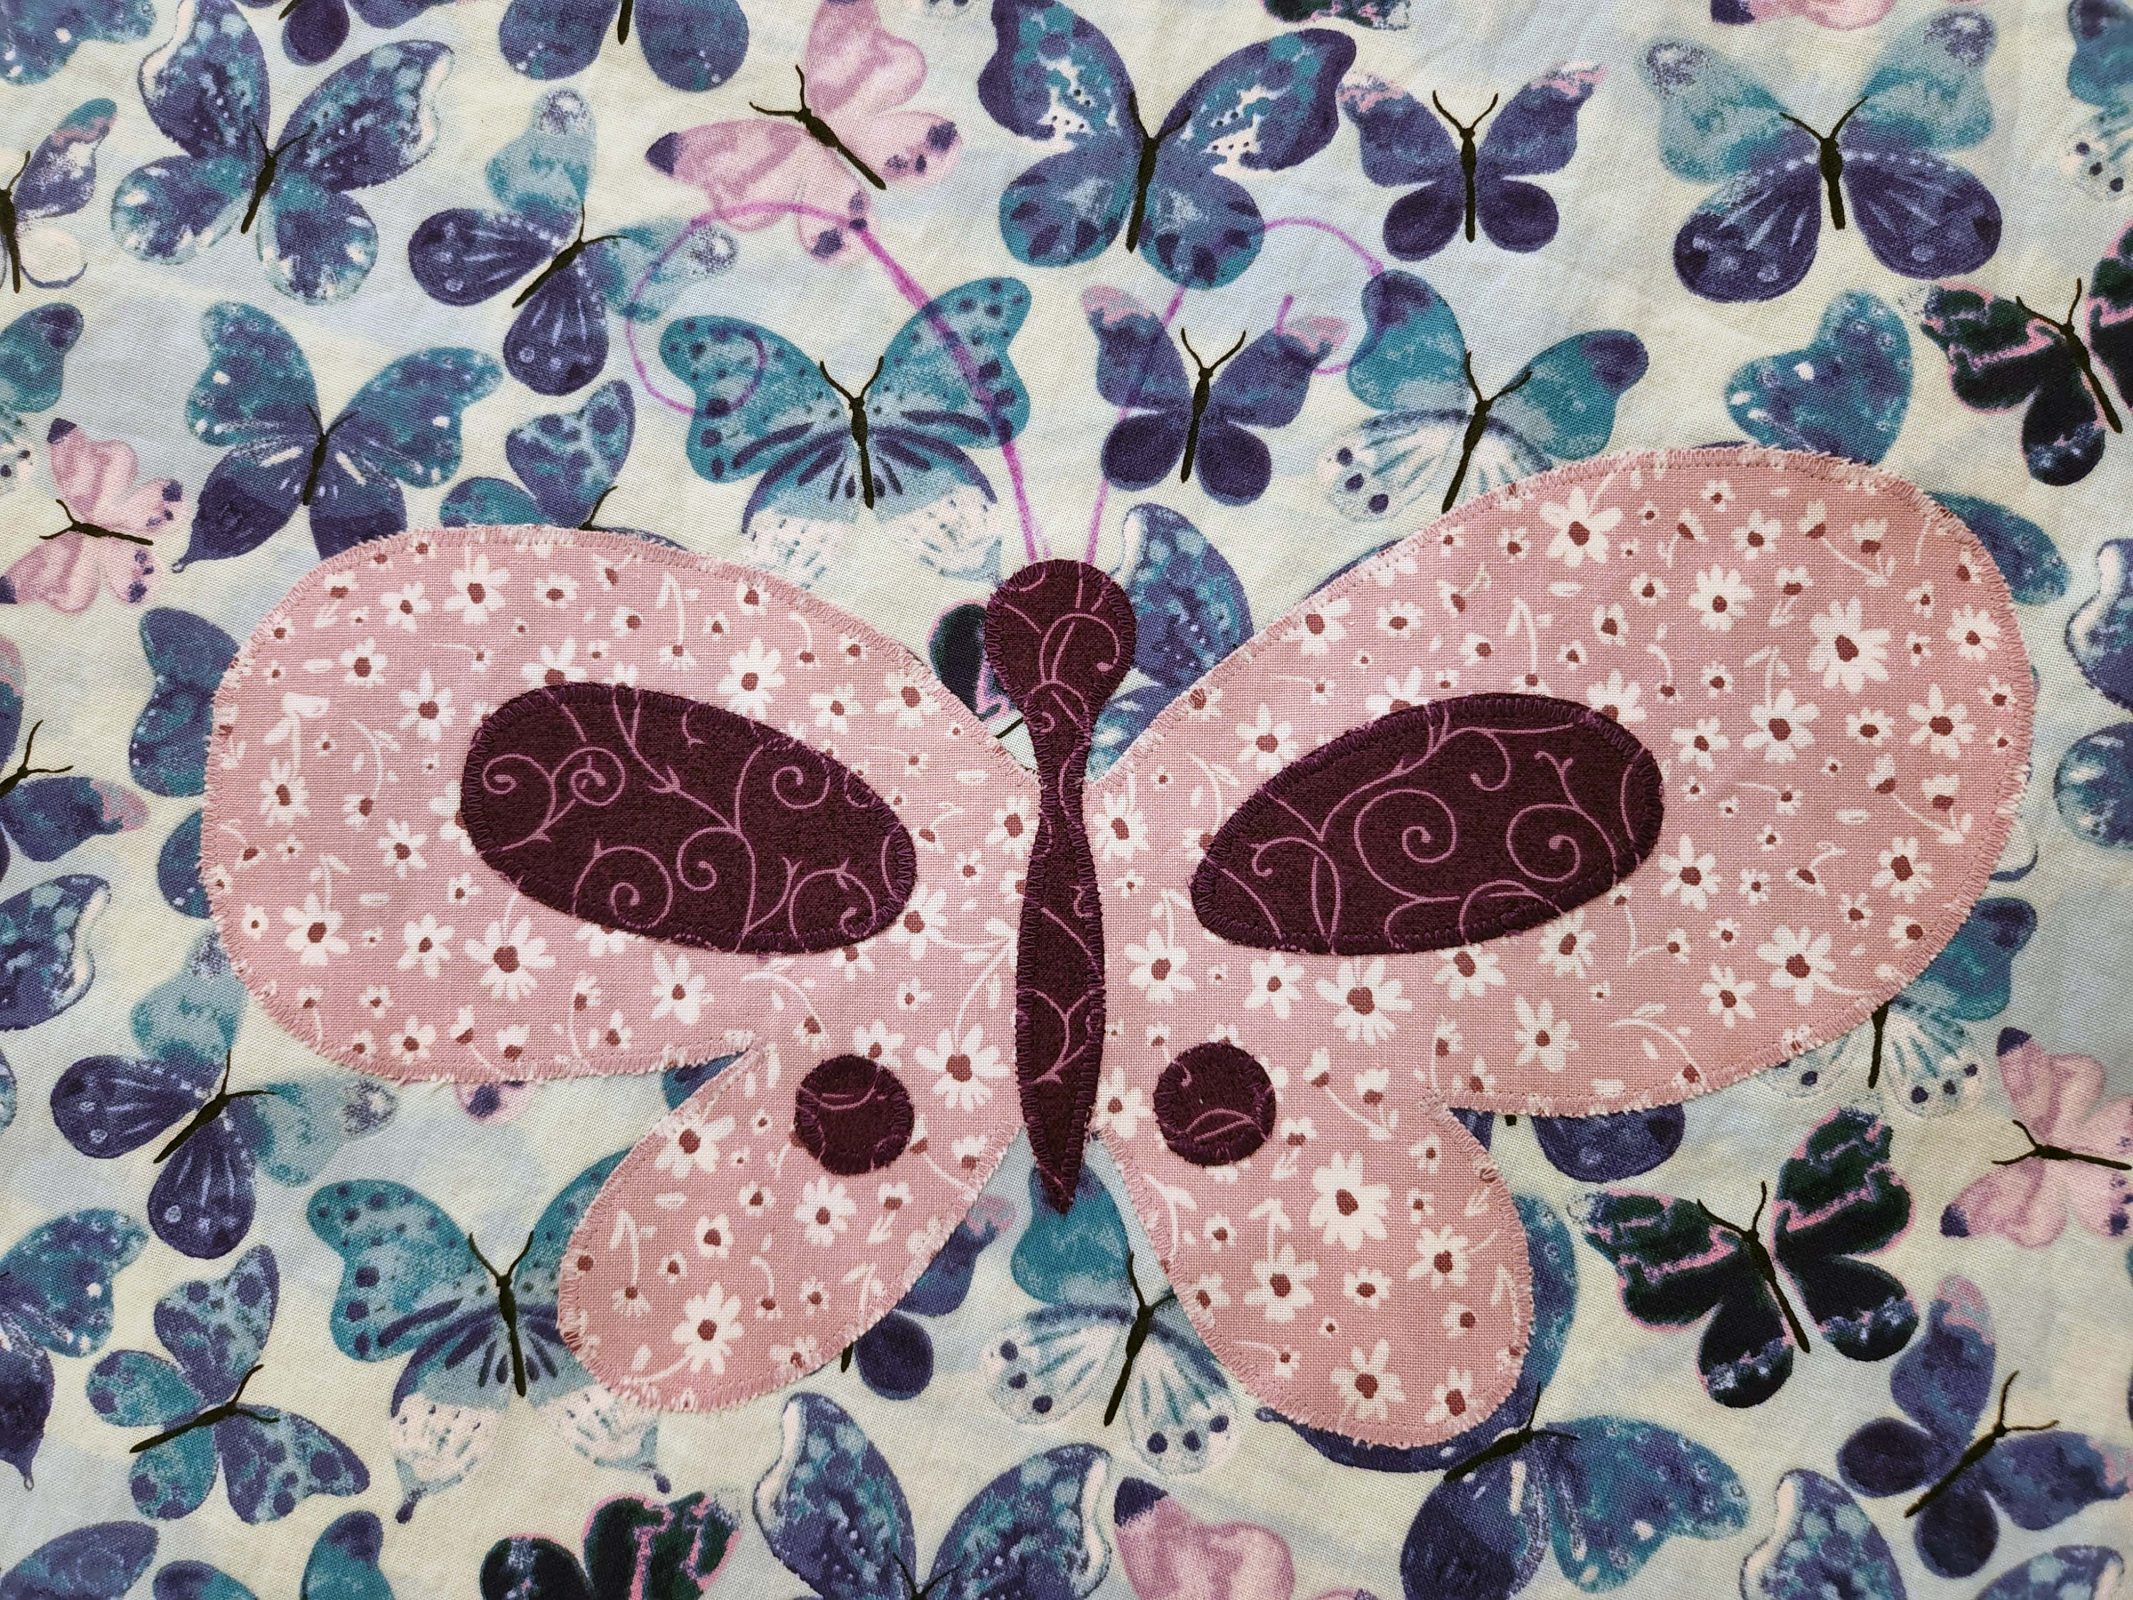
. . . fifth, attach the butterflies to the top fabric with zigzag stitches; sixth, draw the antennas; . . .
. . . seventh, eighth, and ninth, stitch the antennas, add the embroidery (“Hadley”), and draw the quilting lines; . . .
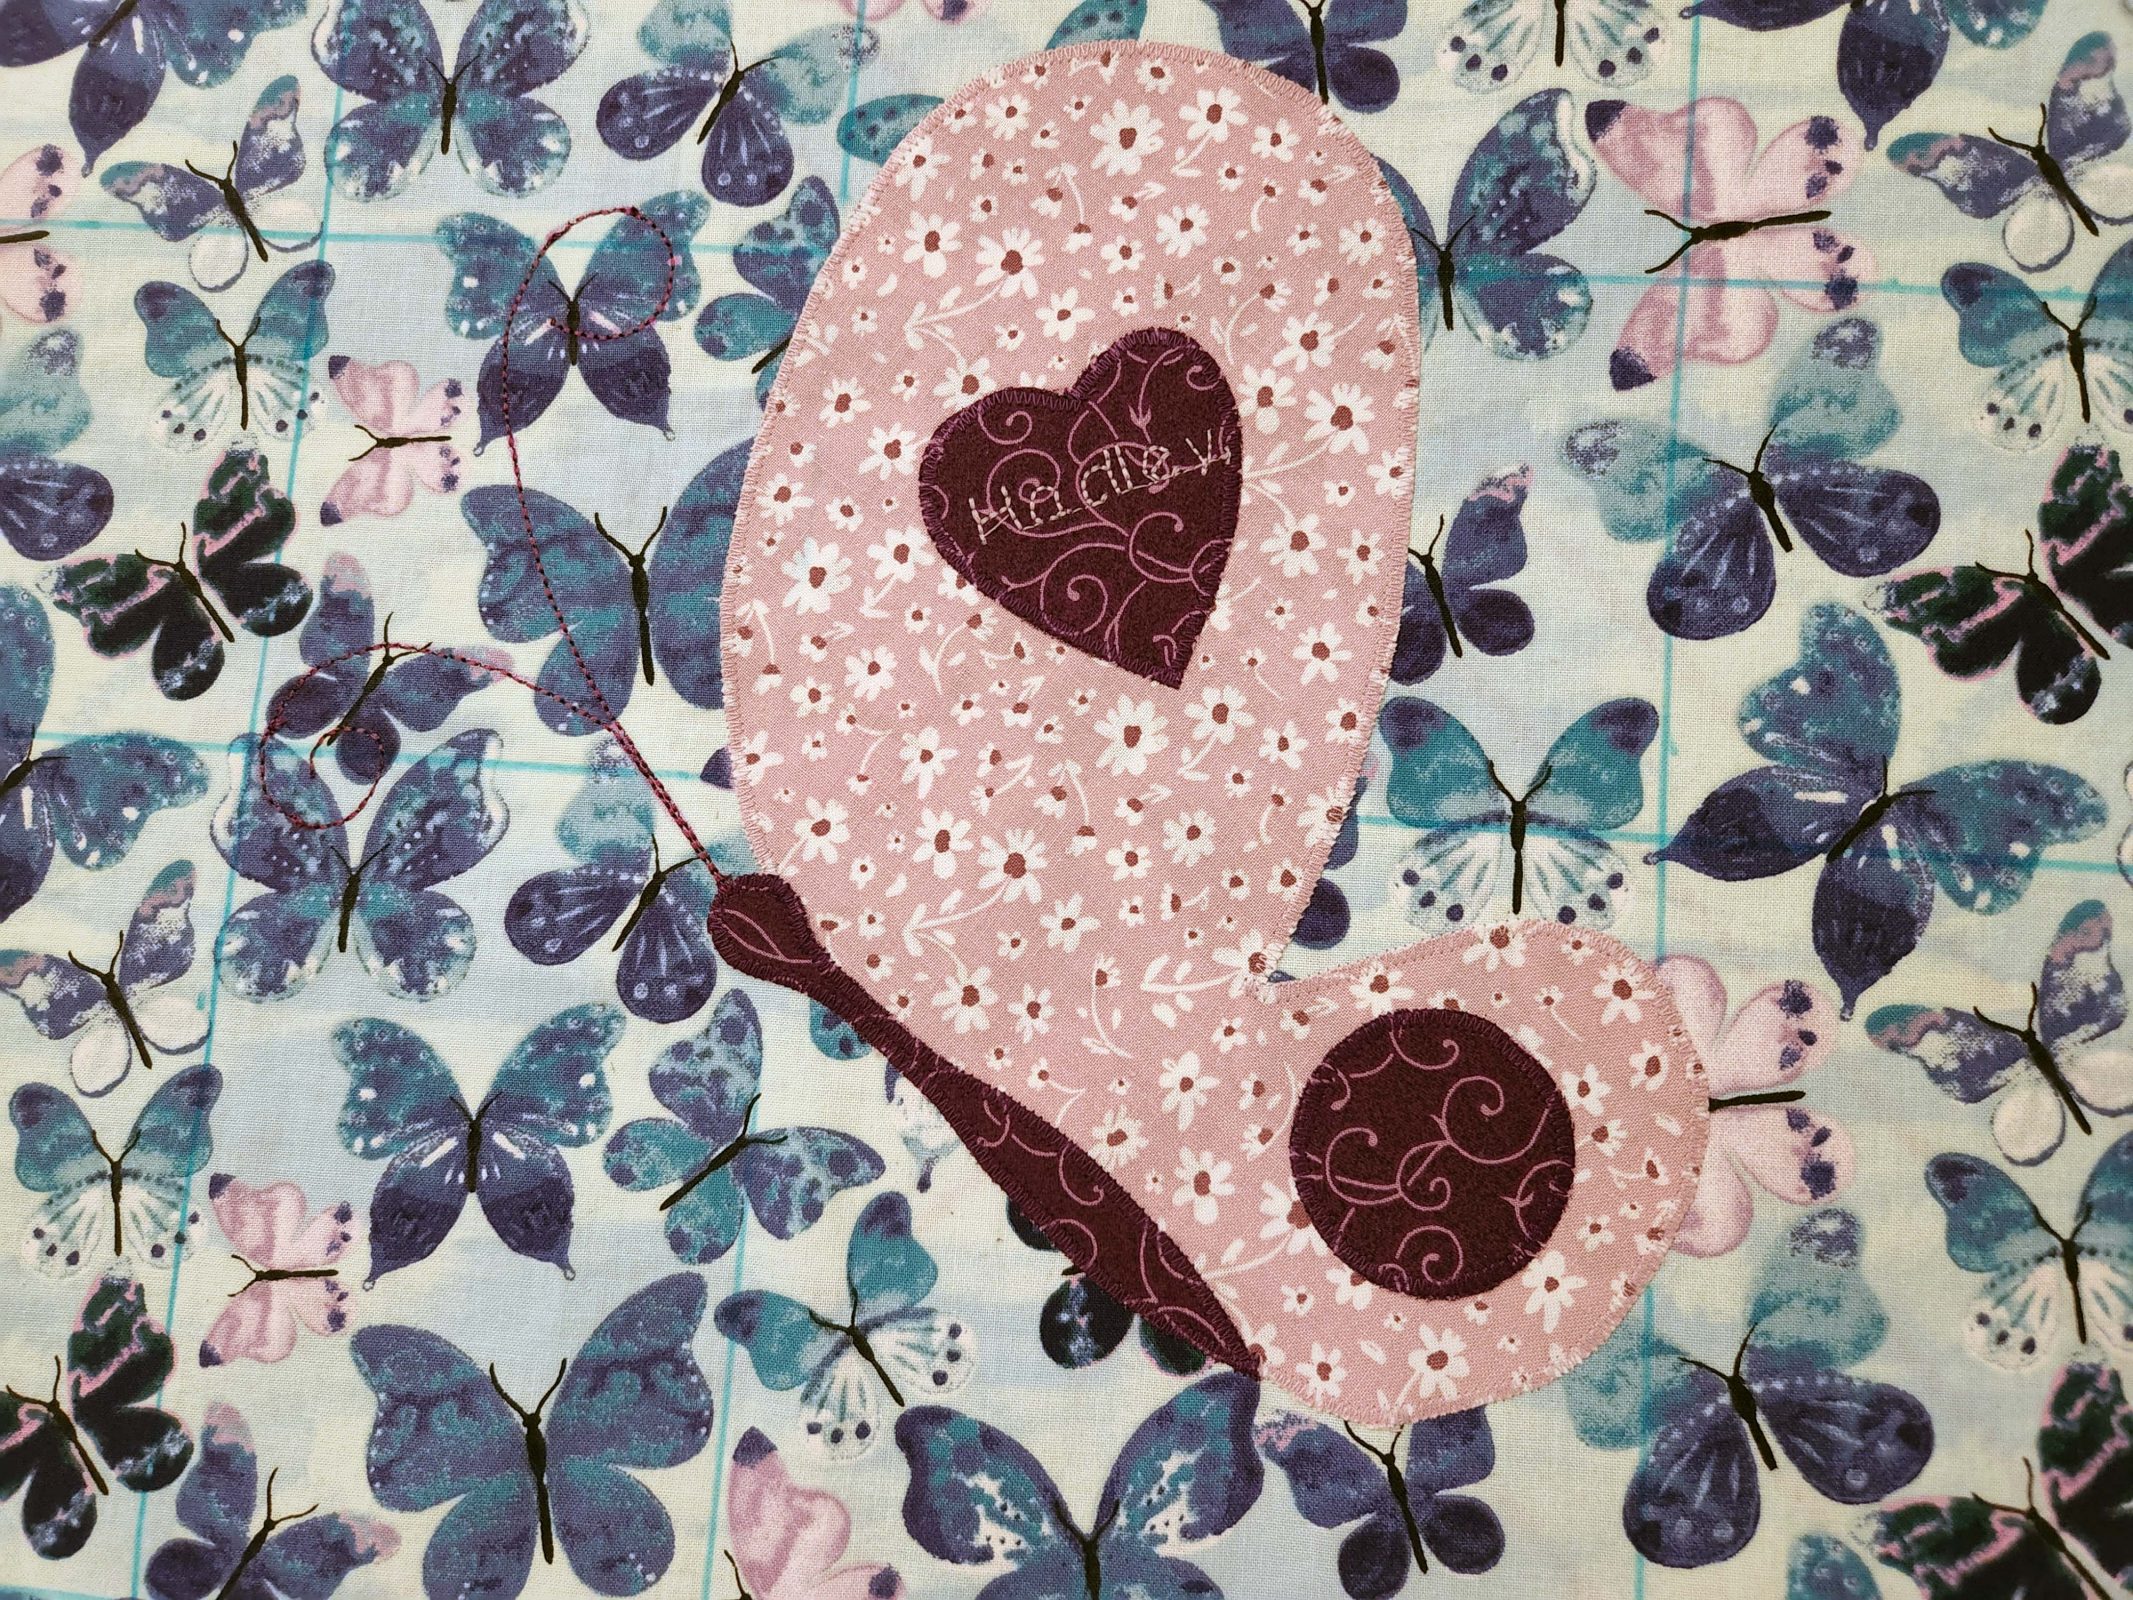
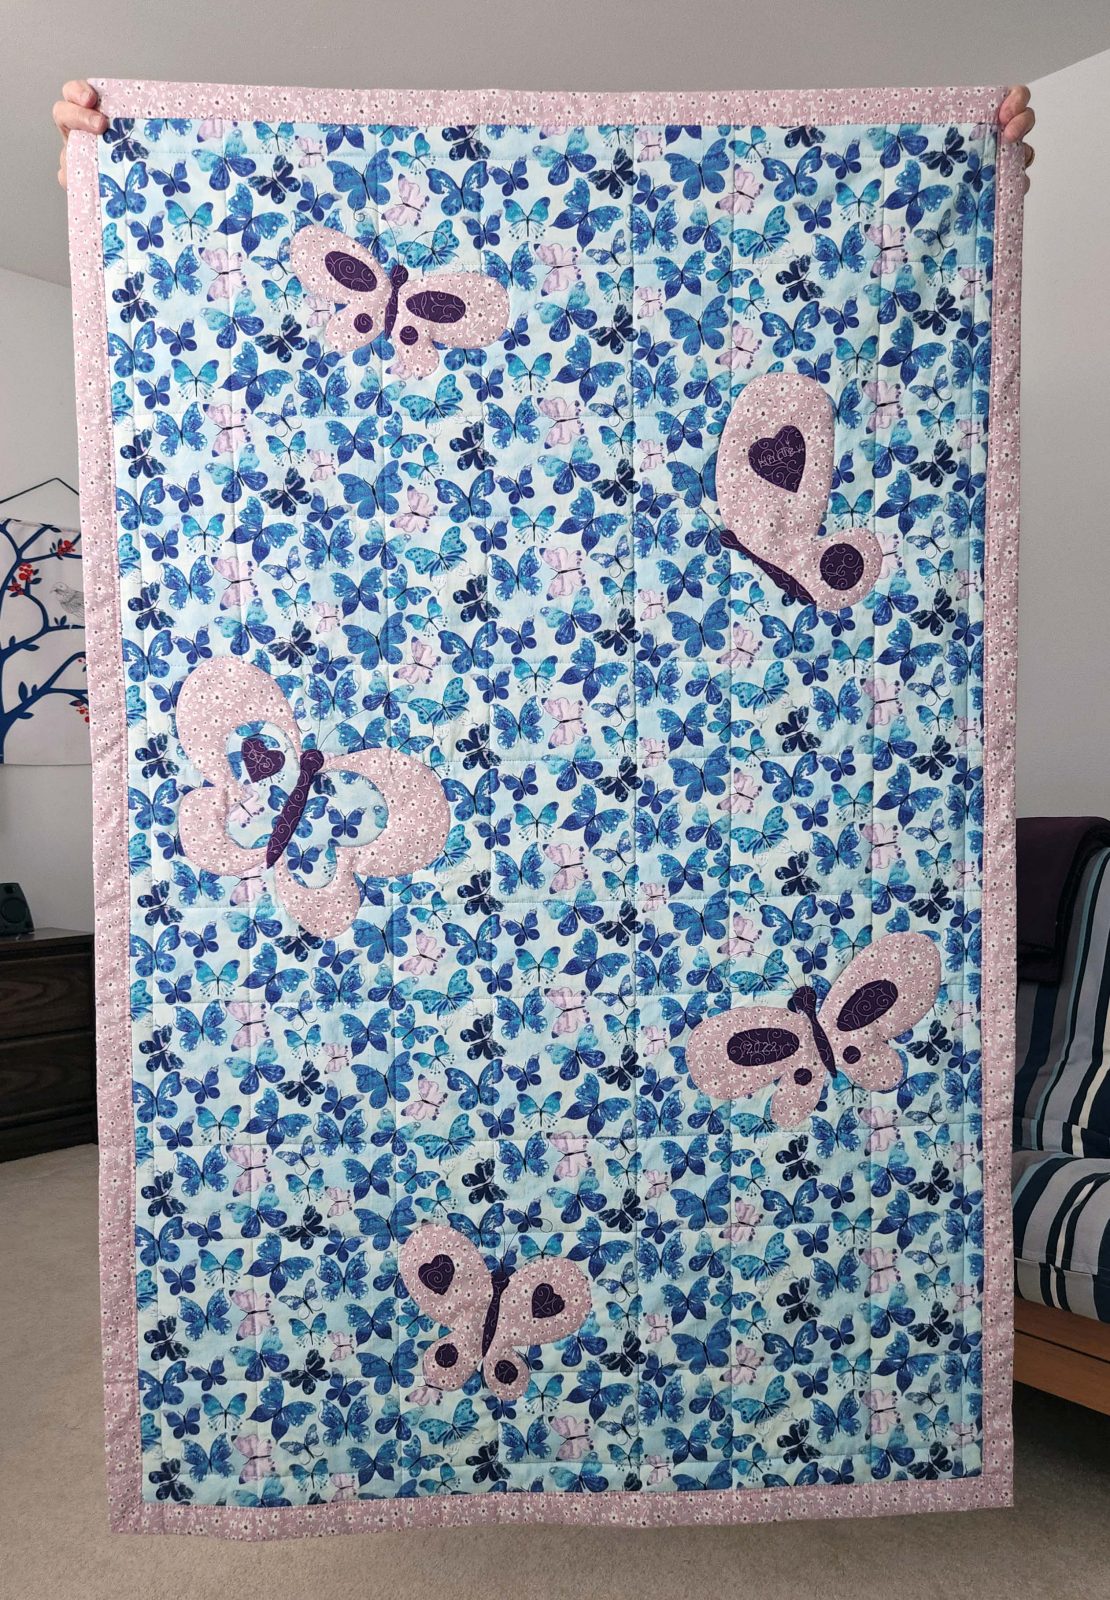
Those butterfly appliqués were a lot of work! They were fun, so I’m not complaining, but I kept track of my time and they took half the time of the entire project. I sewed Hadley’s name on one butterfly, my initials on another, and the year on a third butterfly.
After the appliqués were finished, it was time to attach the batting to the top fabric and then to attach the backing.
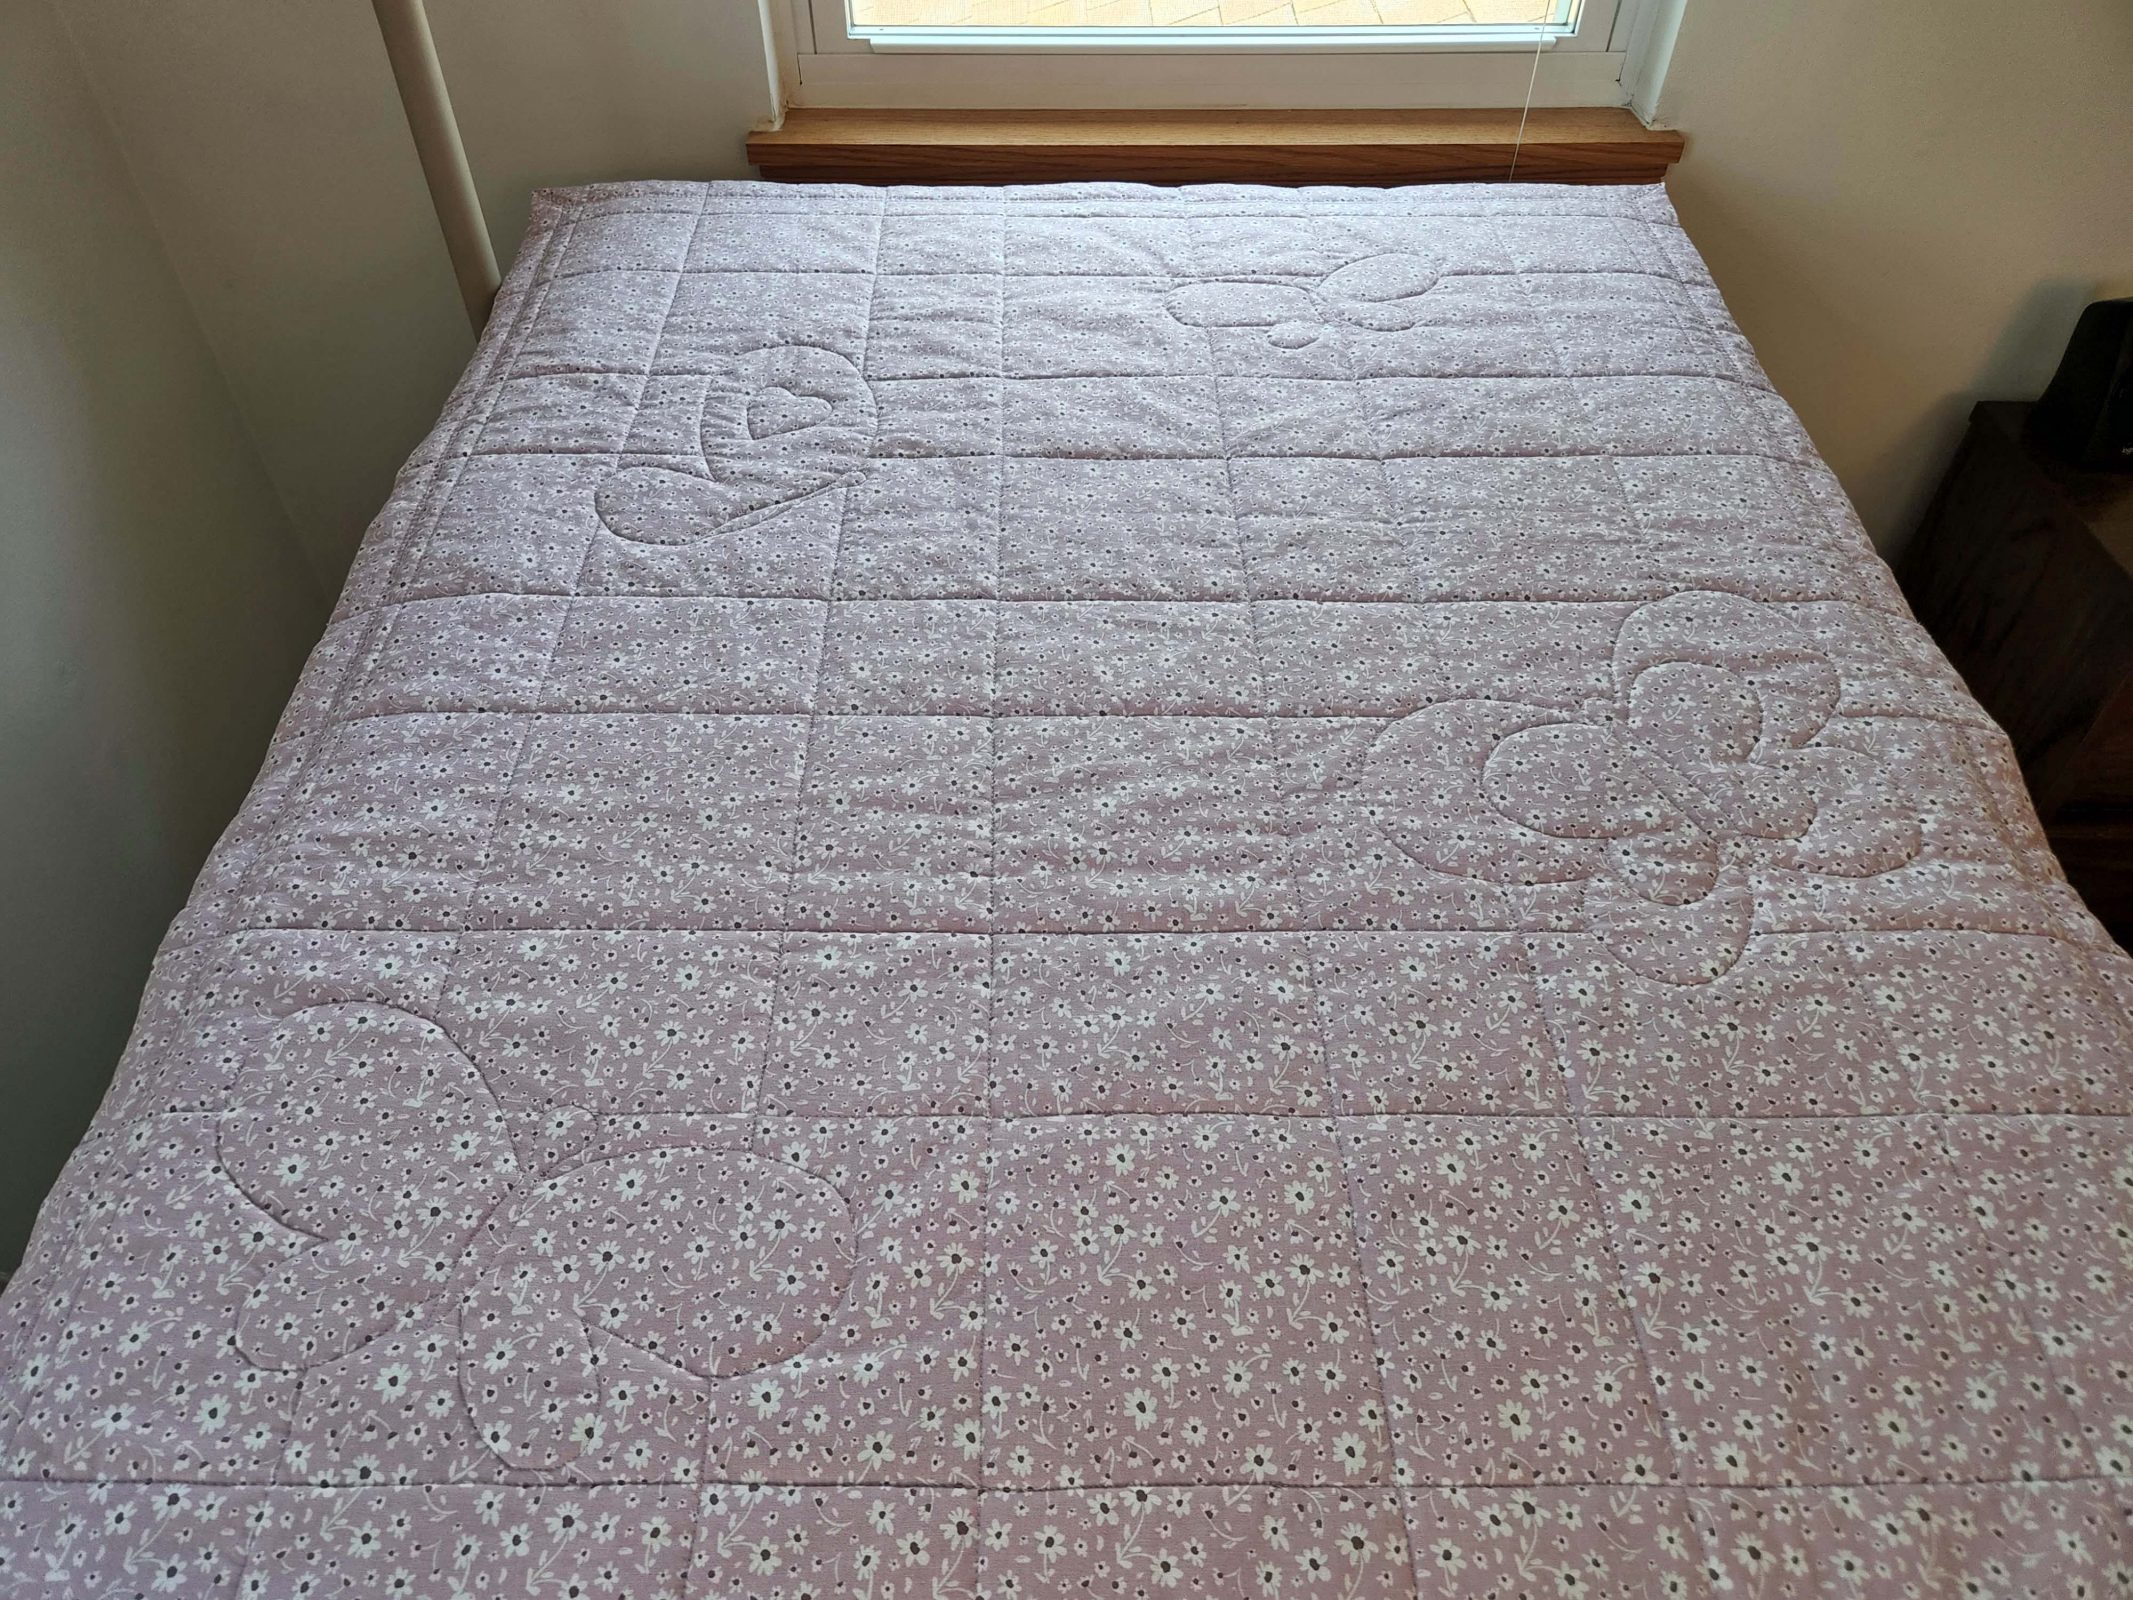
With everything put together into a single piece/quilt, the next step was to sew the quilting lines. I didn’t want to sew lines over the butterflies, but some of the butterflies covered more space than I wanted to leave unquilted. After several days of thought, my solution was to stitch in the ditch around the outlines of the butterfly wings and bodies. On the two largest butterflies, I also stitched around some of the butterfly markings. That stitching made the butterfly outlines visible on the back side of the quilt, which I think adds visual interest.
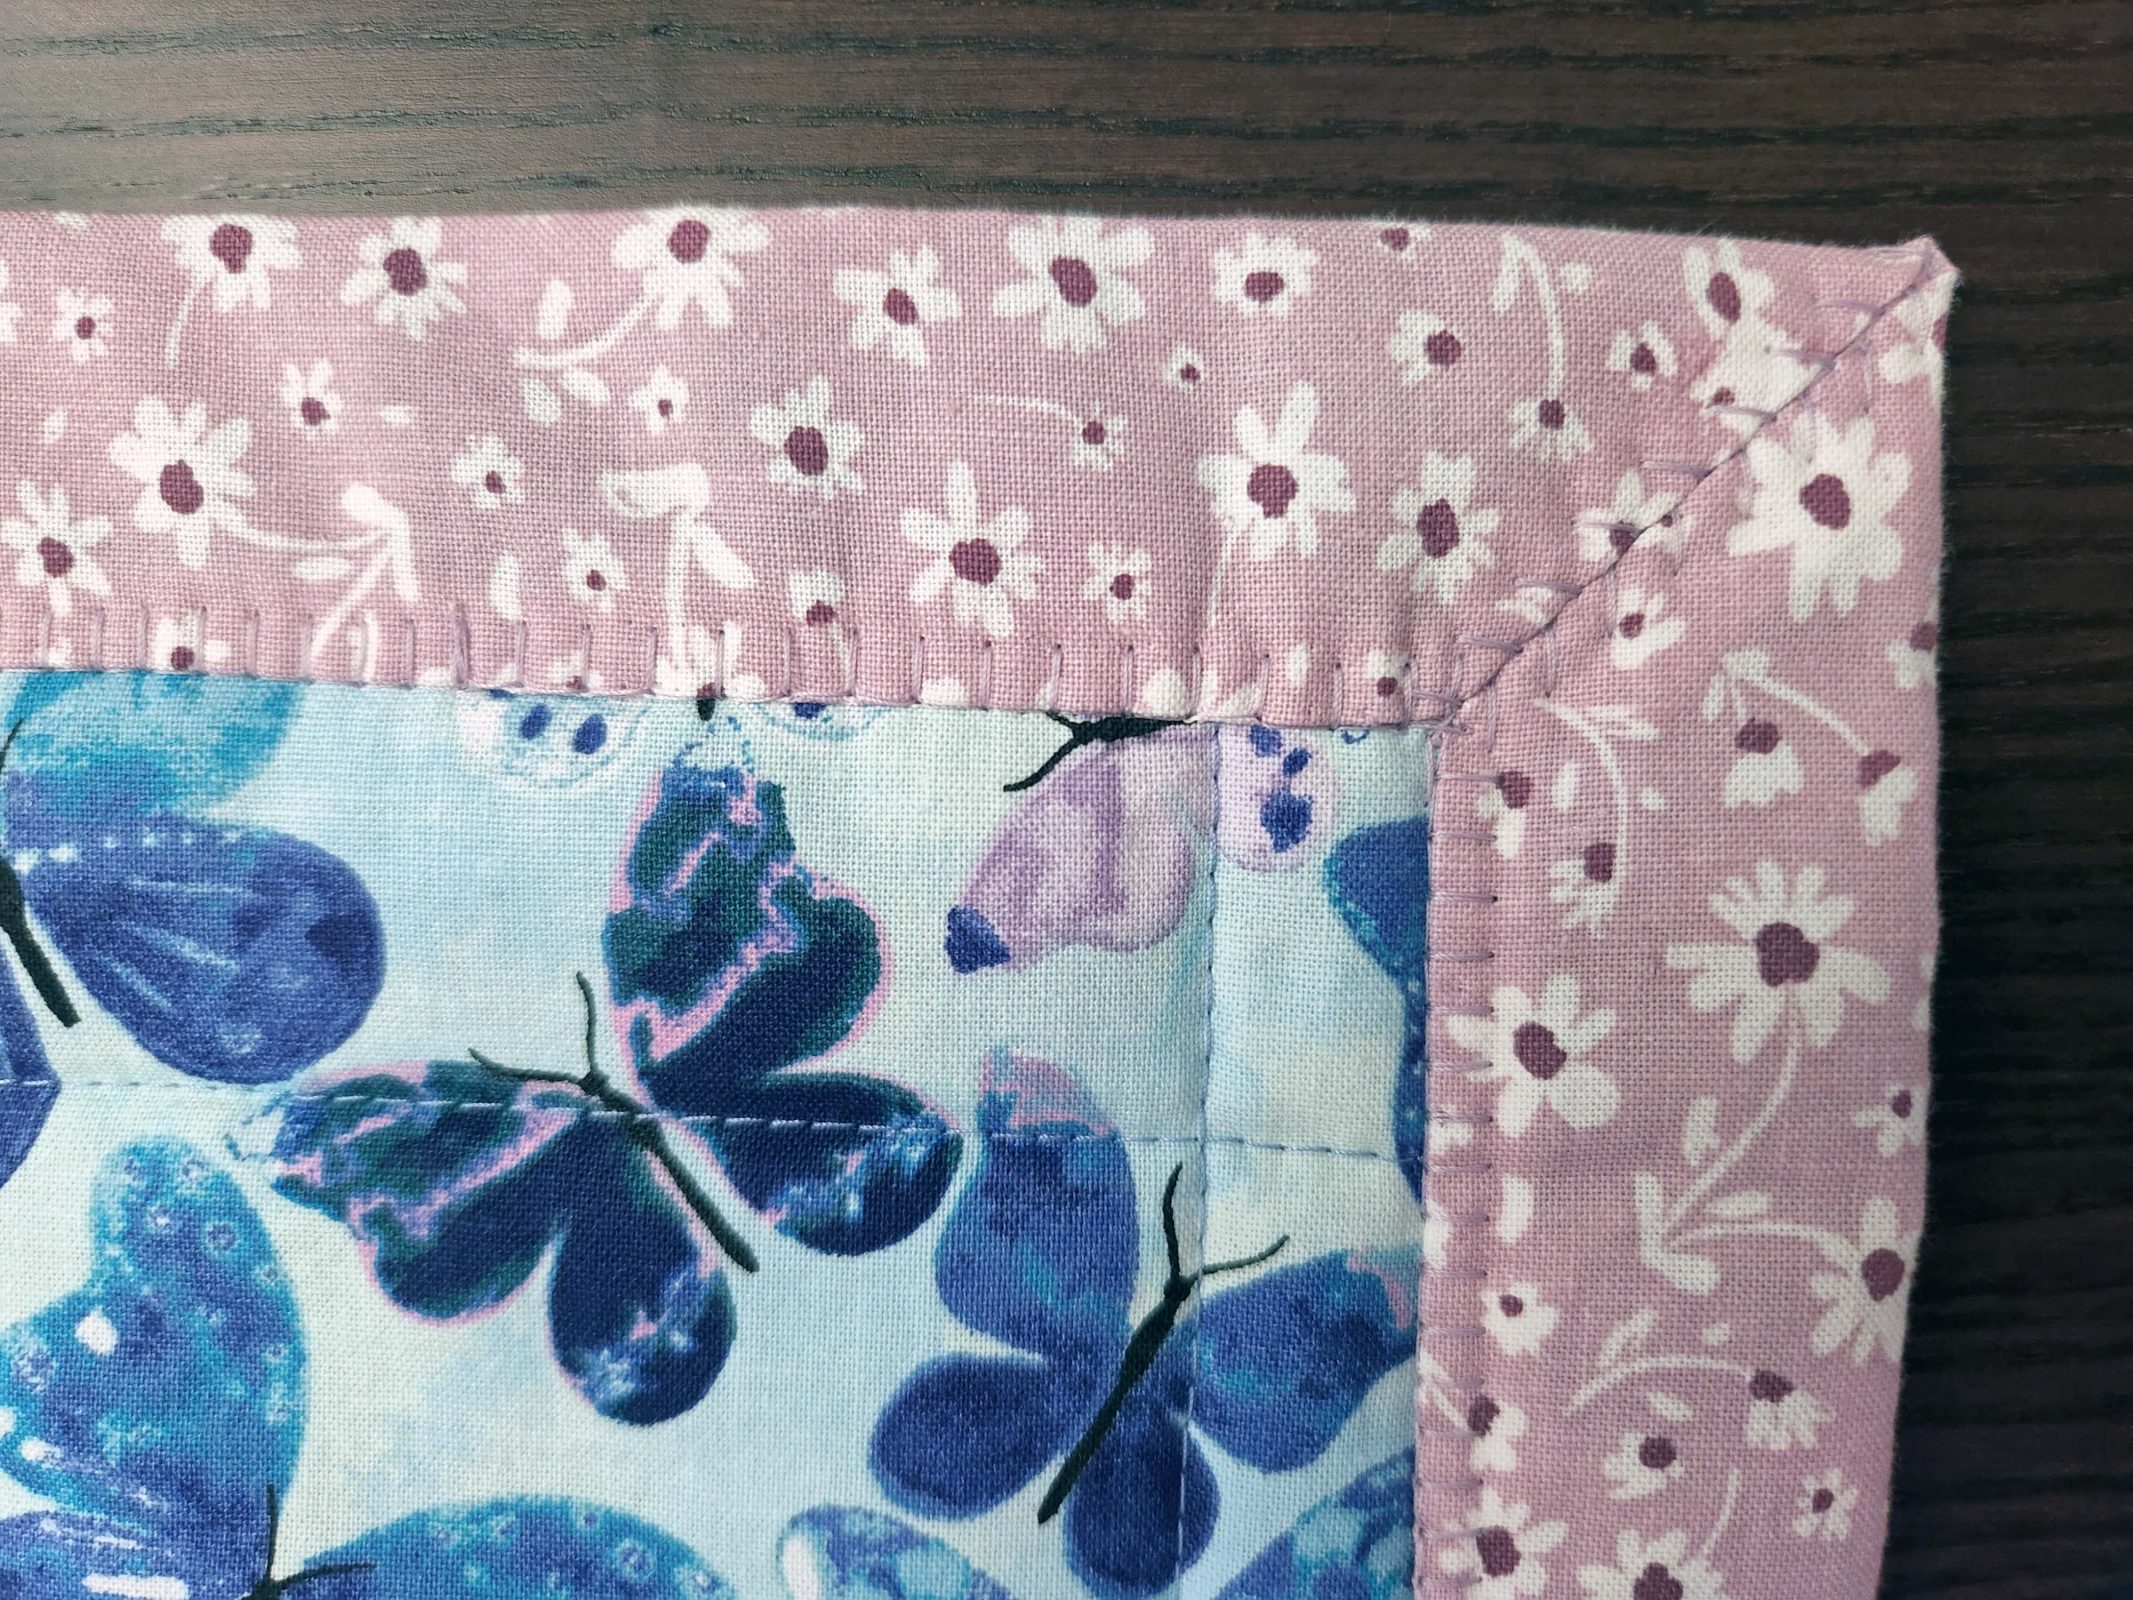
After the quilting lines were sewn, I finished the quilt by folding over the self-binding and attaching it with a decorative blanket stitch. Then I closed the mitered corners with a featherstitch.
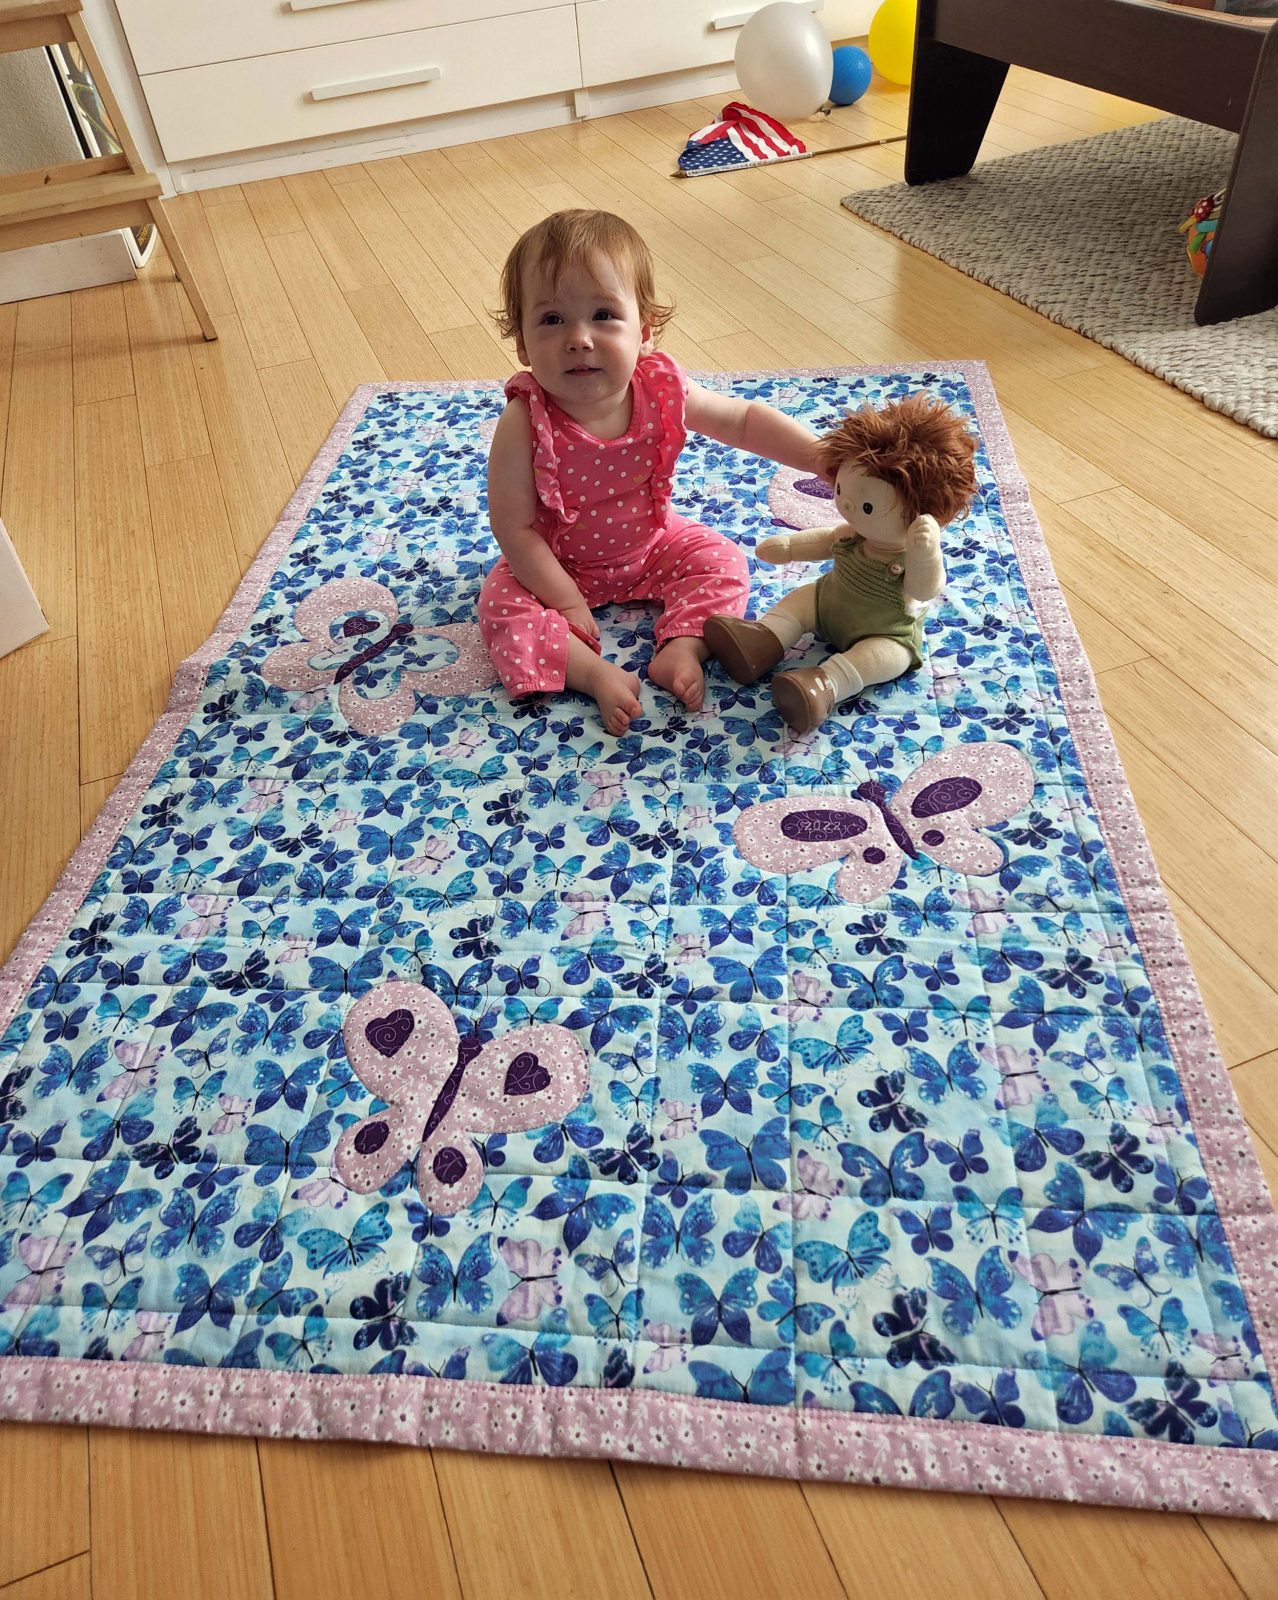
Voilà! A first birthday gift for Hadley.
Here’s Hadley with her new quilt and her new doll. Happy first birthday, sweetheart!