Early April
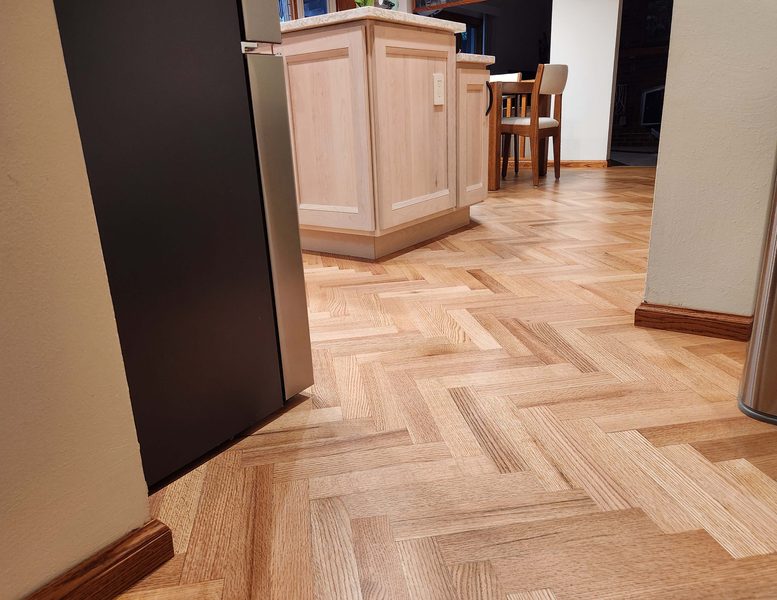
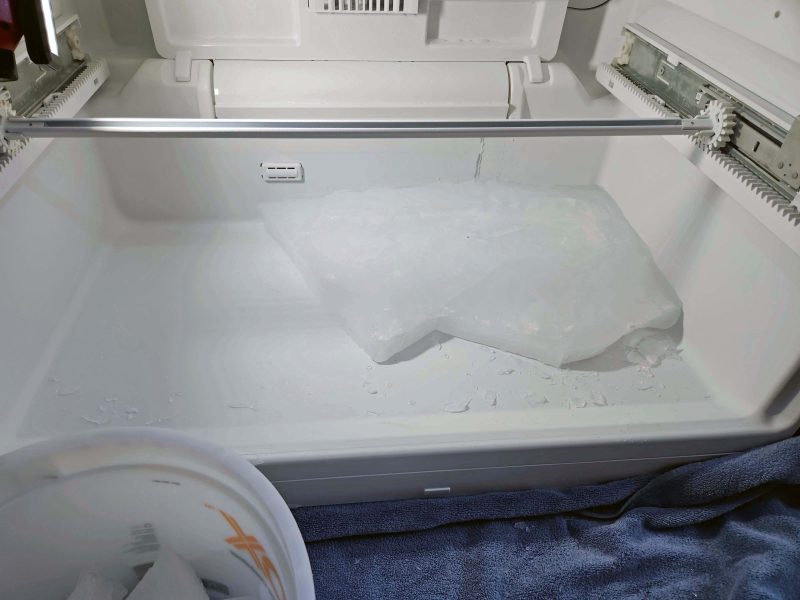
Ted and I have a French-door style refrigerator with a freezer drawer below. It’s only 18 months old, but we noticed that the freezer drawer wasn’t always closing tightly unless we gave it a little nudge. The little nudge turned into a bigger nudge, and one day, there was a trickle of water seeping onto the floor at the front of the refrigerator/freezer. We pulled the unit away from the wall to look for a leak. There was no visible leak, but the hardwood floor showed water damage and some mold. We emptied the freezer, shined a flashlight behind the drawer inside, and discovered a surprise: There was a huge block of ice keeping the freezer drawer from from closing! Apparently, the block had become so large that the improperly-closing drawer was allowing the ice to slowly melt, even while it still accumulated. We didn’t want to turn off the freezer, because then all of that ice would melt and make a bigger mess, so we emptied the freezer, left it turned on, put the food in our basement freezer, and called a repairman.
The repairman wasn’t surprised at what he found when he removed the freezer drawer. In fact, he said this is a recurring problem he sees with this style of refrigerator (just about the only style you can buy right now). Simply opening the freezer drawer, he told us, allows moisture from the air to enter the freezer. The unit is designed to evaporate that small amount of humidity and, to avoid the problem we had, there is an alarm on the freezer drawer to indicate if it is not completely closed; however, the alarm is not triggered if the drawer is nearly completely closed, resulting in an ice build-up.
The problem was easily remedied. The repairman whacked the ice block with the rounded head of a large screwdriver, breaking the ice into removable chunks. Then he poured hot water down a drain at the back of the freezer until it ran through freely. Problem resolved; bill paid; we re-stocked the freezer, and we vowed to always double-check the freezer drawer to make sure it’s completely (not 99 percent) closed.
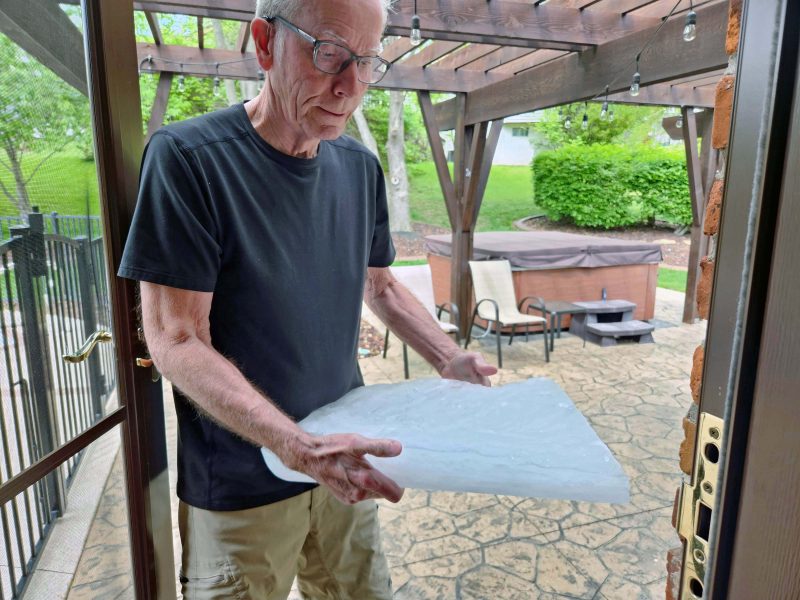
Here’s Ted, taking one of the ice chunks out to melt in the April sun.
Mid-June
The day after the refrigerator repairman left, we called the company that refinished our hardwood floor and asked if they could repair an area the size of the refrigerator. It’s not that anyone would see the damaged wood under the refrigerator, but we didn’t want to leave the mold in the wood, even if it was out of sight. No problem; the floor company could do that. Before repairing the damage, however, they needed to be sure that the wood was dry. If it was damp, the repaired surface would be damaged by moisture trapped in the wood, requiring another repair. To assure that the wood was sufficiently dry, Daniel, one of their employees, came to the house regularly to check the floor with a wood moisture meter in order to verify if it was dry enough to repair. To speed up the drying process, Daniel suggested we direct some fans at the area and run them 24/7. Drying the wood took eight weeks!
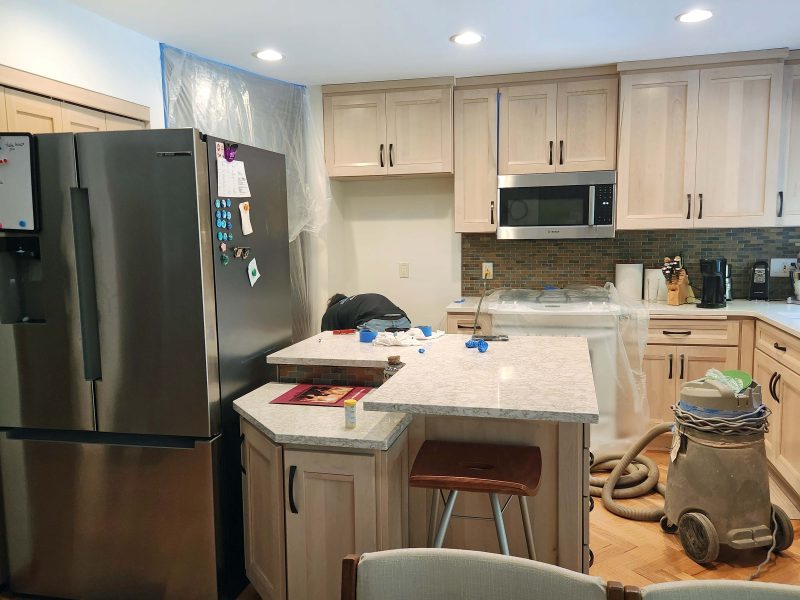
When the workers (finally) arrived in June, they marked off the area they’d work on, re-sanded the floor we’d had sanded in September, re-stained it, and applied the finish coat.
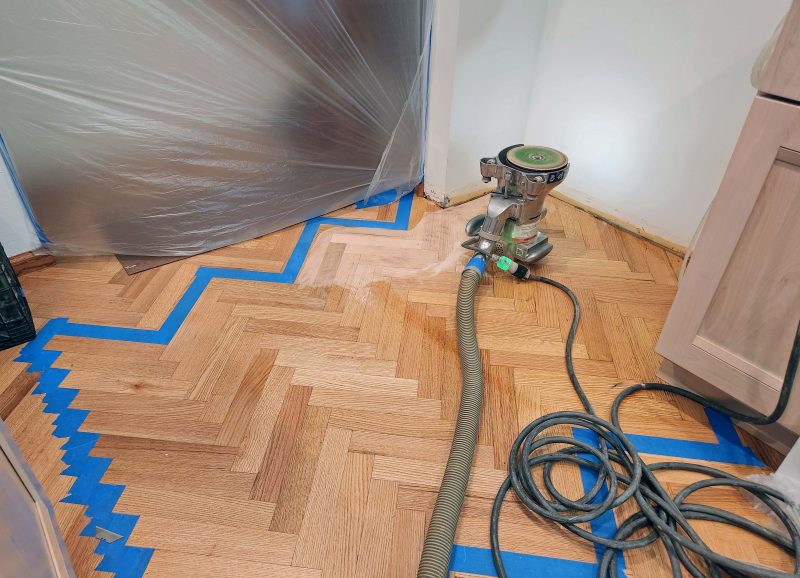
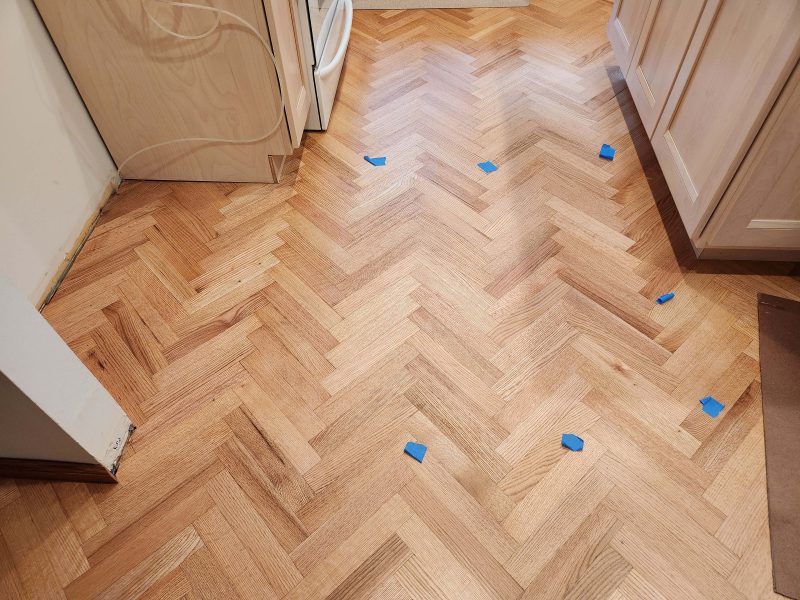
Unfortunately, Ted and I were very disappointed with their end result. The re-finished area was rough instead of smooth, and the color and finish coat did not exactly match the rest of the floor, making the repaired area obvious. Considering what a beautiful job the original crew did on our floor, we were surprised and politely expressed our feelings to the owner. Daniel came back, examined the work, and agreed it needed a touch-up at the company’s expense. This time, we asked for Steven and Riley, the two men who had re-finished our floor in September 2025 to do the work. They are in high demand, so we had to wait for them to have time on their schedule–something we were willing to do.
While we were waiting for Steven and Riley to come, we noticed that some of the boards in the floor of the hallway beside the refrigerator were beginning to cup. Ted and I thought that must be water damage, but we couldn’t imagine what was causing it. We pulled out the refrigerator and discovered that, when the repair crew repositioned the refrigerator, they did not tightly fasten the connection to the water line for the water dispenser/icemaker. The joint was dripping at a rate of one drop every three seconds (I timed it). That’s a lot of water over several weeks! We went to the basement to see if any water had come through the floor. Yikes! Not only was the subflooring soaking wet, but there was a puddle on top of the furnace that was dripping down to the floor! Why didn’t we notice that?–because we don’t regularly check the top of our furnace for water leaks. (Do you?)
Further conversation with the boss revealed that the senior man of the crew who’d done the work had been experiencing a variety of personal challenges and had been fired. Because he was so competent at his job, the boss told him they would definitely consider re-hiring him after he got his life back in order, but they couldn’t afford to have him doing less than the high-quality work they expect. I guess ours wasn’t the only job the company was paying for because of poor workmanship.
Once again, we set up fans in the kitchen and–this time–in the basement too, as well as a de-humidifier in the damaged area of the kitchen, and ran them 24/7. They weren’t loud, but they made a constant white noise-type sound and, after eight previous weeks of fan noise, it was getting old fast. This time, it took 14 weeks to dry out all that water!
Late September
Finally! Daniel said the wood was dry enough to re-finish and Steven and Riley came to do the job. We have some leftover pieces of flooring that they thought they might need for the cupped area. I was curious how they were going to remove and replace tongue-in-groove 12-inch pieces, but I didn’t have a chance to find out because Steven decided they could sand it well enough to avoid replacing individual pieces. Here are some pictures of the cupping that resulted from water seeping under the wall.
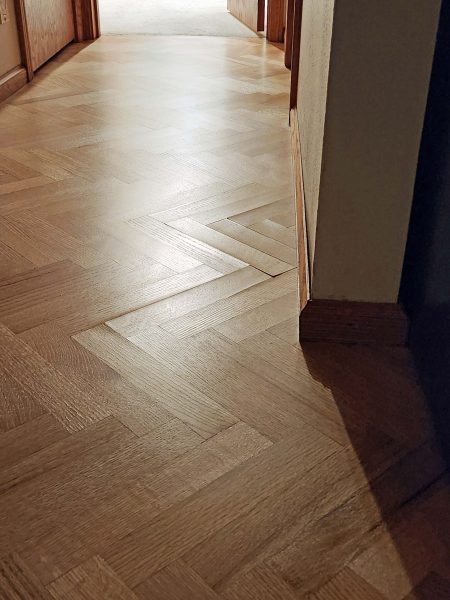
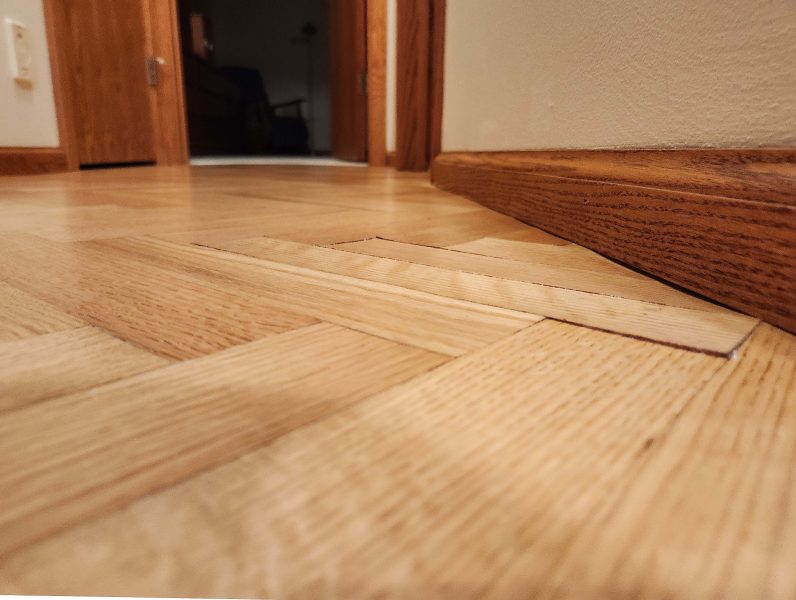
The guys got to work and repeated the process: mark off the boards to be treated, sand, stain, and finish. Because the water damage extended into the hallway, the work area was about twice as large as the original repair area.
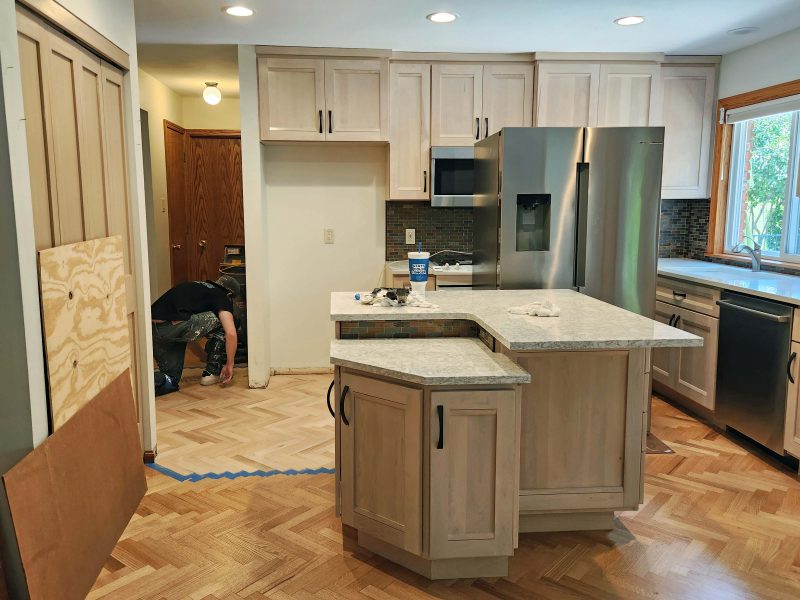
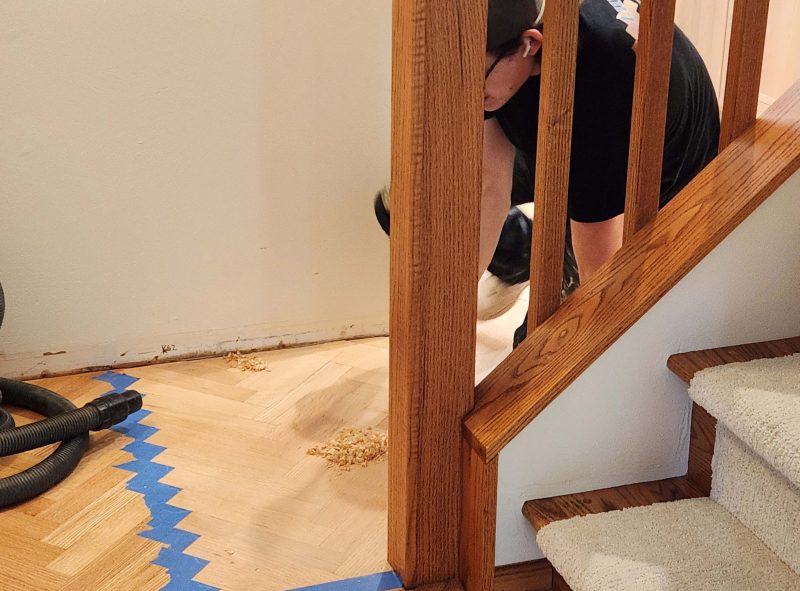
Steven and Riley did a beautiful job and the color matched perfectly. The finish was less shiny, but it was still easy to identify the repaired area. Steven said the shine would eventually wear down to match the rest of the floor, but Ted and I weren’t convinced. If that was true, wouldn’t the areas with traffic (adjacent to the walls, under the hutch, etc.) be a little shinier than the high-traffic areas? We opted to have a coat of finish put over the entire floor so the shine would be even. It was a simple process that only took about an hour–less time than it took us to clear the floor and put things (table chairs, hutch, etc.) in another room.
After 6 months, 8 visits from Daniel, and 18 working days–plus Ted and me moving things out of the way and putting them back 3 times, our kitchen floor finally looks as nice as it did in March, before the refrigerator got ornery.