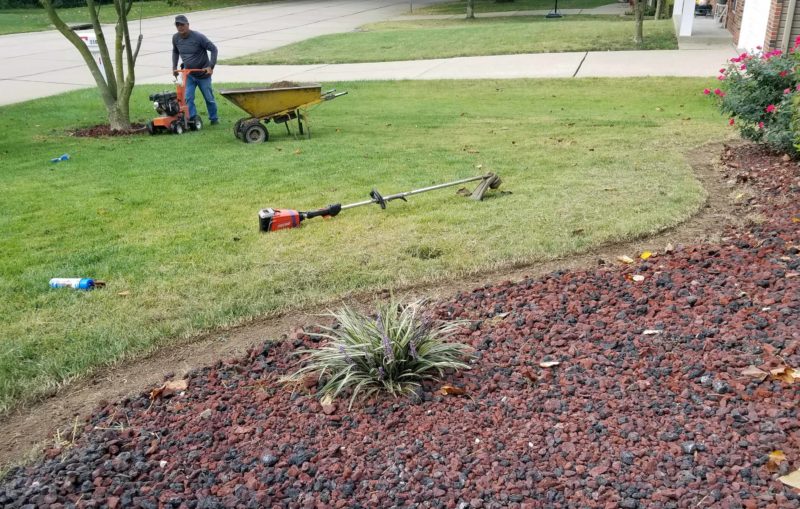
Last summer, as we biked and biked and biked through the neighboring subdivisions, Ted and I noticed that quite a few homes have planting borders by Curb Appeal. We talked to some of the homeowners and they were all very pleased with the work they had done. In spring, we went to Curb Appeal, made our selections, and signed a contract to have the work done. John, the manager, said they would schedule us when our concrete work was completed because the curbs butt up to the concrete edges in some places and it’s easier to do them last. The concrete work wasn’t finished until September 23, so Curb Appeal scheduled us for the prep work October 1 and installation the following week. It was an interesting process to watch.
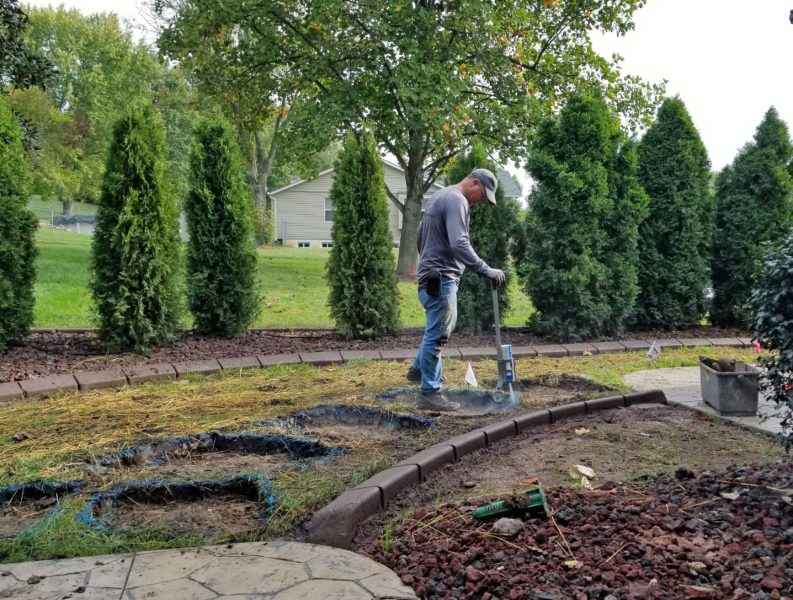
Prepping meant cutting away the sod where the curbs would be laid.
HOW TO LAY CURBING
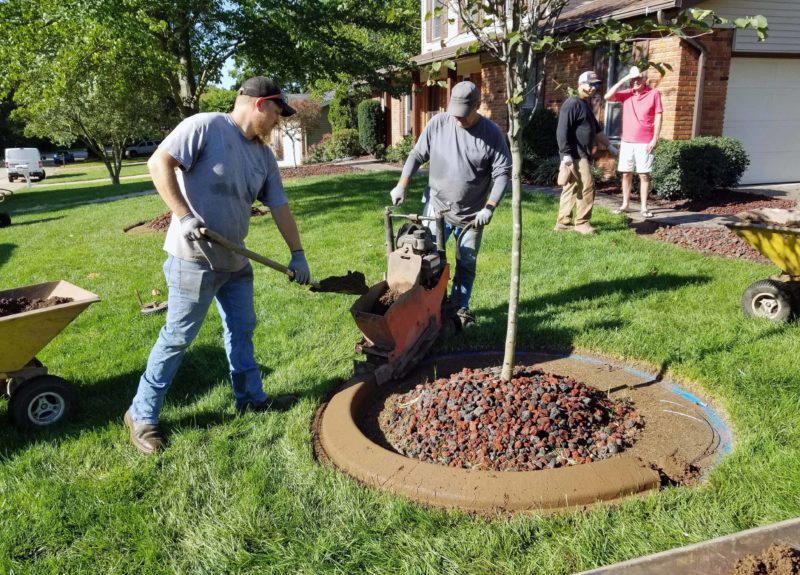
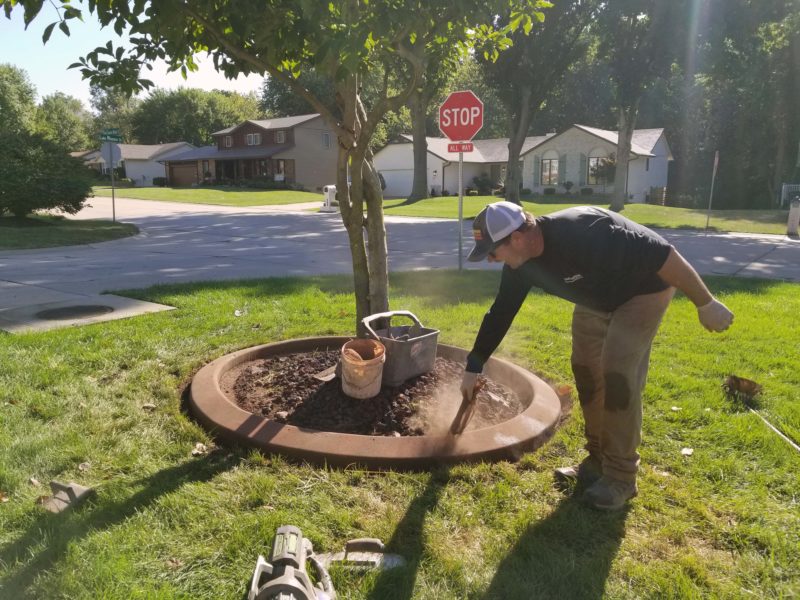
There’s a machine in one of the trucks that mixes the concrete blend. Then it gets dumped into the yellow wheelbarrows you can see in the photo below and taken to where it’s needed. Those wheelbarrows have a little motor (you can see it on the wheelbarrow in the photo above) that is engaged by a lever on the handle. I bet that makes it a lot easier to haul concrete around! One guy shovels the mix into the curbing machine (below) and the machine operator (John) works backward as the machine releases and forms the curbing. The machine also lays two lines of rebar within the curbing as it moves.
After the curbing is laid, the finishing guy smooths it out and gently sweeps off the scraps.
The next step is to cover the curbing with release.
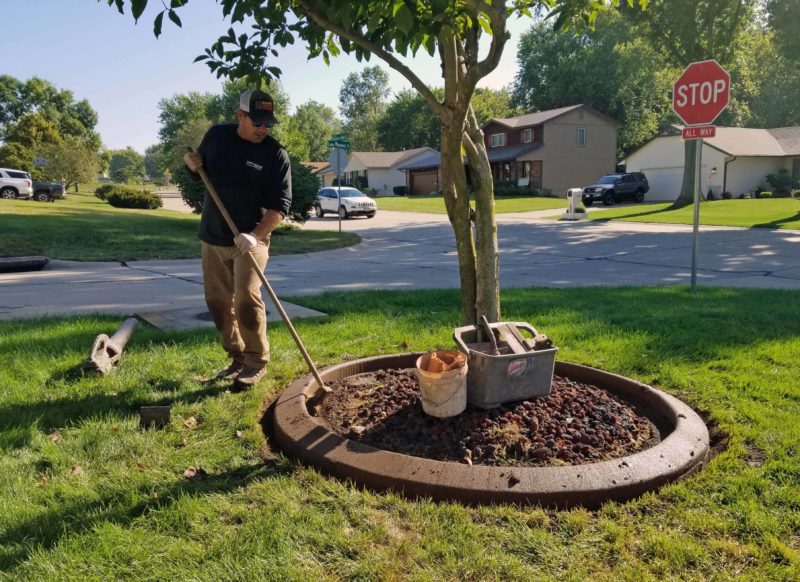
Then the finishing guy takes a roller with a pattern on it and rolls it over the curbing, first in one direction, then in the opposite direction, to create a pattern on the finished curb.
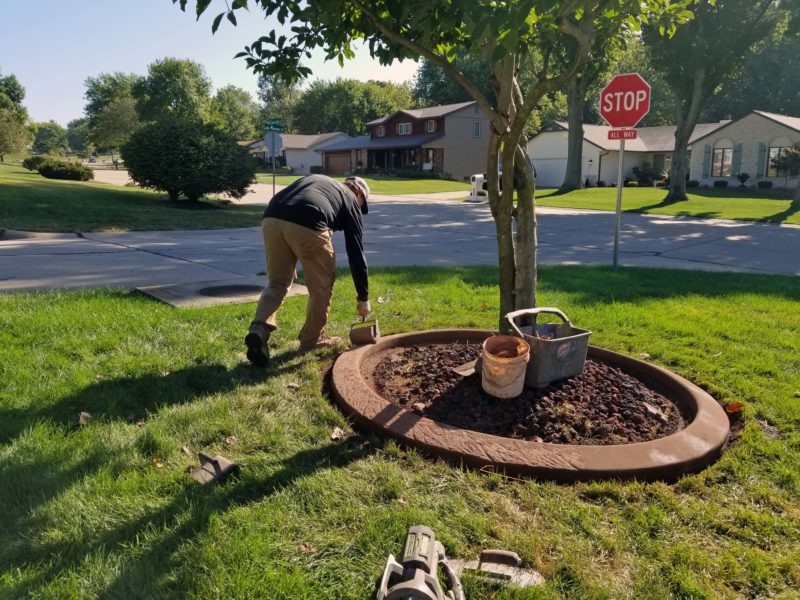
The expansion joints are cut about two inches deep on three sides–front, top, and inside edges.
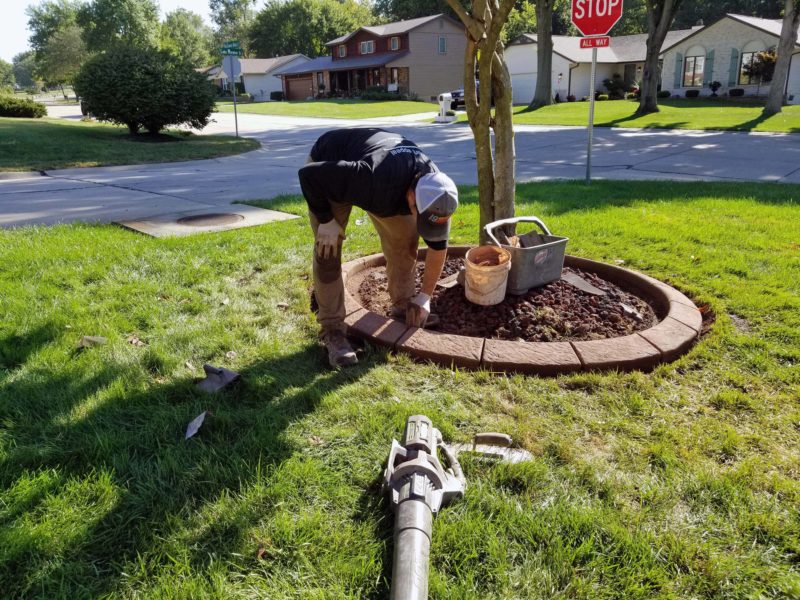
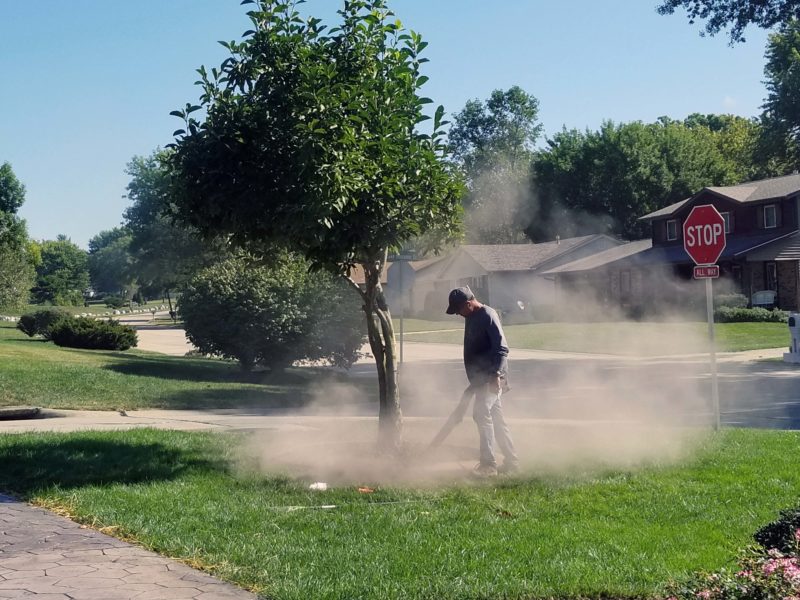
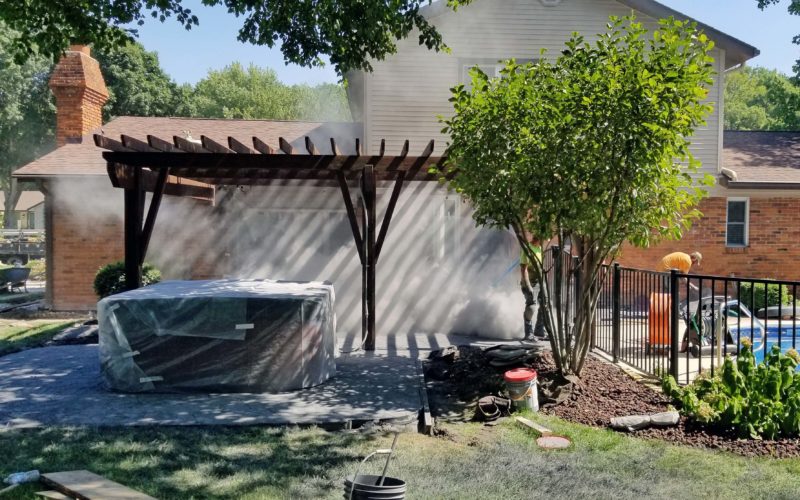
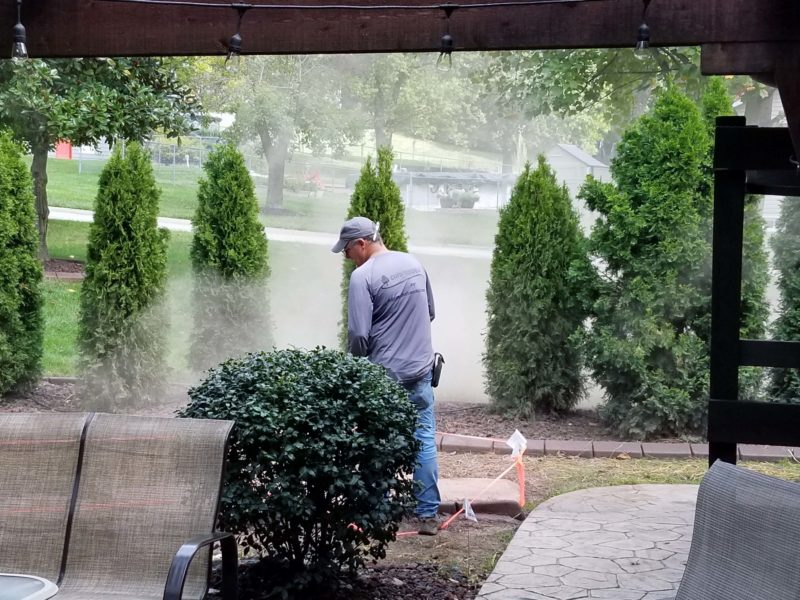
Then the excess release is blown off. This mess isn’t bad at all. Check the following picture to see how much dust the concrete crew raised.
The guys did a nice clean-up job, raking the lawn and picking up the stray crumbs of concrete from inside the curbing as well.
The final step is to spray a sealant on the curbing and to tape off the area to avoid anyone stepping on it while it dries.
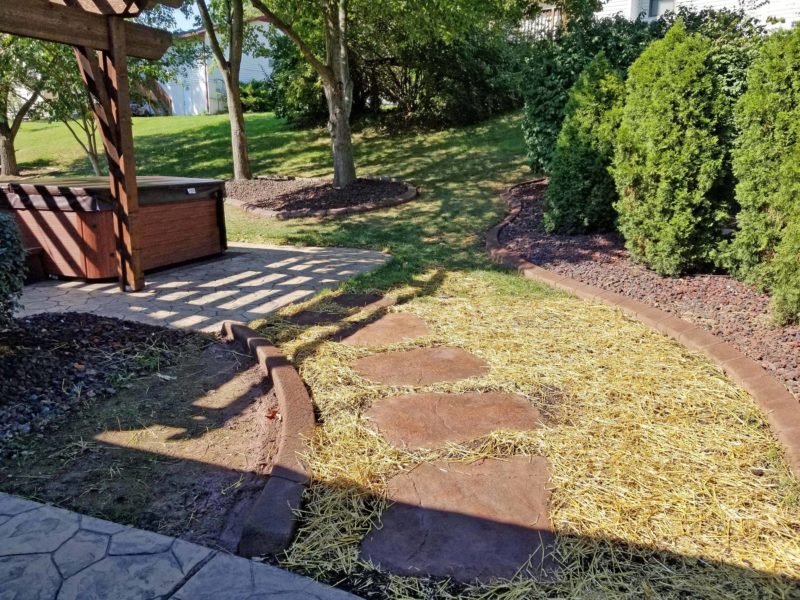
HOW TO LAY STEPPING STONES
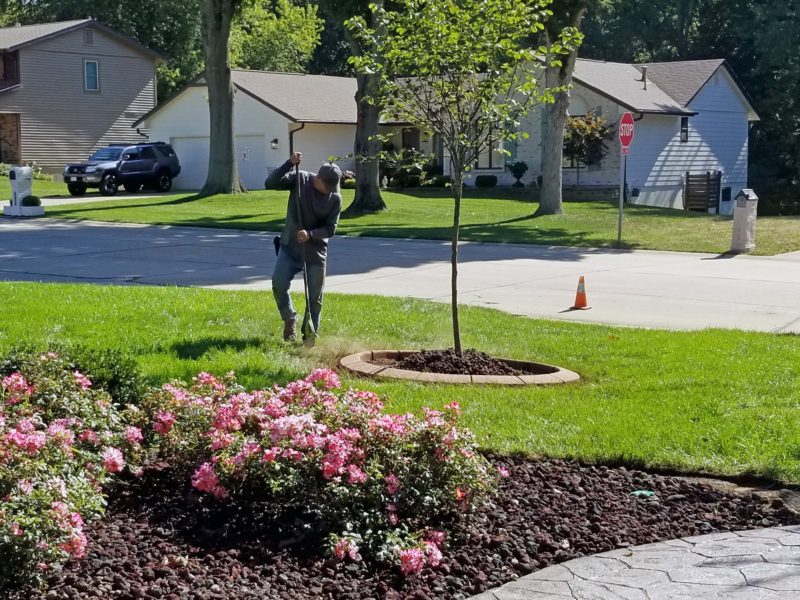
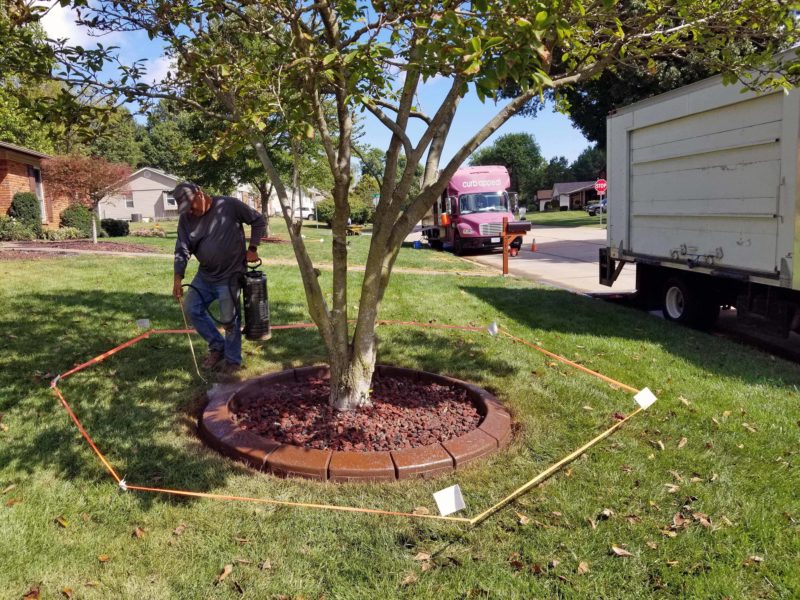
When John was here for his final check before beginning the prep work, I mentioned that we didn’t realize we needed a sidewalk from the hot tub to the existing sidewalk at the house until the concrete job was finished and we walked around the hot tub. We can go around the hot tub, a pergola post, and the patio furniture (four turns) to reach the existing sidewalk, but a direct route toward the driveway/garage (no turns) would be much nicer. John said they also lay stepping stones. We checked out his displays and decided that would be even nicer than a regular sidewalk, so John marked where the stones would be placed.
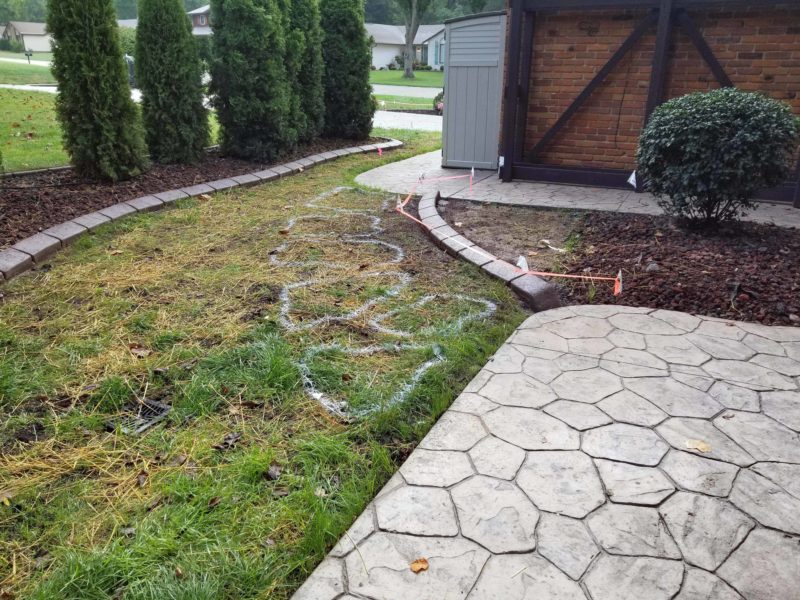
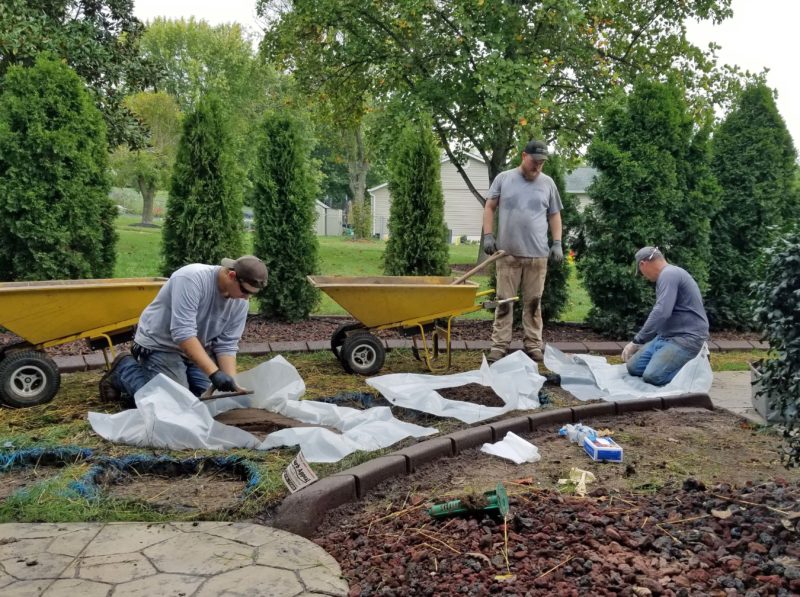
To keep the stones at ground level, the ground had to be dug out along the lines John marked. Then he re-marked the edges for a reason unknown to me.
John (right) and Trevor (left) placed heavy-duty plastic in each hole where a stone would be poured. Then the guy in the center brought the motorized wheelbarrows over and shoveled the concrete mix onto the plastic in the holes. John and Trevor moved the concrete around to fill the holes completely and flattened the tops to ground level.
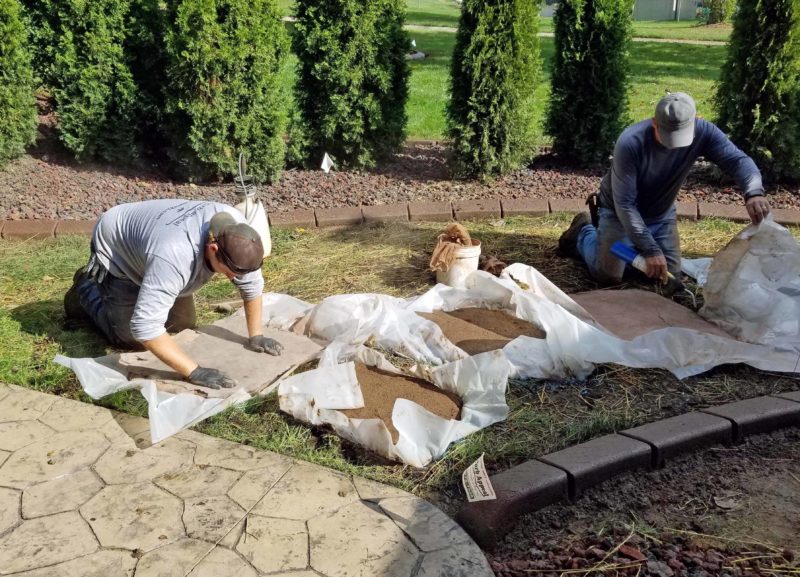
Trevor sprinkled release on the stones and then pressed a stamp on each one to give it a stone-like texture. When he finished, John used a little blow-torch to melt the excess plastic away from the edges of the stones. I guess, in theory, we could dig down a few inches and lift the stones out of their plastic beds.
Of course, the excess release had to be blown away. Of course, we had to clean the excess dust off the surrounding concrete, furniture, etc. It wasn’t nearly as awful as the clean-up after the concrete work.
Just like the curbing, the last step was to spray sealant on the stones and to tape off the area.

We really like the results and have been getting a lot of compliments from passers-by on how nice the concrete and the curbing look.

This area (curbing around the trees in the left center and around the arbor vitae hedge on the right) looks even nicer now because the grass has come in and the stepping stones are surrounded by green. They provide a great shortcut from the storage shed and the hot tub to the driveway and the garage. That’s one more home improvement job checked off the list.