When I bought my sewing machine (December 2016), I also bought some fabric to make a cover for it. Do I have a cover for my machine? Of course I do–a matching custom-fitted carrying case came with the machine–but when I’m working on a project and want to leave my machine out for a few days or weeks, I want a simple dust cover to drop over it. I decided the time has come to dig out that four-year-old piece of fabric and make my dust cover. After mulling over ideas for a few days, I searched online for patterns and designs.
I couldn’t find anything closer to a pattern than “how to measure your sewing machine,” so I had to be a bit more creative than I’d planned. Not that sewing a basic box to fit over my sewing machine is that complicated. There were serious (?) decisions to be made, however, such as whether to make the long piece fit over the top of the machine from side to side or from front to back (I chose front to back) and how to make the finished product a little more exciting than a blah fabric box.
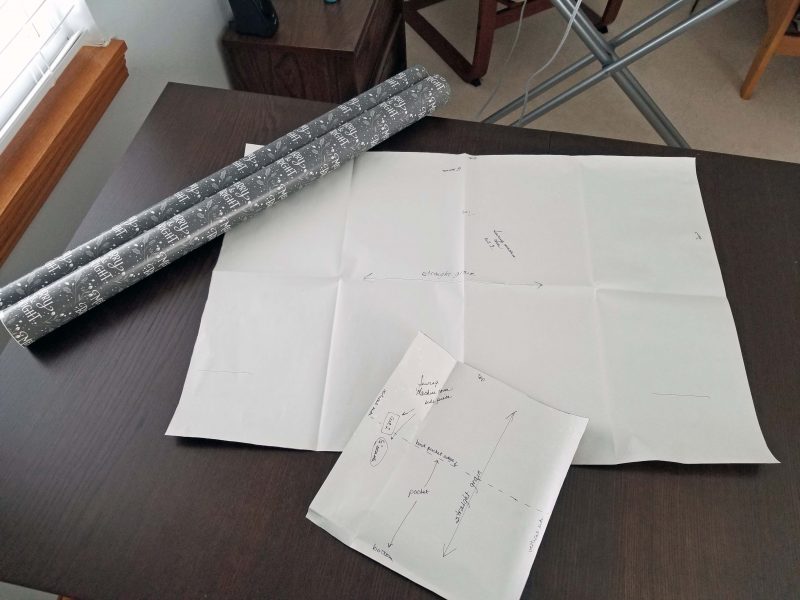
Ok, we are go to sew. I measured my sewing machine as directed and created a pattern (a large rectangle and a small rectangle–woo-ee!). I even remembered to add seam allowances, and I measured generously for the hem on the theory that it’s easier to cut an inch off than to add an inch if it’s too short. I didn’t have paper large enough for my over-the-top piece, so I used a roll of Christmas gift wrap that I don’t like.
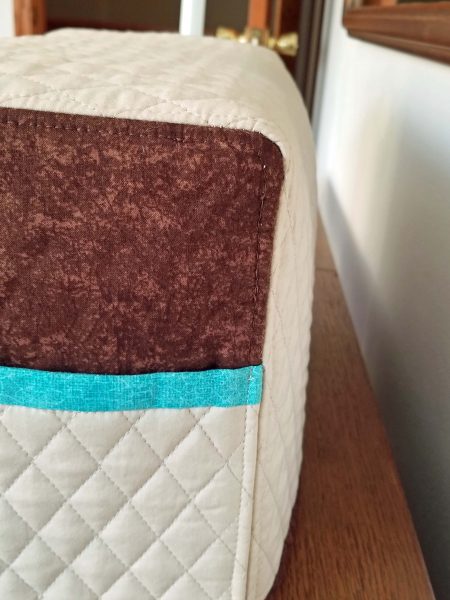
Pockets or not? Because I keep all of my sewing tools in the drawers of my sewing machine cabinet, I doubt if I’ll ever need pockets on my dust cover to keep my tools handy. On the other hand, I can make the pockets decorative and–who knows?–maybe someday I’ll wish I had them. It’s easier to include them now than to add them later. I added contrasting fabric above the pockets and bound the top edges of the pockets with colorful bias tape to give my cover a little pizzaz. I decided to divide one side pocket into two smaller pockets for smaller tools, just in case I ever want to store them above my cabinet.
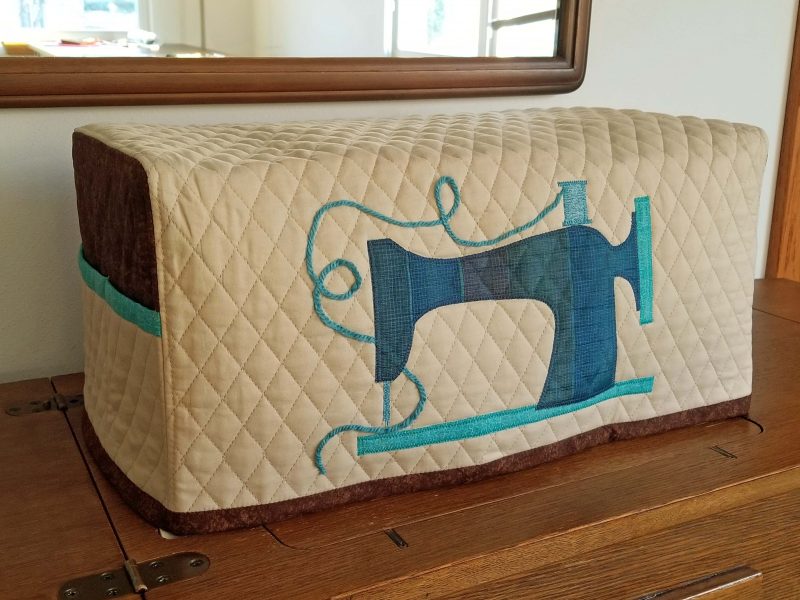
My fabric is plain, so how will I liven up that large rectangle? In what colors? I decided to appliqué the silhouette of an old-fashioned sewing machine to the front of the cover. I had to do another internet search for an old-fashioned sewing machine image that was “straight-on” so I could graph it to the size I needed for my appliqué. Then I pinned the appliqué in place to see if I liked it. I did.
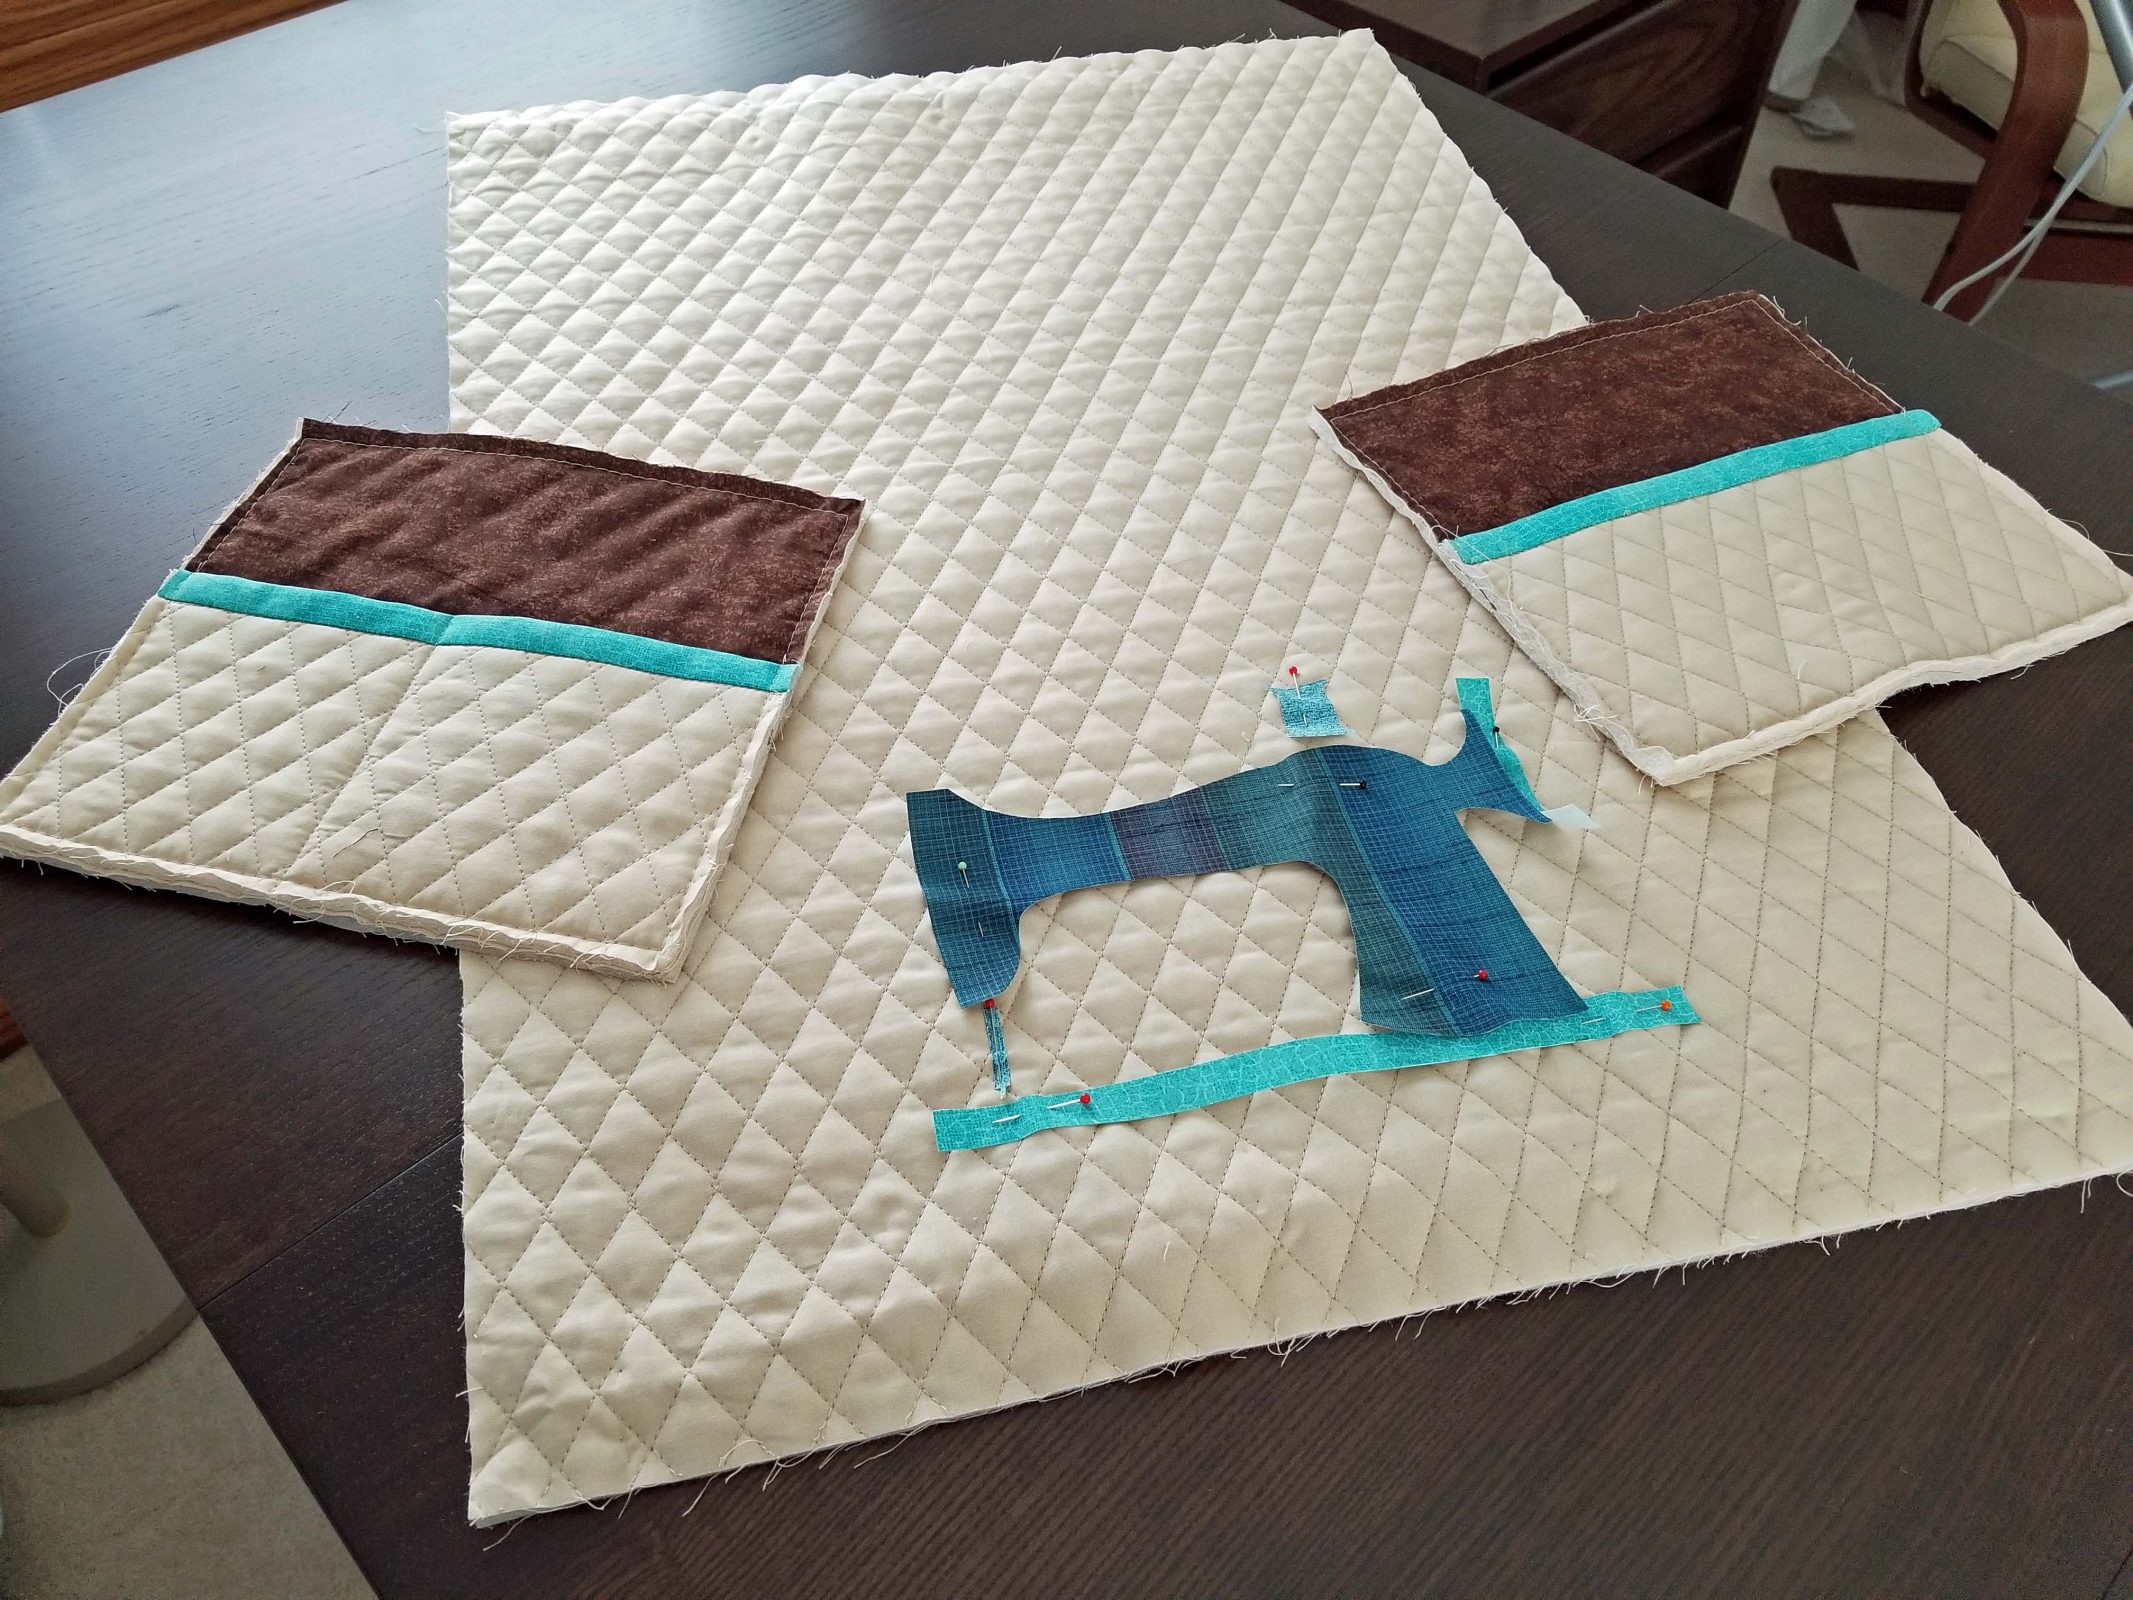
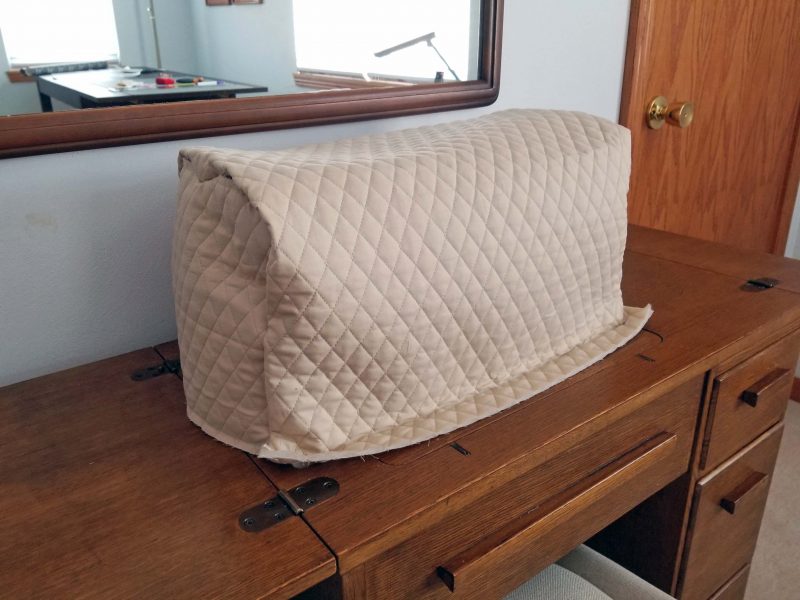
I pinned the three pieces together to make sure they were the right size. There’s that extra inch I added at the bottom. I’ll cut it off after the second fitting session when the pieces are actually sewn together.
That looks good. I had loads of fun (hah!) sewing those tight rounded corners at the tops of the pocket pieces. Clipping and notching was needed big-time.
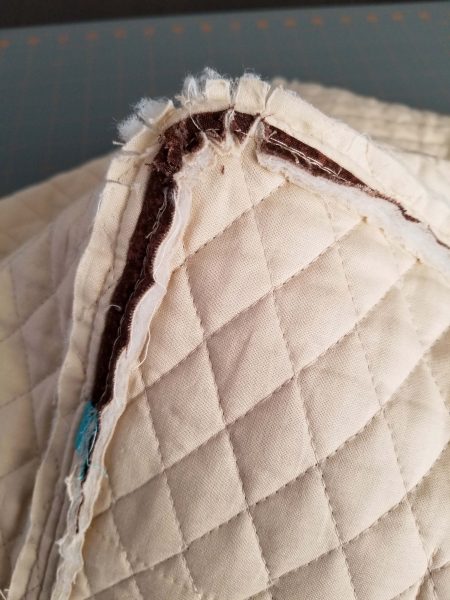
To keep the seams flat on multiple layers of quilted fabric, I edge-stitched on each side of the seams.
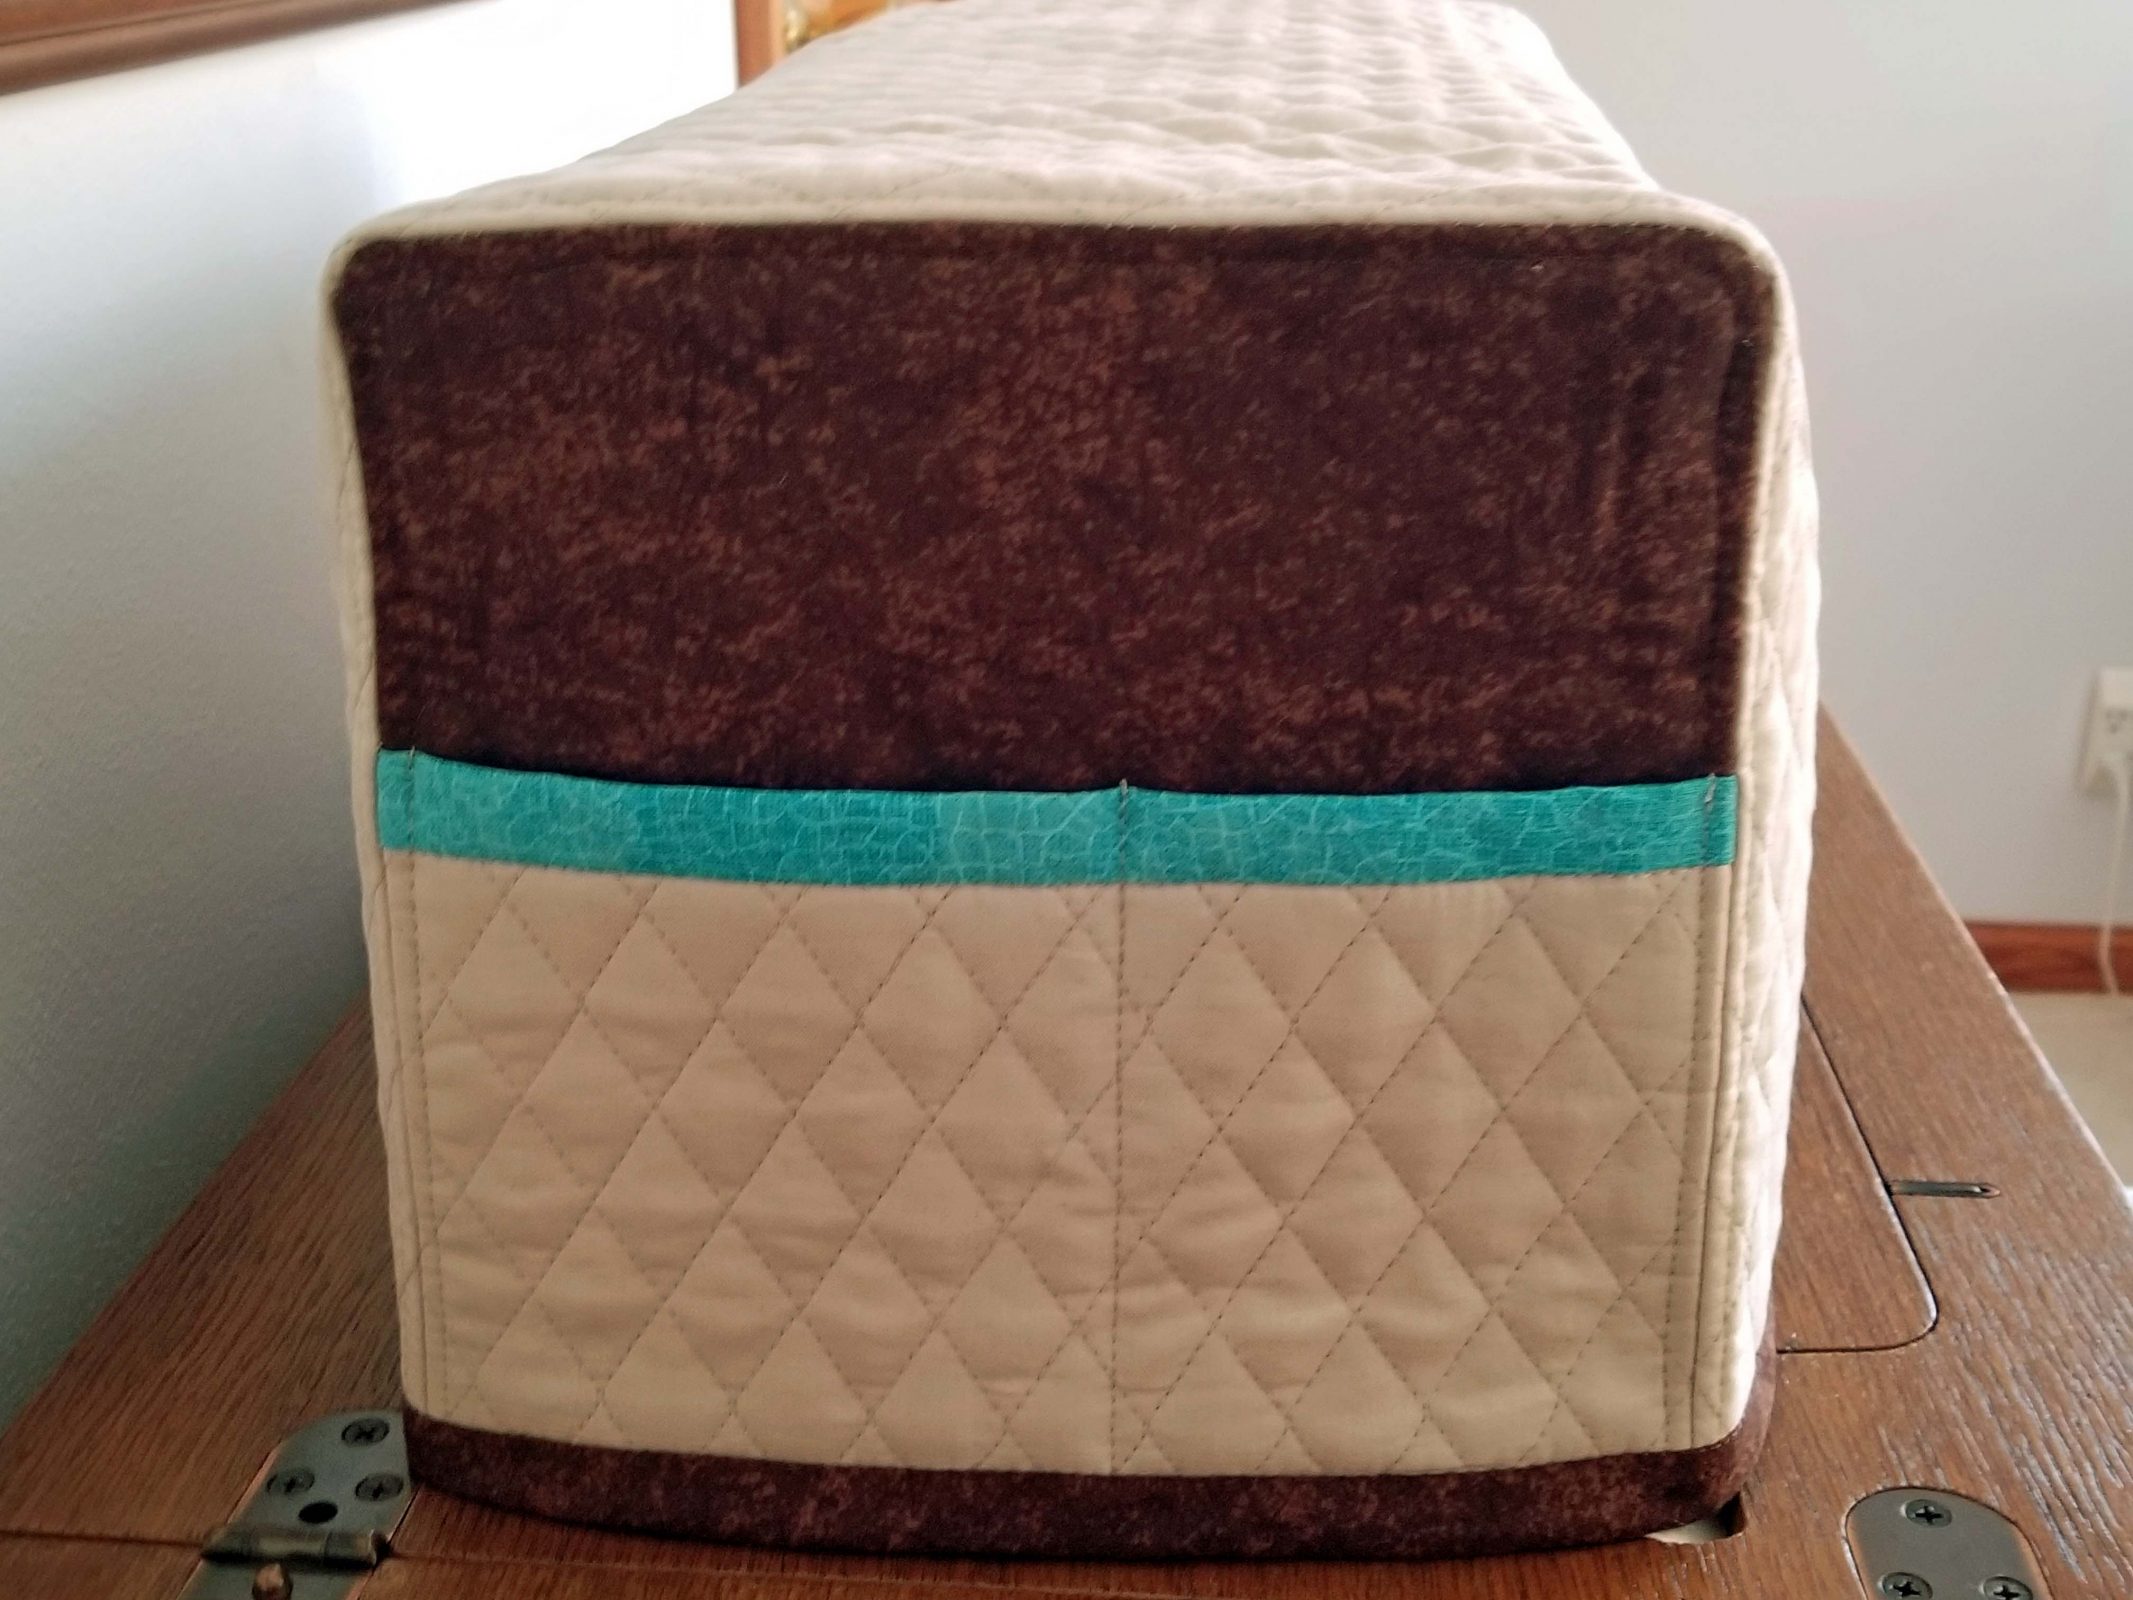
Then I cut the cover to the length I needed and decorated the bottom edge with bias tape made from the same fabric as my pocket tops. Last, I ironed the appliqué in place and attached it with a zigzag stitch. HeatnBond can’t be beat for appliqués. (That was hard to type. It should be Heat ‘n’ Bond. Yeah, grammar nerd here.) I added a piece of yarn “thread” for a whimsical effect. Voilà! I like it!