Ted and I checked off our final major home project of 2020 last week with the installation of seven replacement windows. We think our basement windows are at least 35 years old, and the seals have been broken for several years. We didn’t worry too much about them because–hey!–it’s the basement. But when the 20-year-old seals on the three kitchen bay windows began to loosen, we decided it’s time to replace windows.
Our family room window wall is an Anderson window. It’s 35 years old and still going strong, so we went with Replacement by Anderson for these windows. They are so precisely custom-made that a specific employee came to the house to take measurements and to verify that our bay window was properly hung from the header by cables so it wouldn’t collapse from the weight of the new, heavier windows. If it wasn’t properly built, we would have had to rip out the entire structure and replace it.
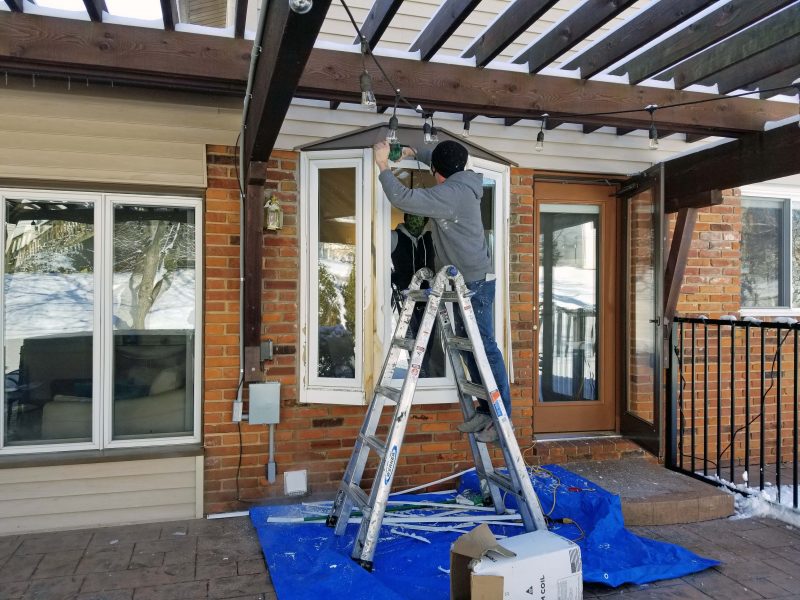
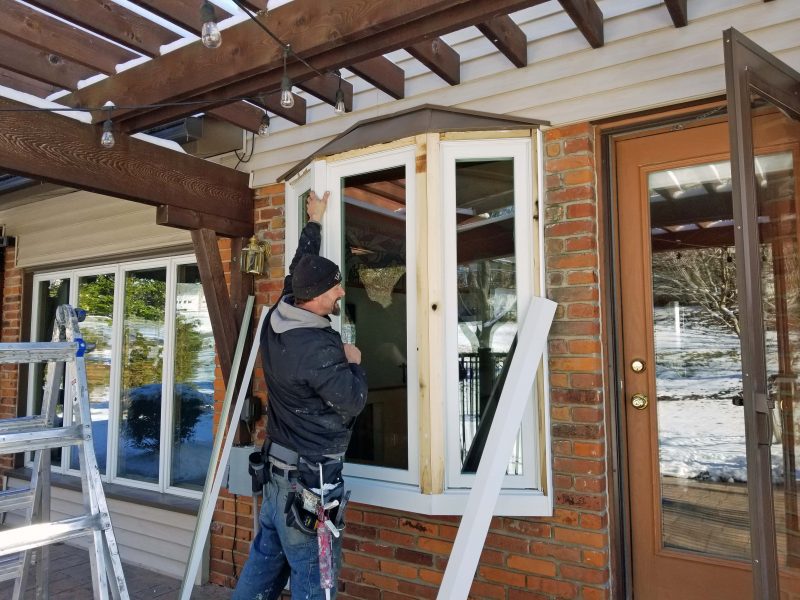
Five-and-a-half months after signing the contract and paying the deposit for the windows, John and Rob came to our house and got to work on the installation. They started with the bigger job: the three bay windows. Here’s how you replace a bay window:
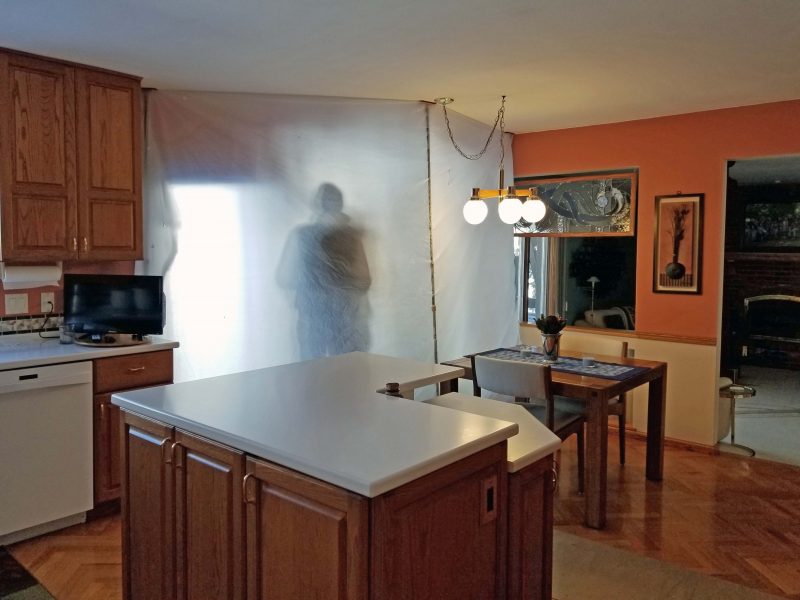
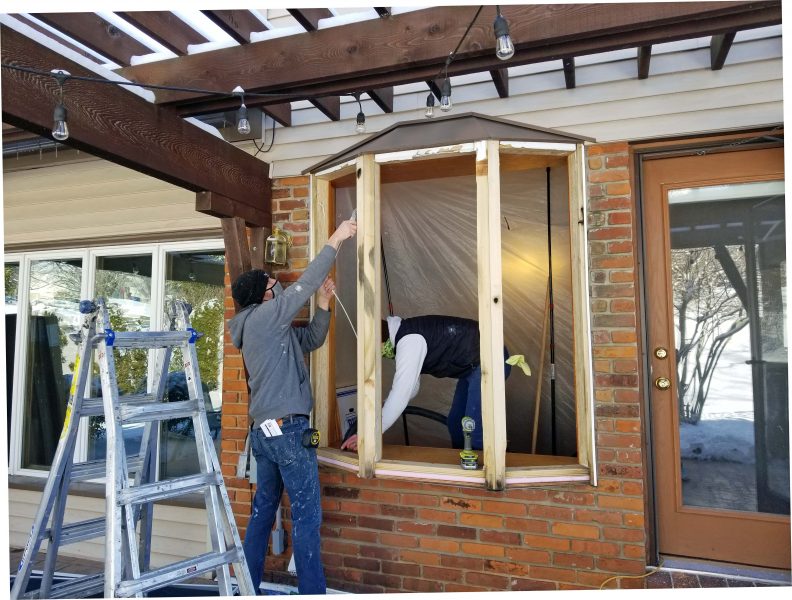
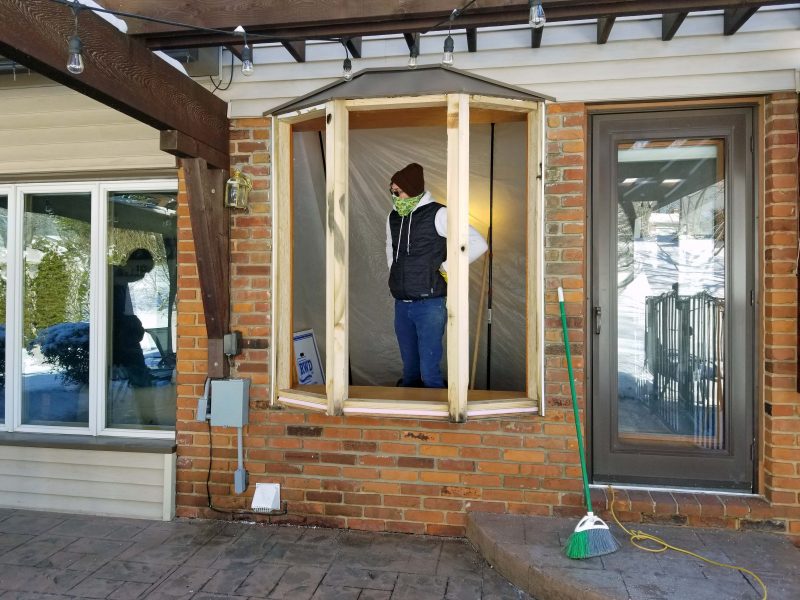
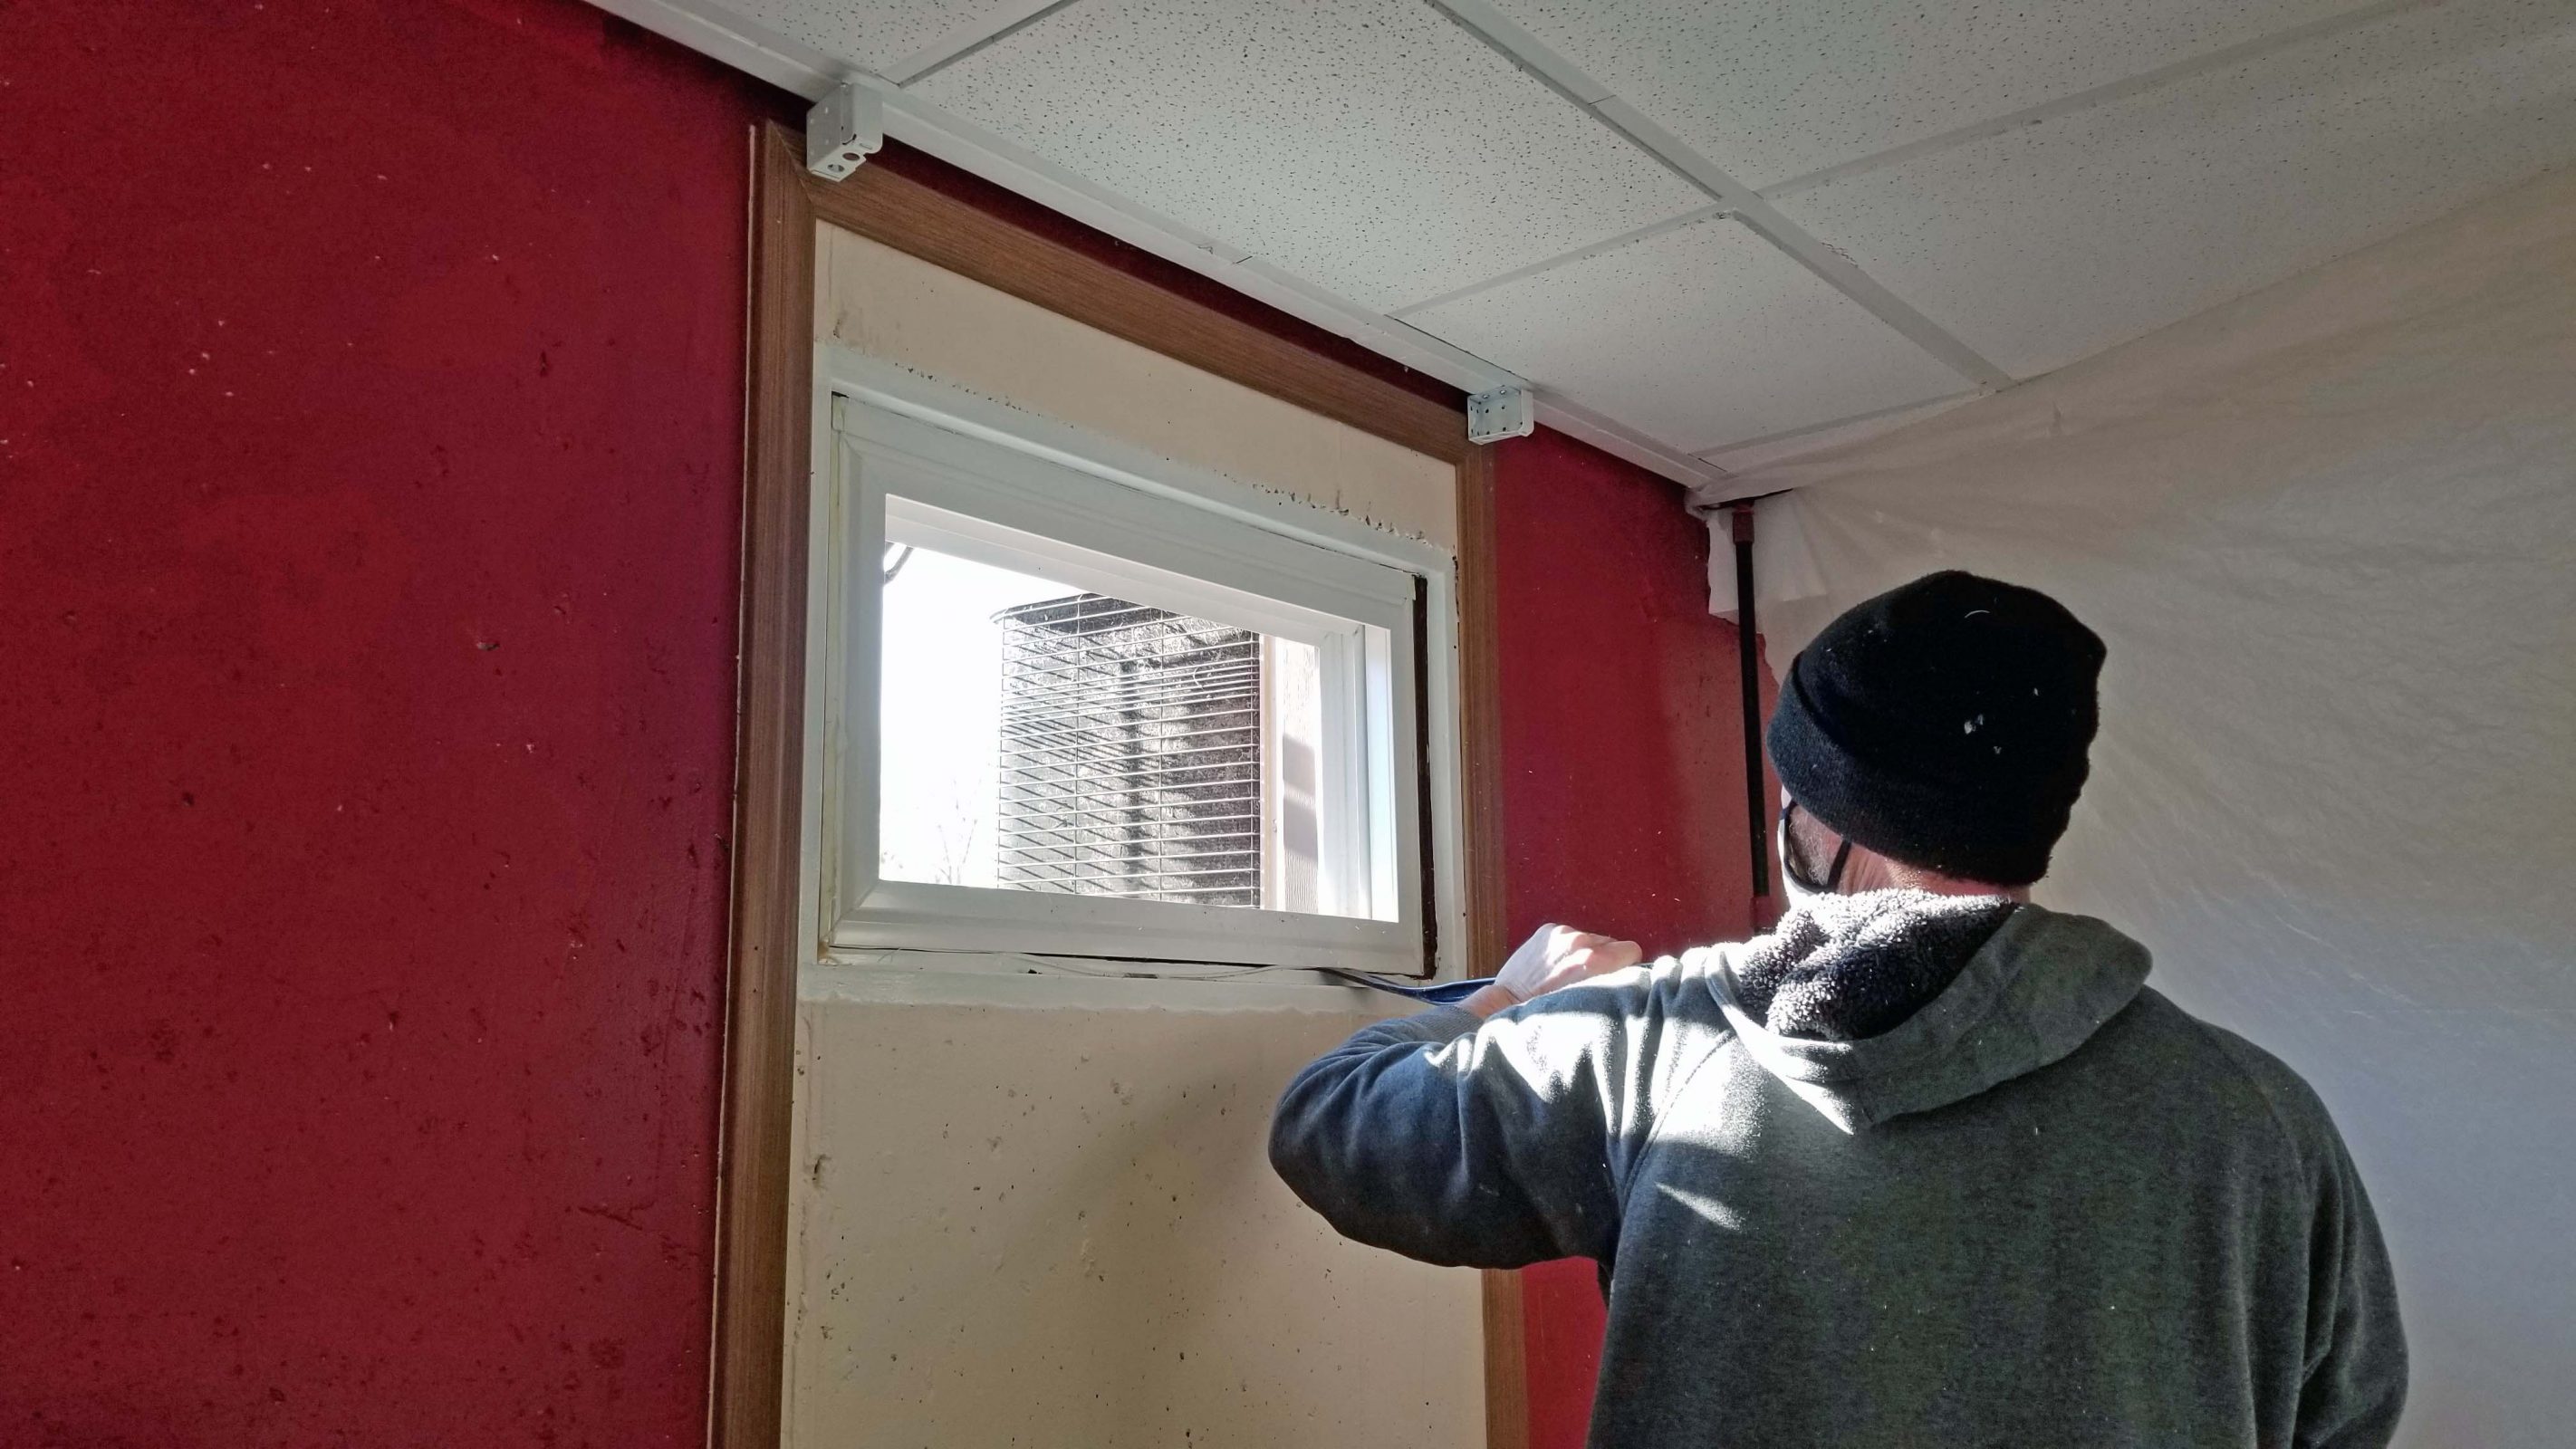
First, you build a little plastic room to use as your work space. John told me this serves several purposes: (1) It provides a measure of safety during the COVID pandemic; (2) it helps contain the construction mess; and (3) it prevents the rest of the house from getting too cold. It was 15 degrees when the guys arrived and when they left, the temperature was just over 30 degrees. You can see Rob inside his plastic work space. Note: It was over 90 degrees on the day we ordered the windows. I’m just sayin’. 2020 and all.
Window removal began with John and his sawzall, cutting around the frame of each window. John was the boss-man of the job, so he did the cutting.
Rob’s job was to direct John to stay in the window lines and not cut the wood trim inside. You can see John’s sawdust on the window seat.
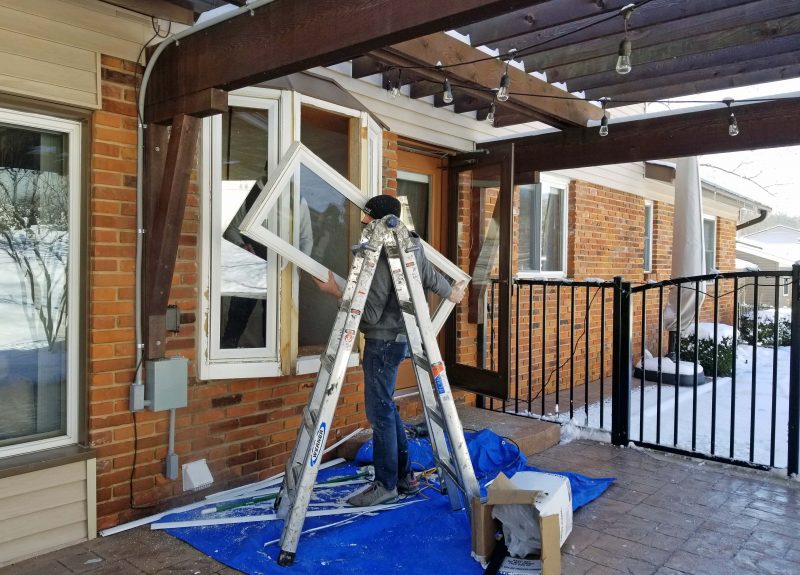
After cutting all the way around, Rob pushed and John pulled to remove the window.
After removing all three windows, the guys got to work and scraped out every tiny bit of old caulk. They even dug in the cracks between pieces of wood to remove caulk. John commented more than once that it was really strong caulk, so I think he had to work harder than usual to remove it.
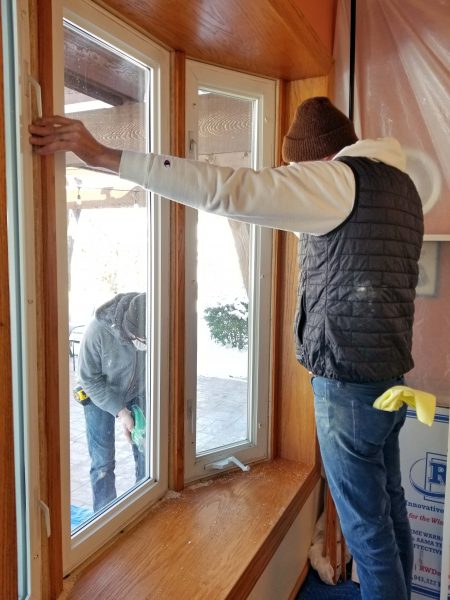
Rob gets a little break while John unpacks a new window. You can see John’s reflection in the family room window.
Before putting the new window in place, John checked all four sides of the wood framing to see if they were level and square. He told me that in the 17 years he’s been installing windows, this is the first time he’s ever seen window frames that were perfectly square and level. Ted and I have always said that the contractor who remodeled our kitchen–including the change from two sash windows to a bay window–did a fantastic job. The structure was not only built for strength, but it was built level and square as well and fastened with caulk that wasn’t meant to let go. You’d think my dad had done the work! (My mom always said that my dad had everything so securely fastened that if a tornado ever picked up our house, it would fly away in a single piece.)
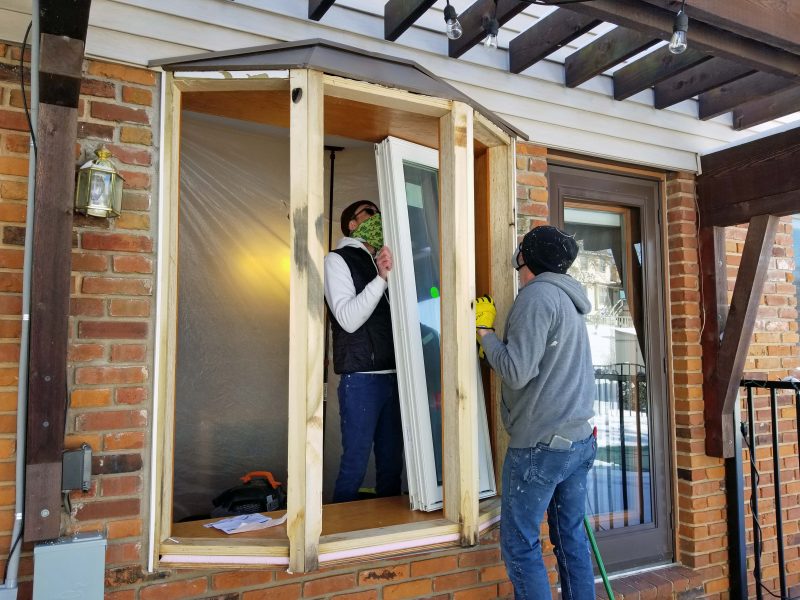
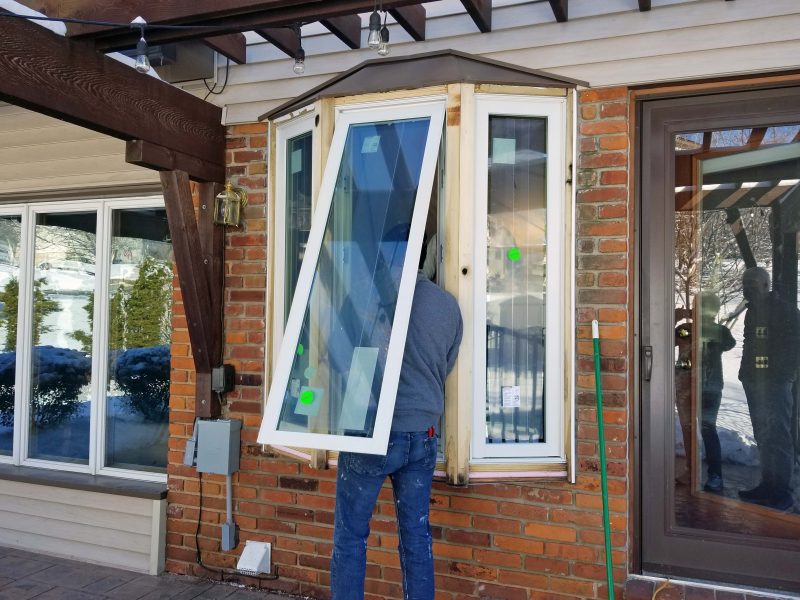
I was watching the guys push the new windows into place and was so impressed by the fit that I called Ted outside to look. I didn’t think he’d be able to imagine such a perfect fit if he didn’t see it for himself. The windows slid exactly into place on all four sides. The guys tapped them with their hands to push them all the way into the frames. Then John measured and measured and measured to make sure all the edges on all four sides of all three windows were properly positioned. If a measurement was off, the guys tapped that part into place and then John measured everything again. This took as long as scraping off all the caulk. Maybe longer.
The side panels open, but the center window is stationary, although it doesn’t look stationary in this photo. It conveniently hangs from the top before it’s fully installed, so John could screw the sides of the window frame into the wood structure. He told me that once he snaps that panel into place, it’s locked forever.
After deconstructing their plastic COVID/work room, Jason and Rob picked up their mess, swept the patio, and vacuumed the kitchen floor. Meanwhile, Jeremy (John’s brother) took over and installed the outside trim pieces around the windows.
John and Rob returned the following morning to do the basement windows. They didn’t have to saw around these windows to remove them (concrete walls, not wood), so the job was easier. It took over six hours to replace the three bay windows, but only about two hours to install the four basement windows.
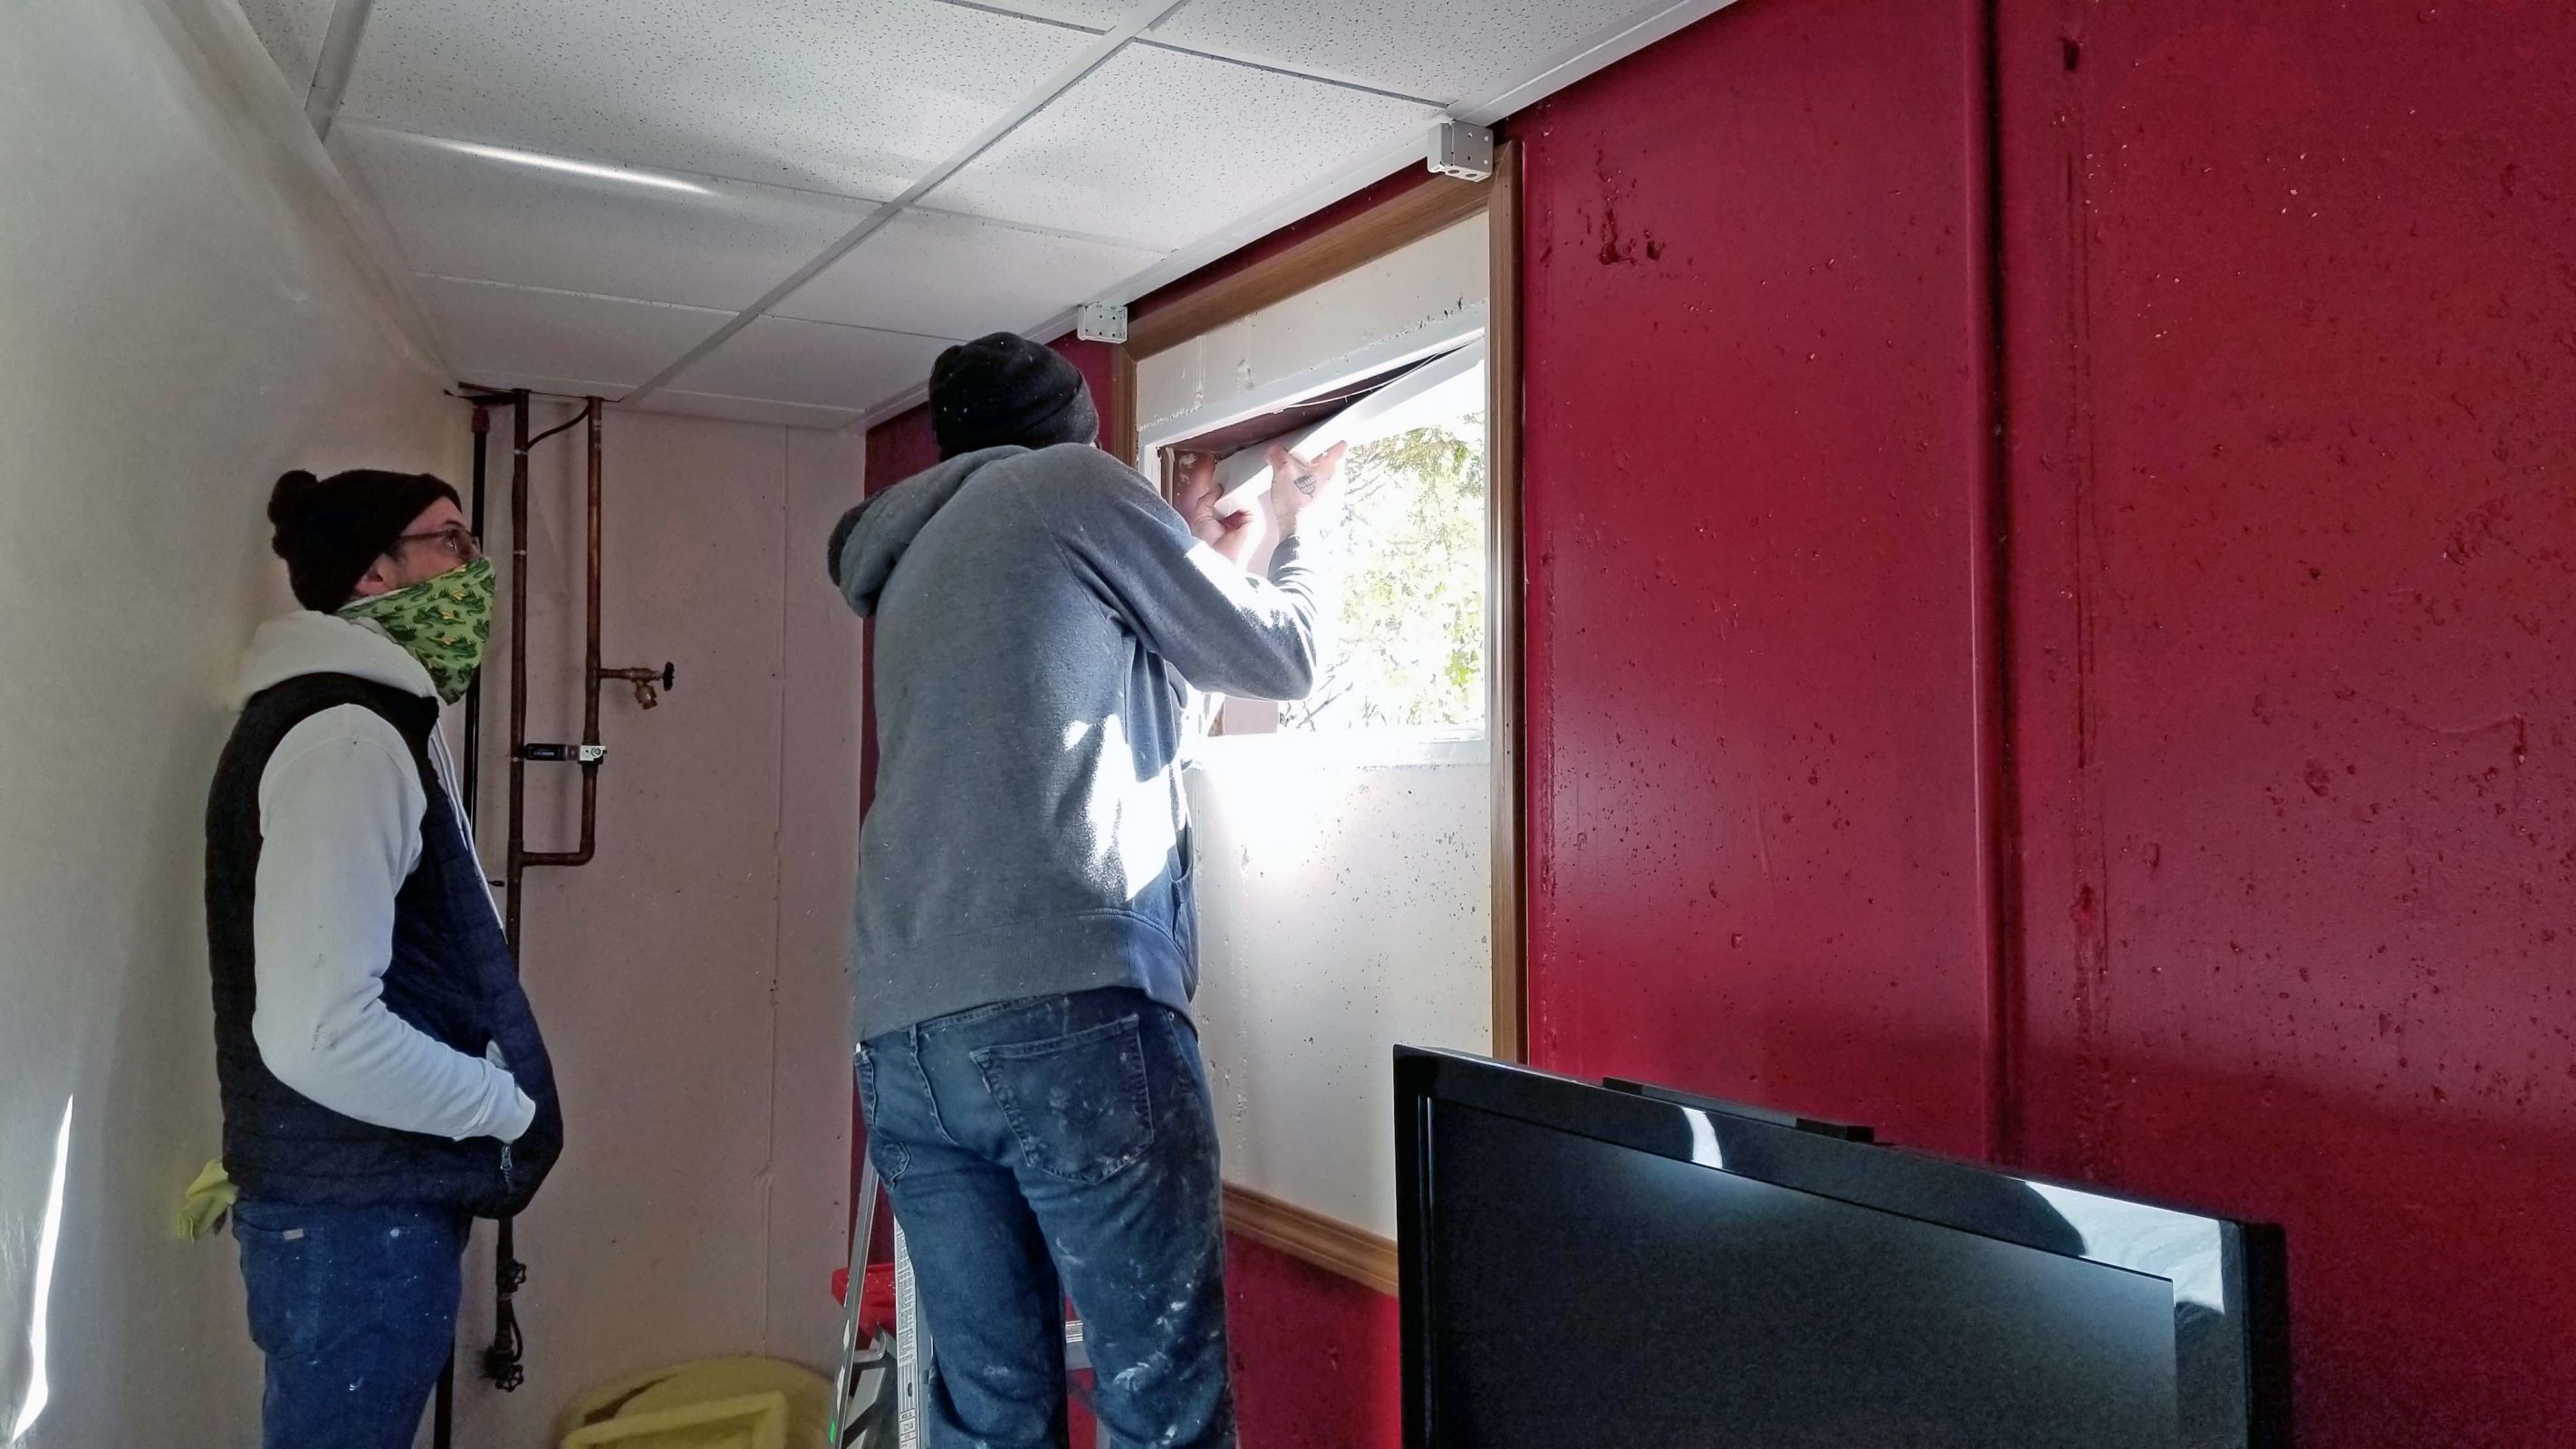
First, the guys built another COVID-safe work area. See the plastic wall behind Rob? Again, John measured and measured the frames, but this time it was before he removed the old windows.
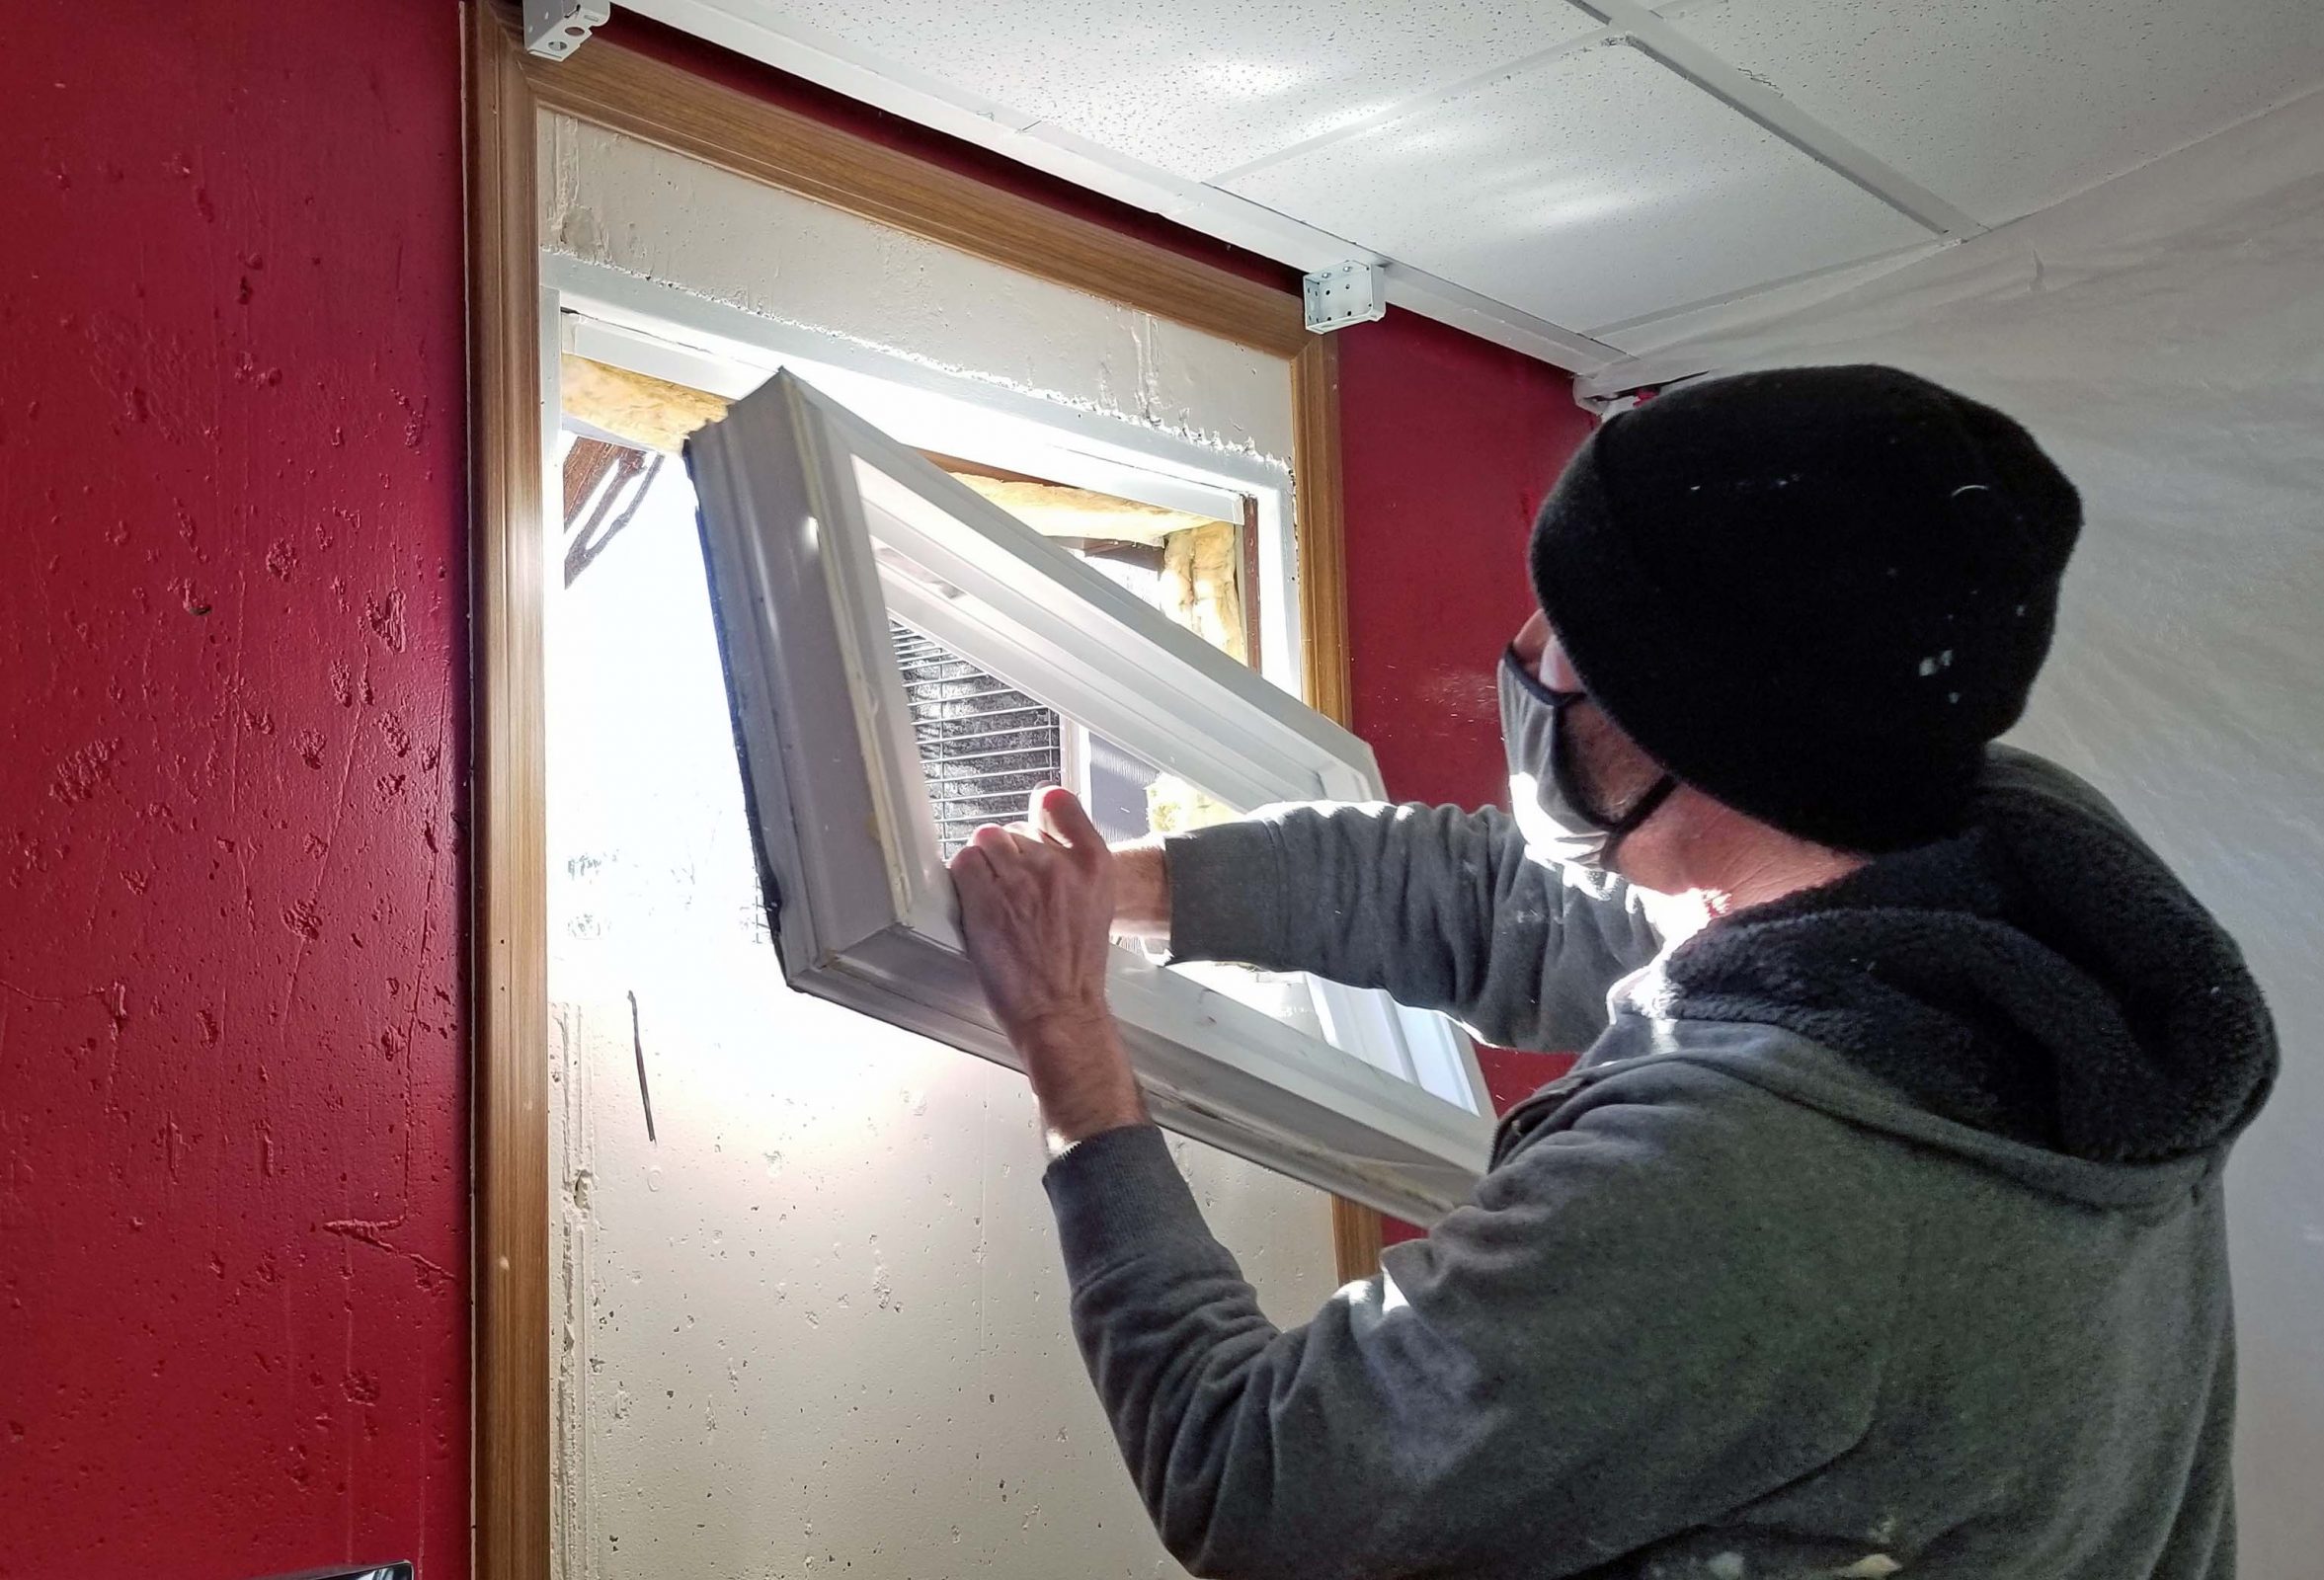
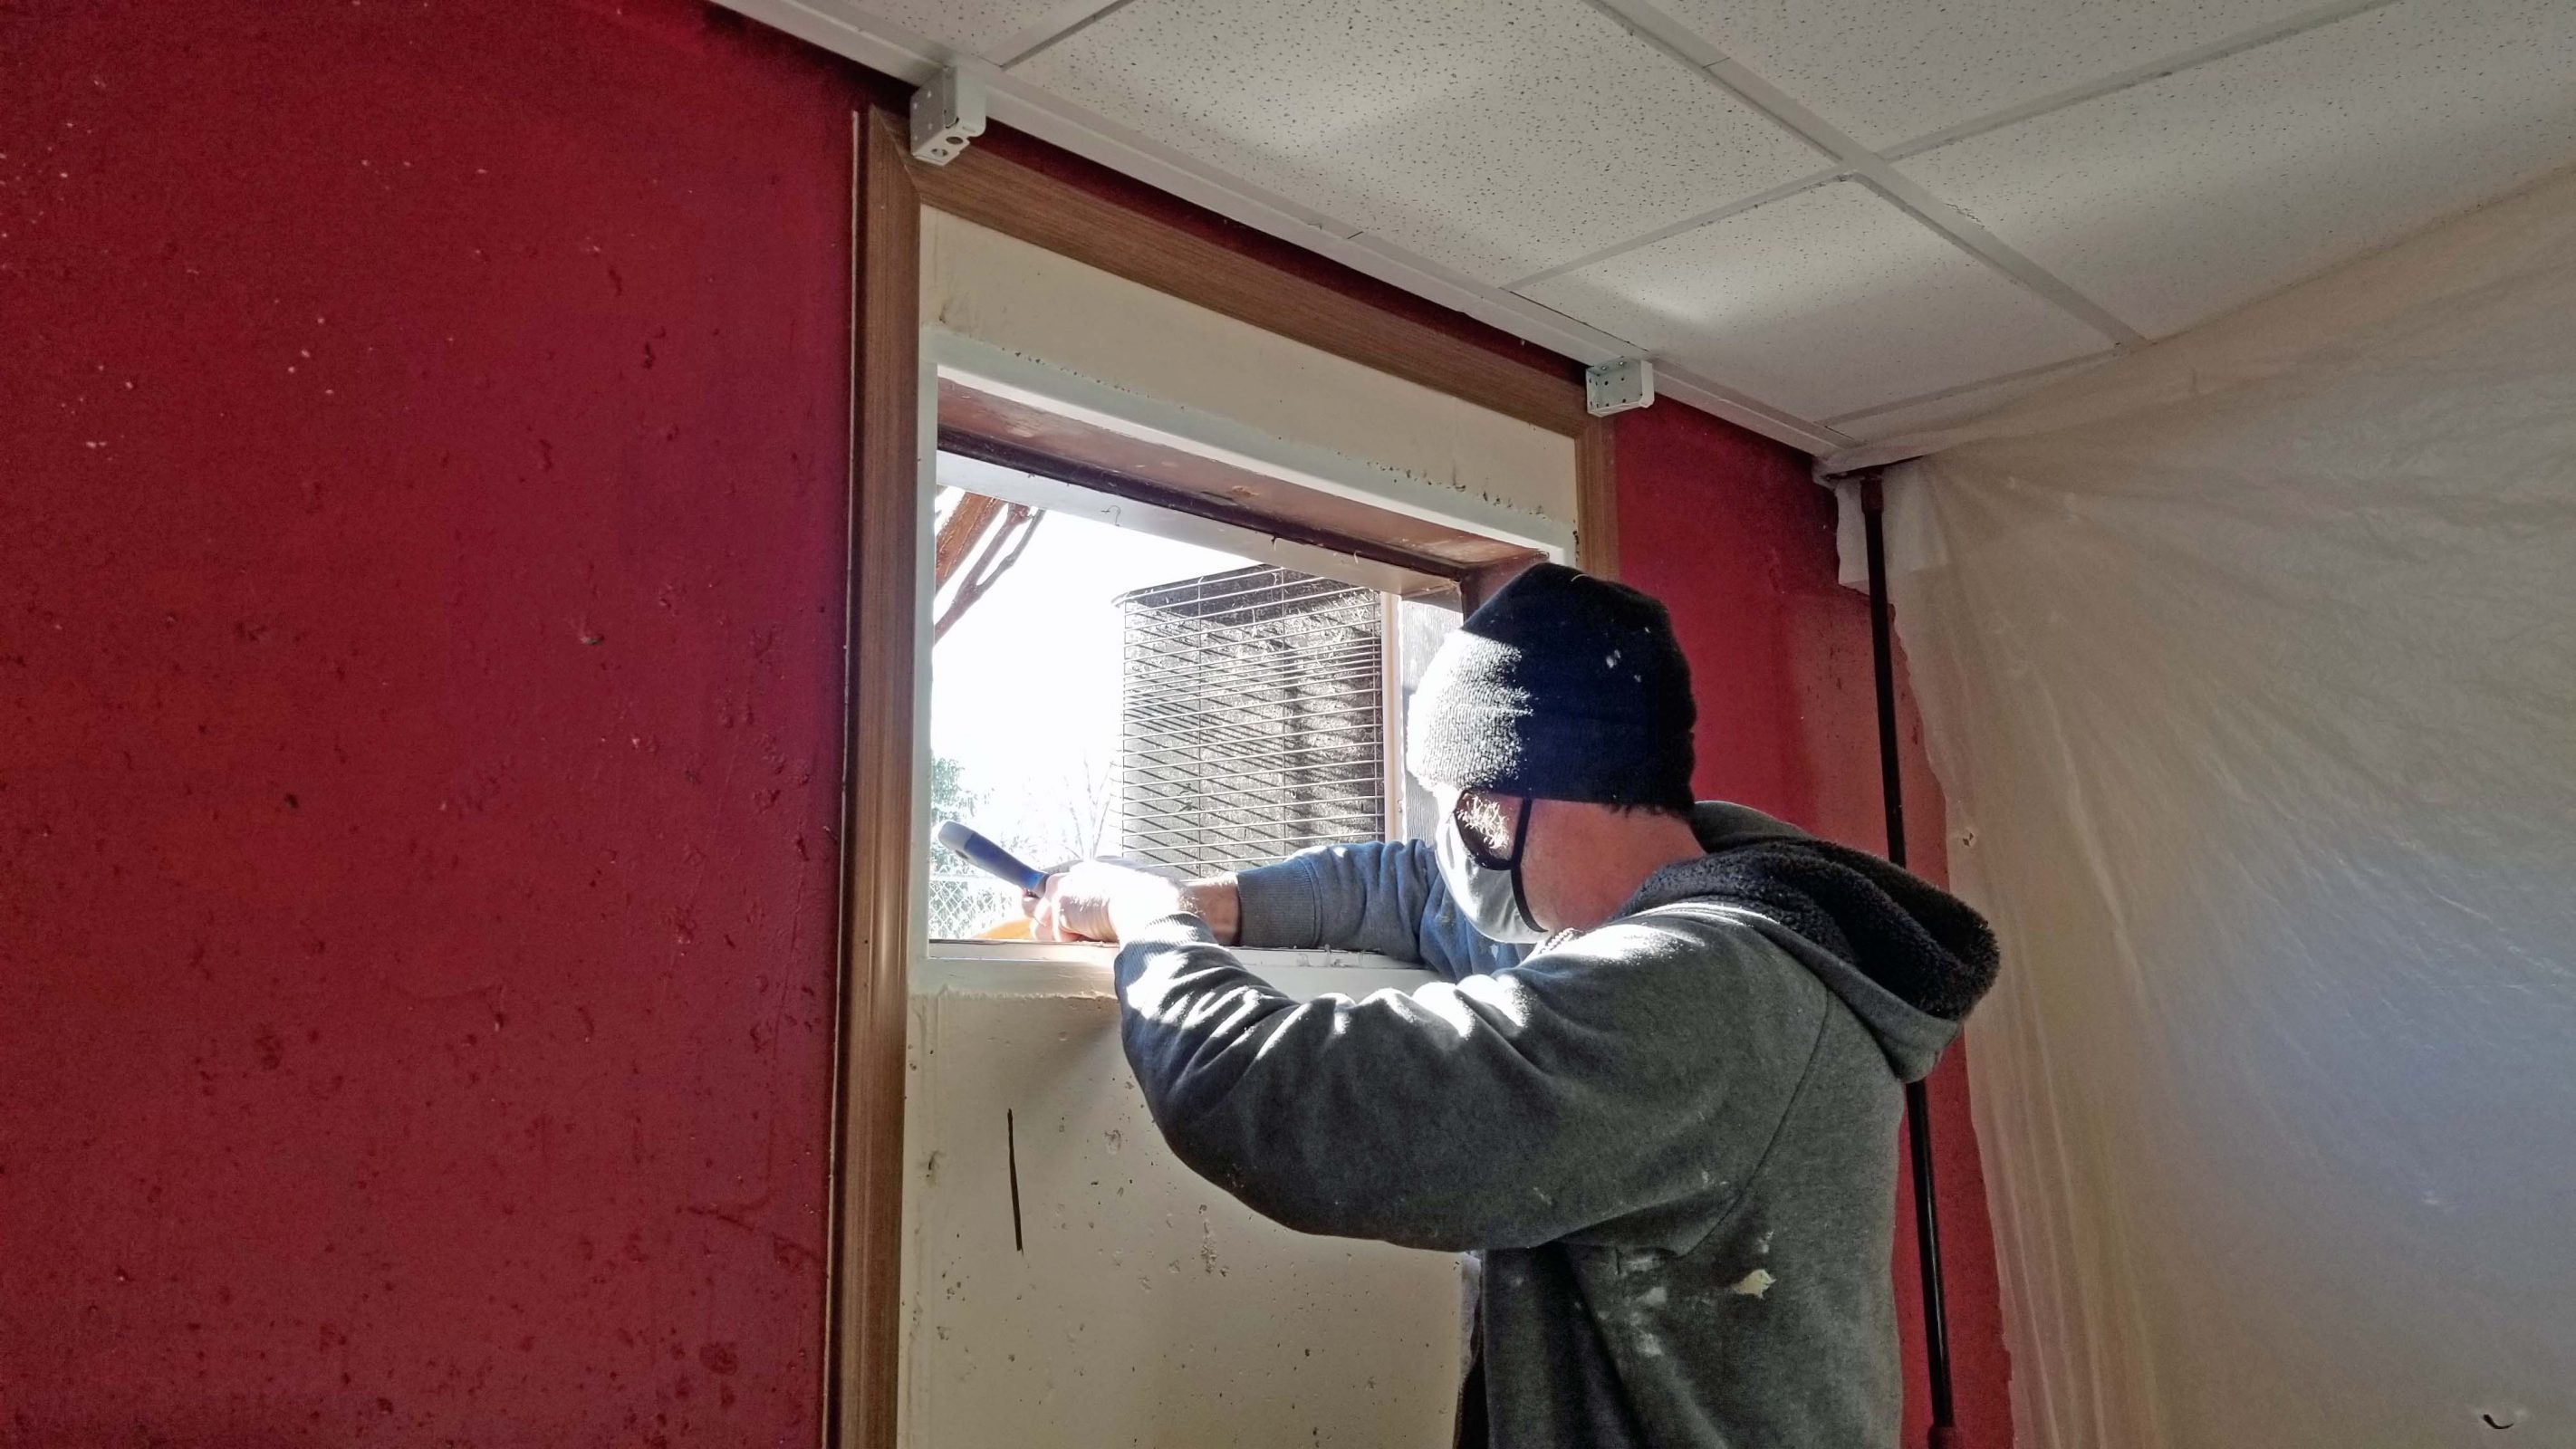
After removing the sliding glass panels, he hauled out his trusty crowbar and pried the old frames loose so he could easily remove the old window.
Then he pulled off the trim. Rob doesn’t have to work too hard, does he?
Unfortunately, the caulk on these windows was also very strong caulk, so scraping it all off kept John and Rob busy for awhile.
When our house was built, it came equipped with standard hopper-style basement windows. In the 1980s, we replaced those with sliding windows, but the steel window frame set in the concrete is designed for hopper windows. That meant John had to put a shim on the top edge of the frame so the sliding windows would fit properly. Our old sliding windows also needed a frame adjustment when they were installed.
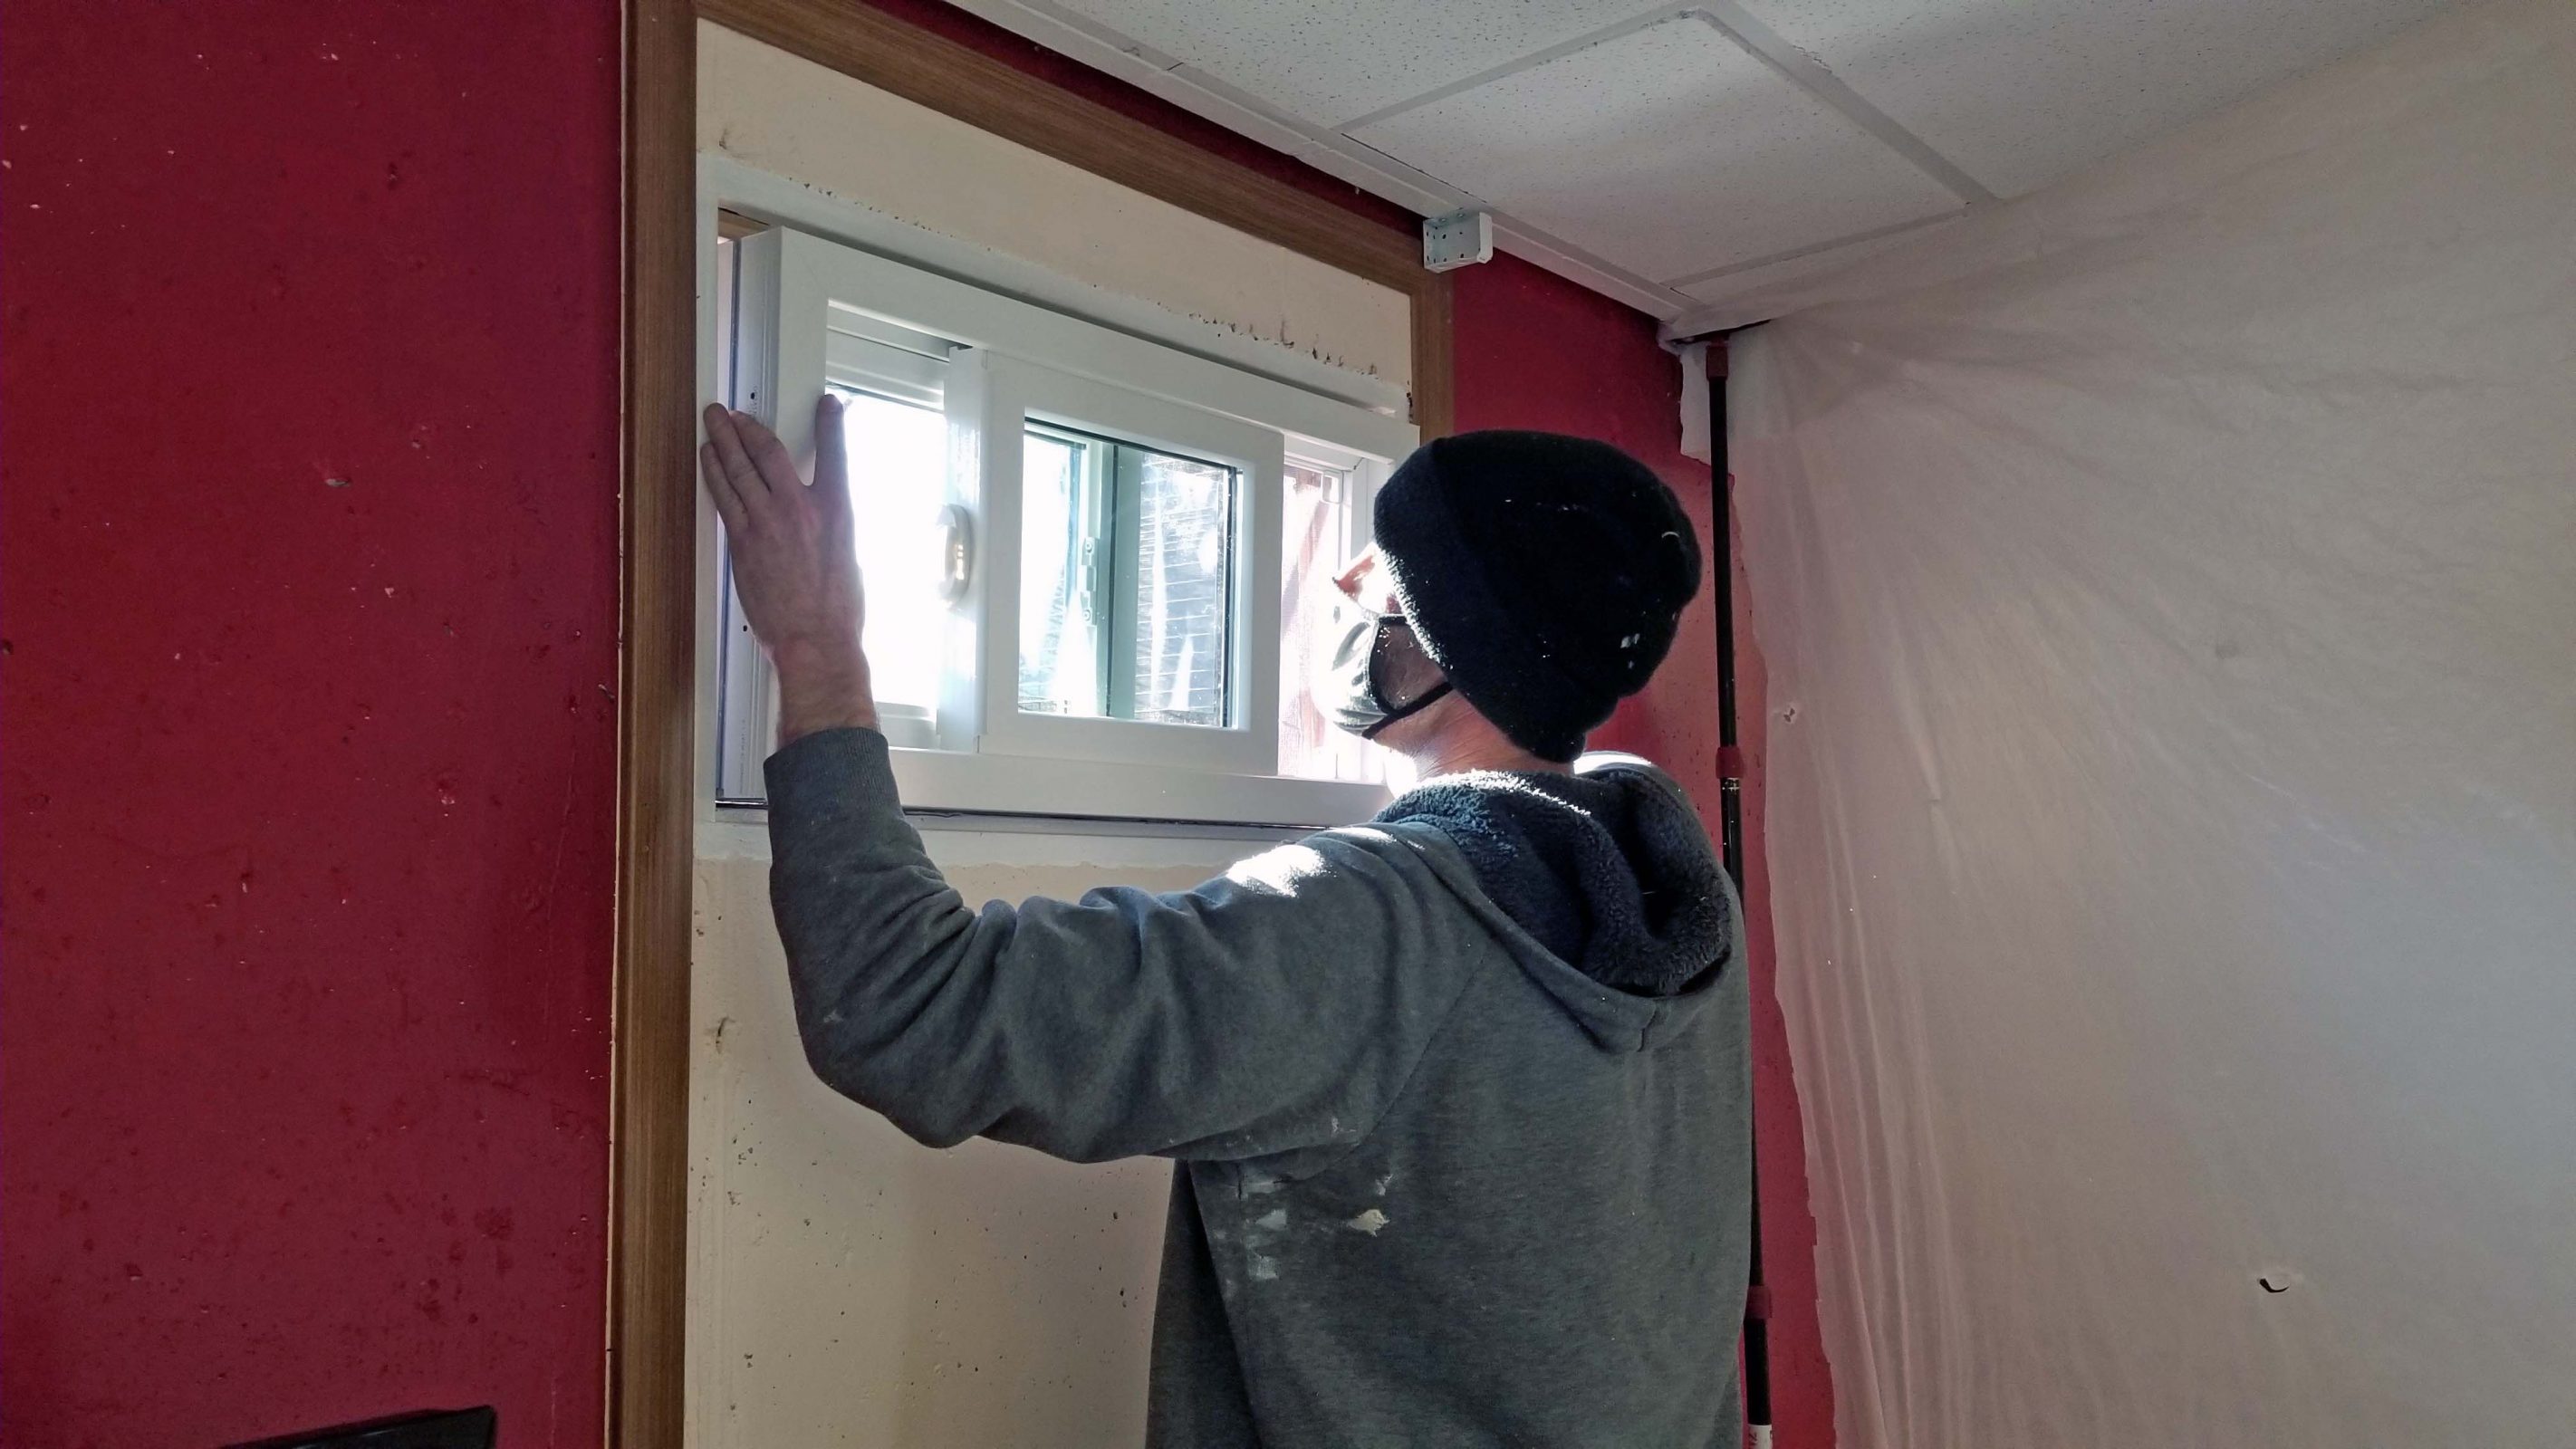
After that, John could set the new window in the frame. Again, he had to measure, measure, measure to make sure the window was level and square and also perfectly centered in the steel frame.
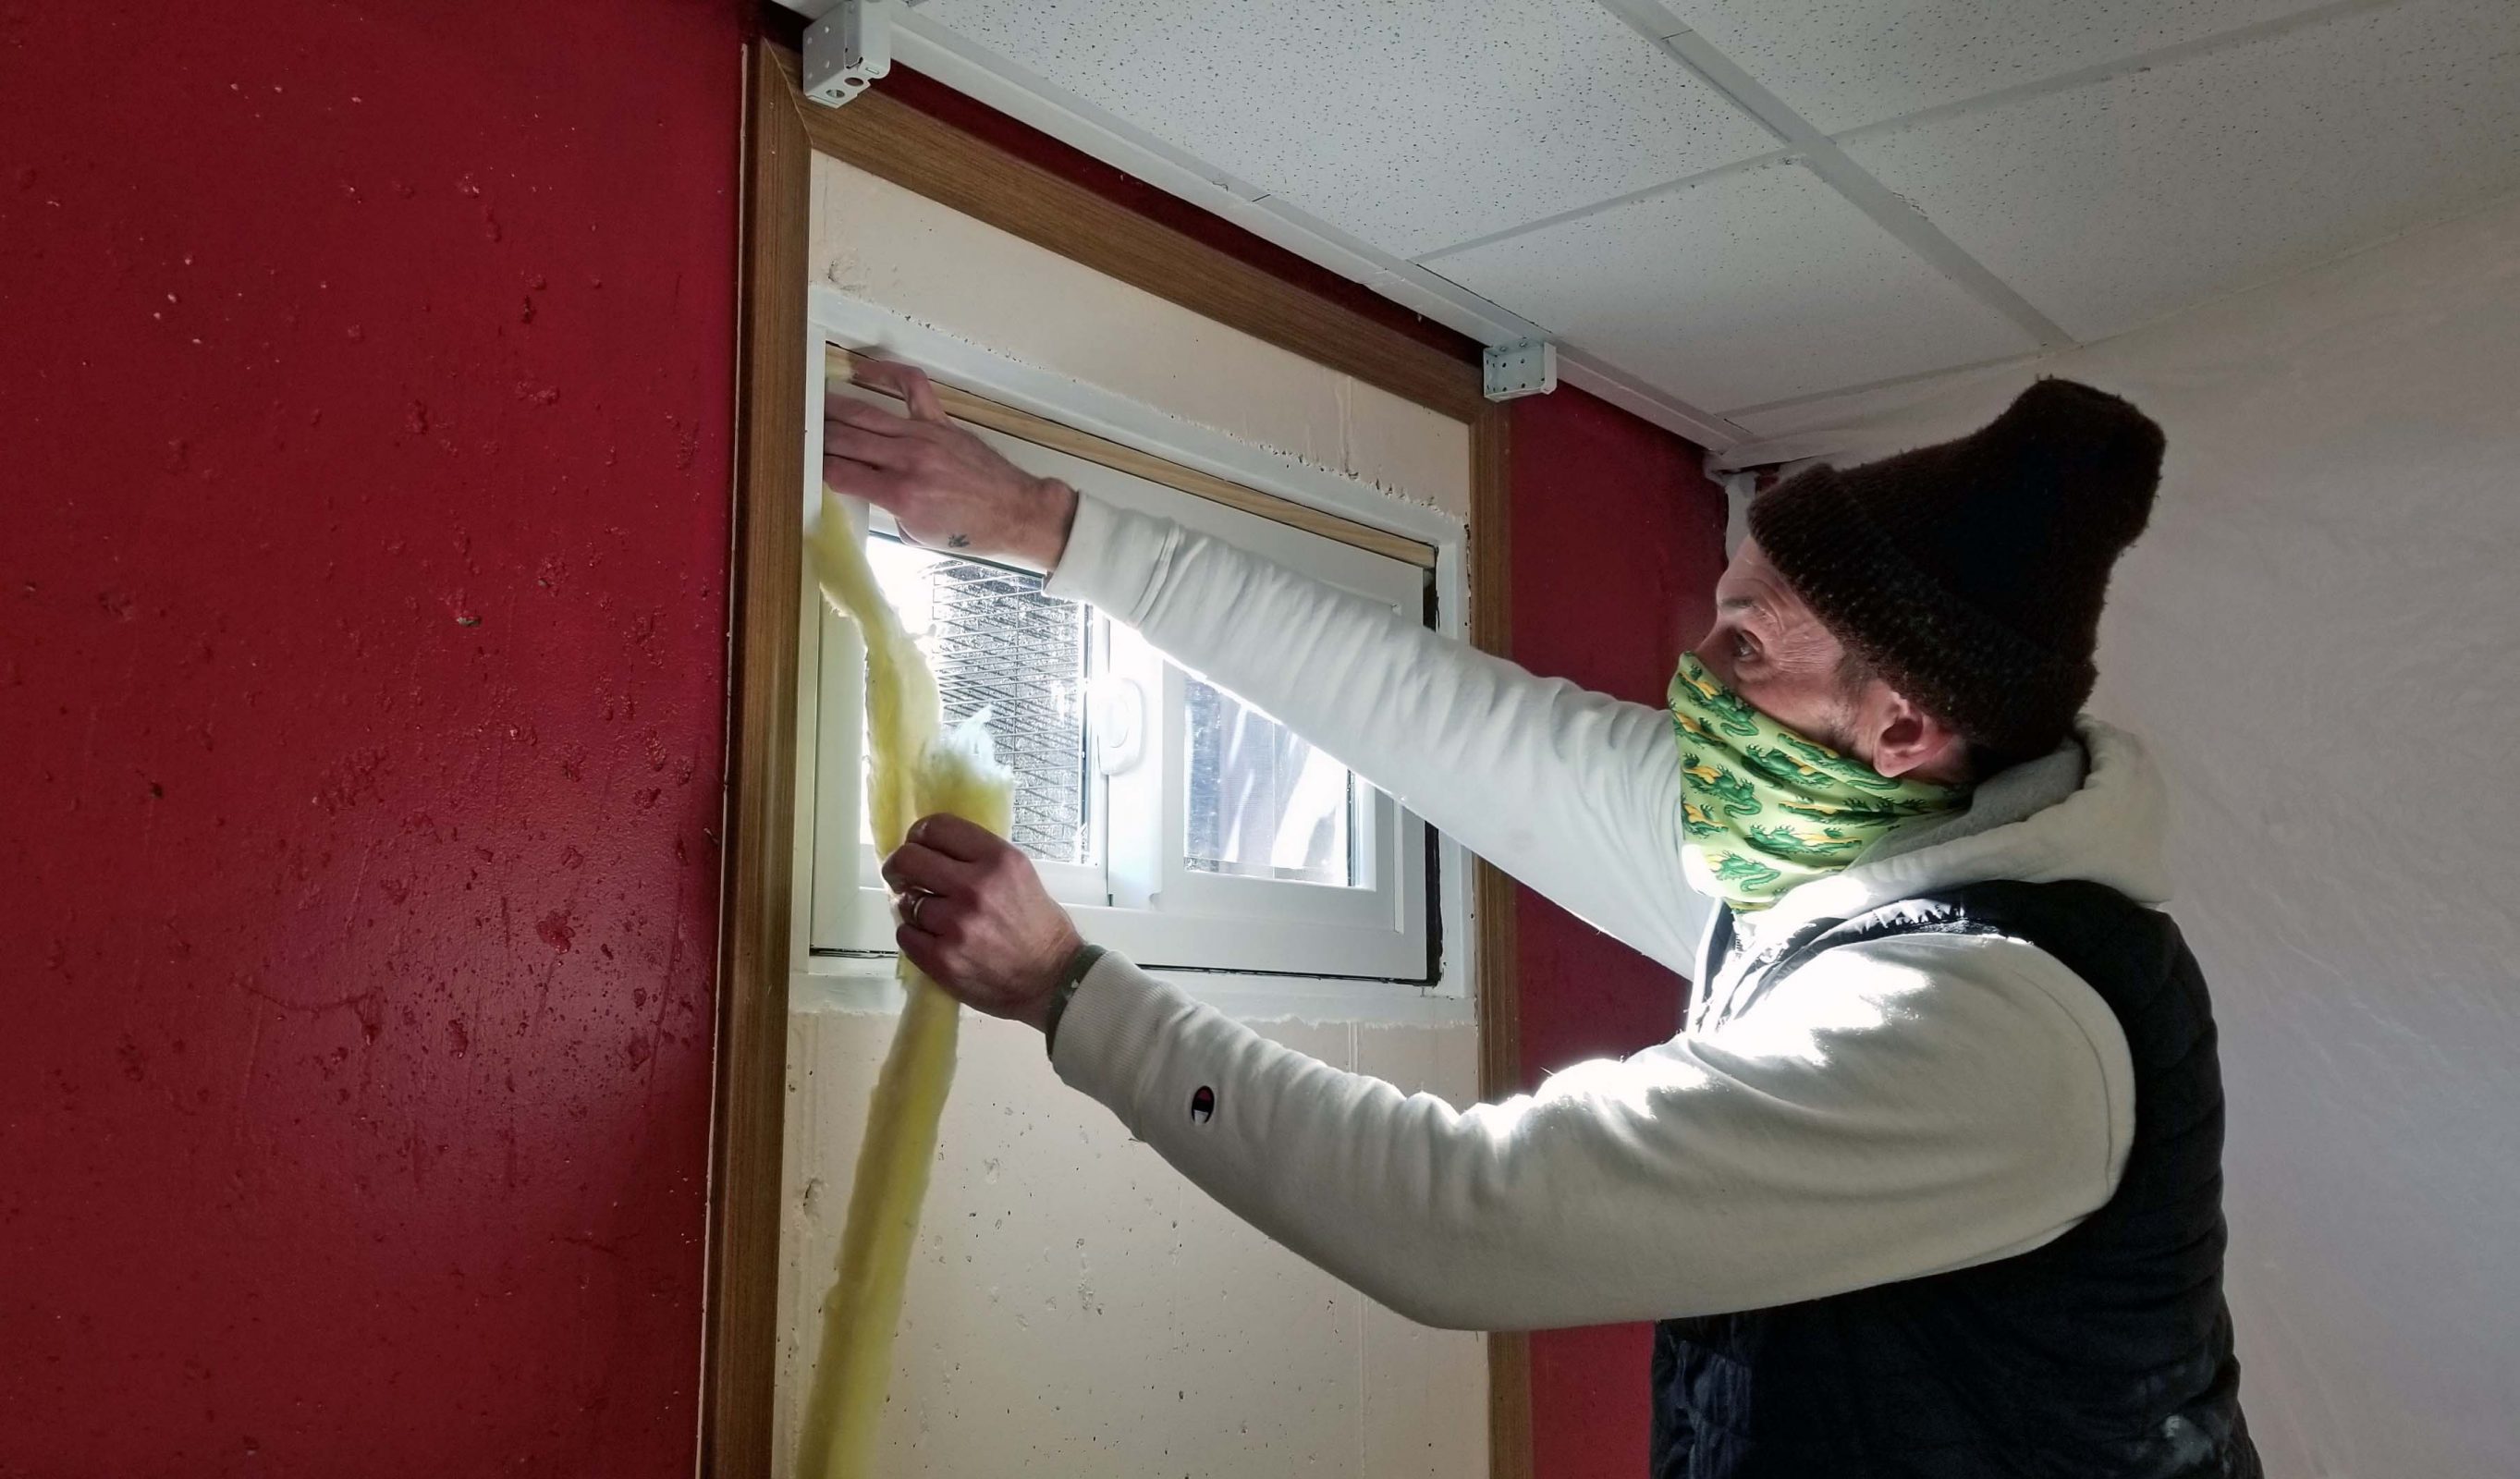
After the window was properly positioned, John and Rob stuffed insulation around the edges.
The last part of the job was putting on the trim to cover all those open spaces. Then the guys de-constructed their plastic room, cleaned up the basement, and loaded their tools in the truck.
We chose window styles similar to our old windows, so there’s not a remarkable difference in the appearance of our new windows, but they are definitely very, very nice. The new windows provide such good insulation that they qualify for an energy tax deduction.
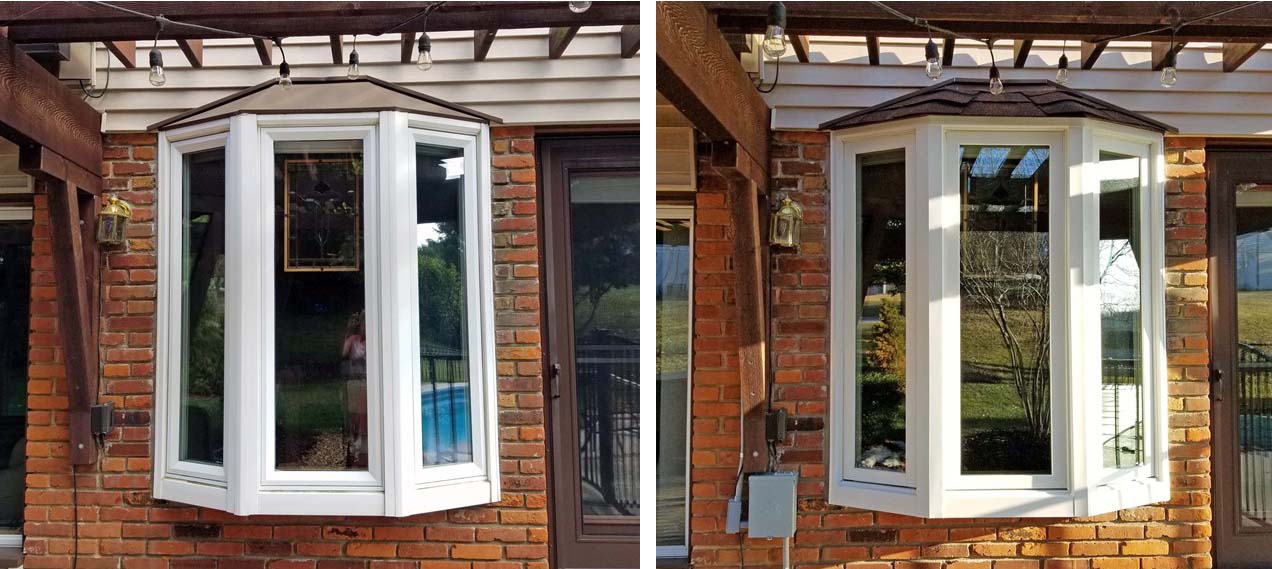
When we told our fascia contractor that we were going to replace the bay window, he suggested putting a shingle roof over it instead of the vinyl we currently had. We agreed, so he added it to his contract with us. His crew was here four days after the bay window was installed. It took a little over half an hour to put shingles on the little roof.

The shingle roof isn’t a big change, but we think it presents a more “finished” appearance than the previous vinyl roof.
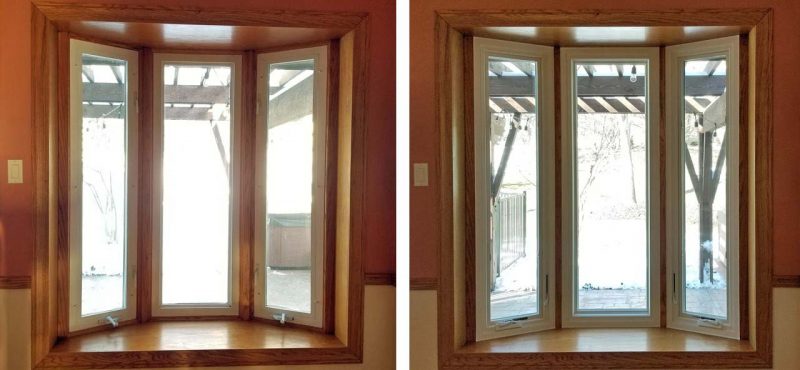
There are some minor differences–definitely improvements–on the inside of the bay windows. (1) There is only one lock lever on each new side window, instead of the two we had on the old ones. (2) The handles to open the side windows (on the right) snap into the frame instead of sticking out (on the left). As I result, I needed to take the side blinds to the decorating center today to have them re-strung so they will drop all the way down to the window seat like the center blind instead of stopping at the protruding handles. (3) The new side windows open to about 140 degrees instead of 90 degrees, so we’ll be able to catch breezes from all directions. The new frames are a little wider too, so there is less wood trim around each window. I think that makes the new windows look a little bigger, even though the glass area is the same size as the old ones.
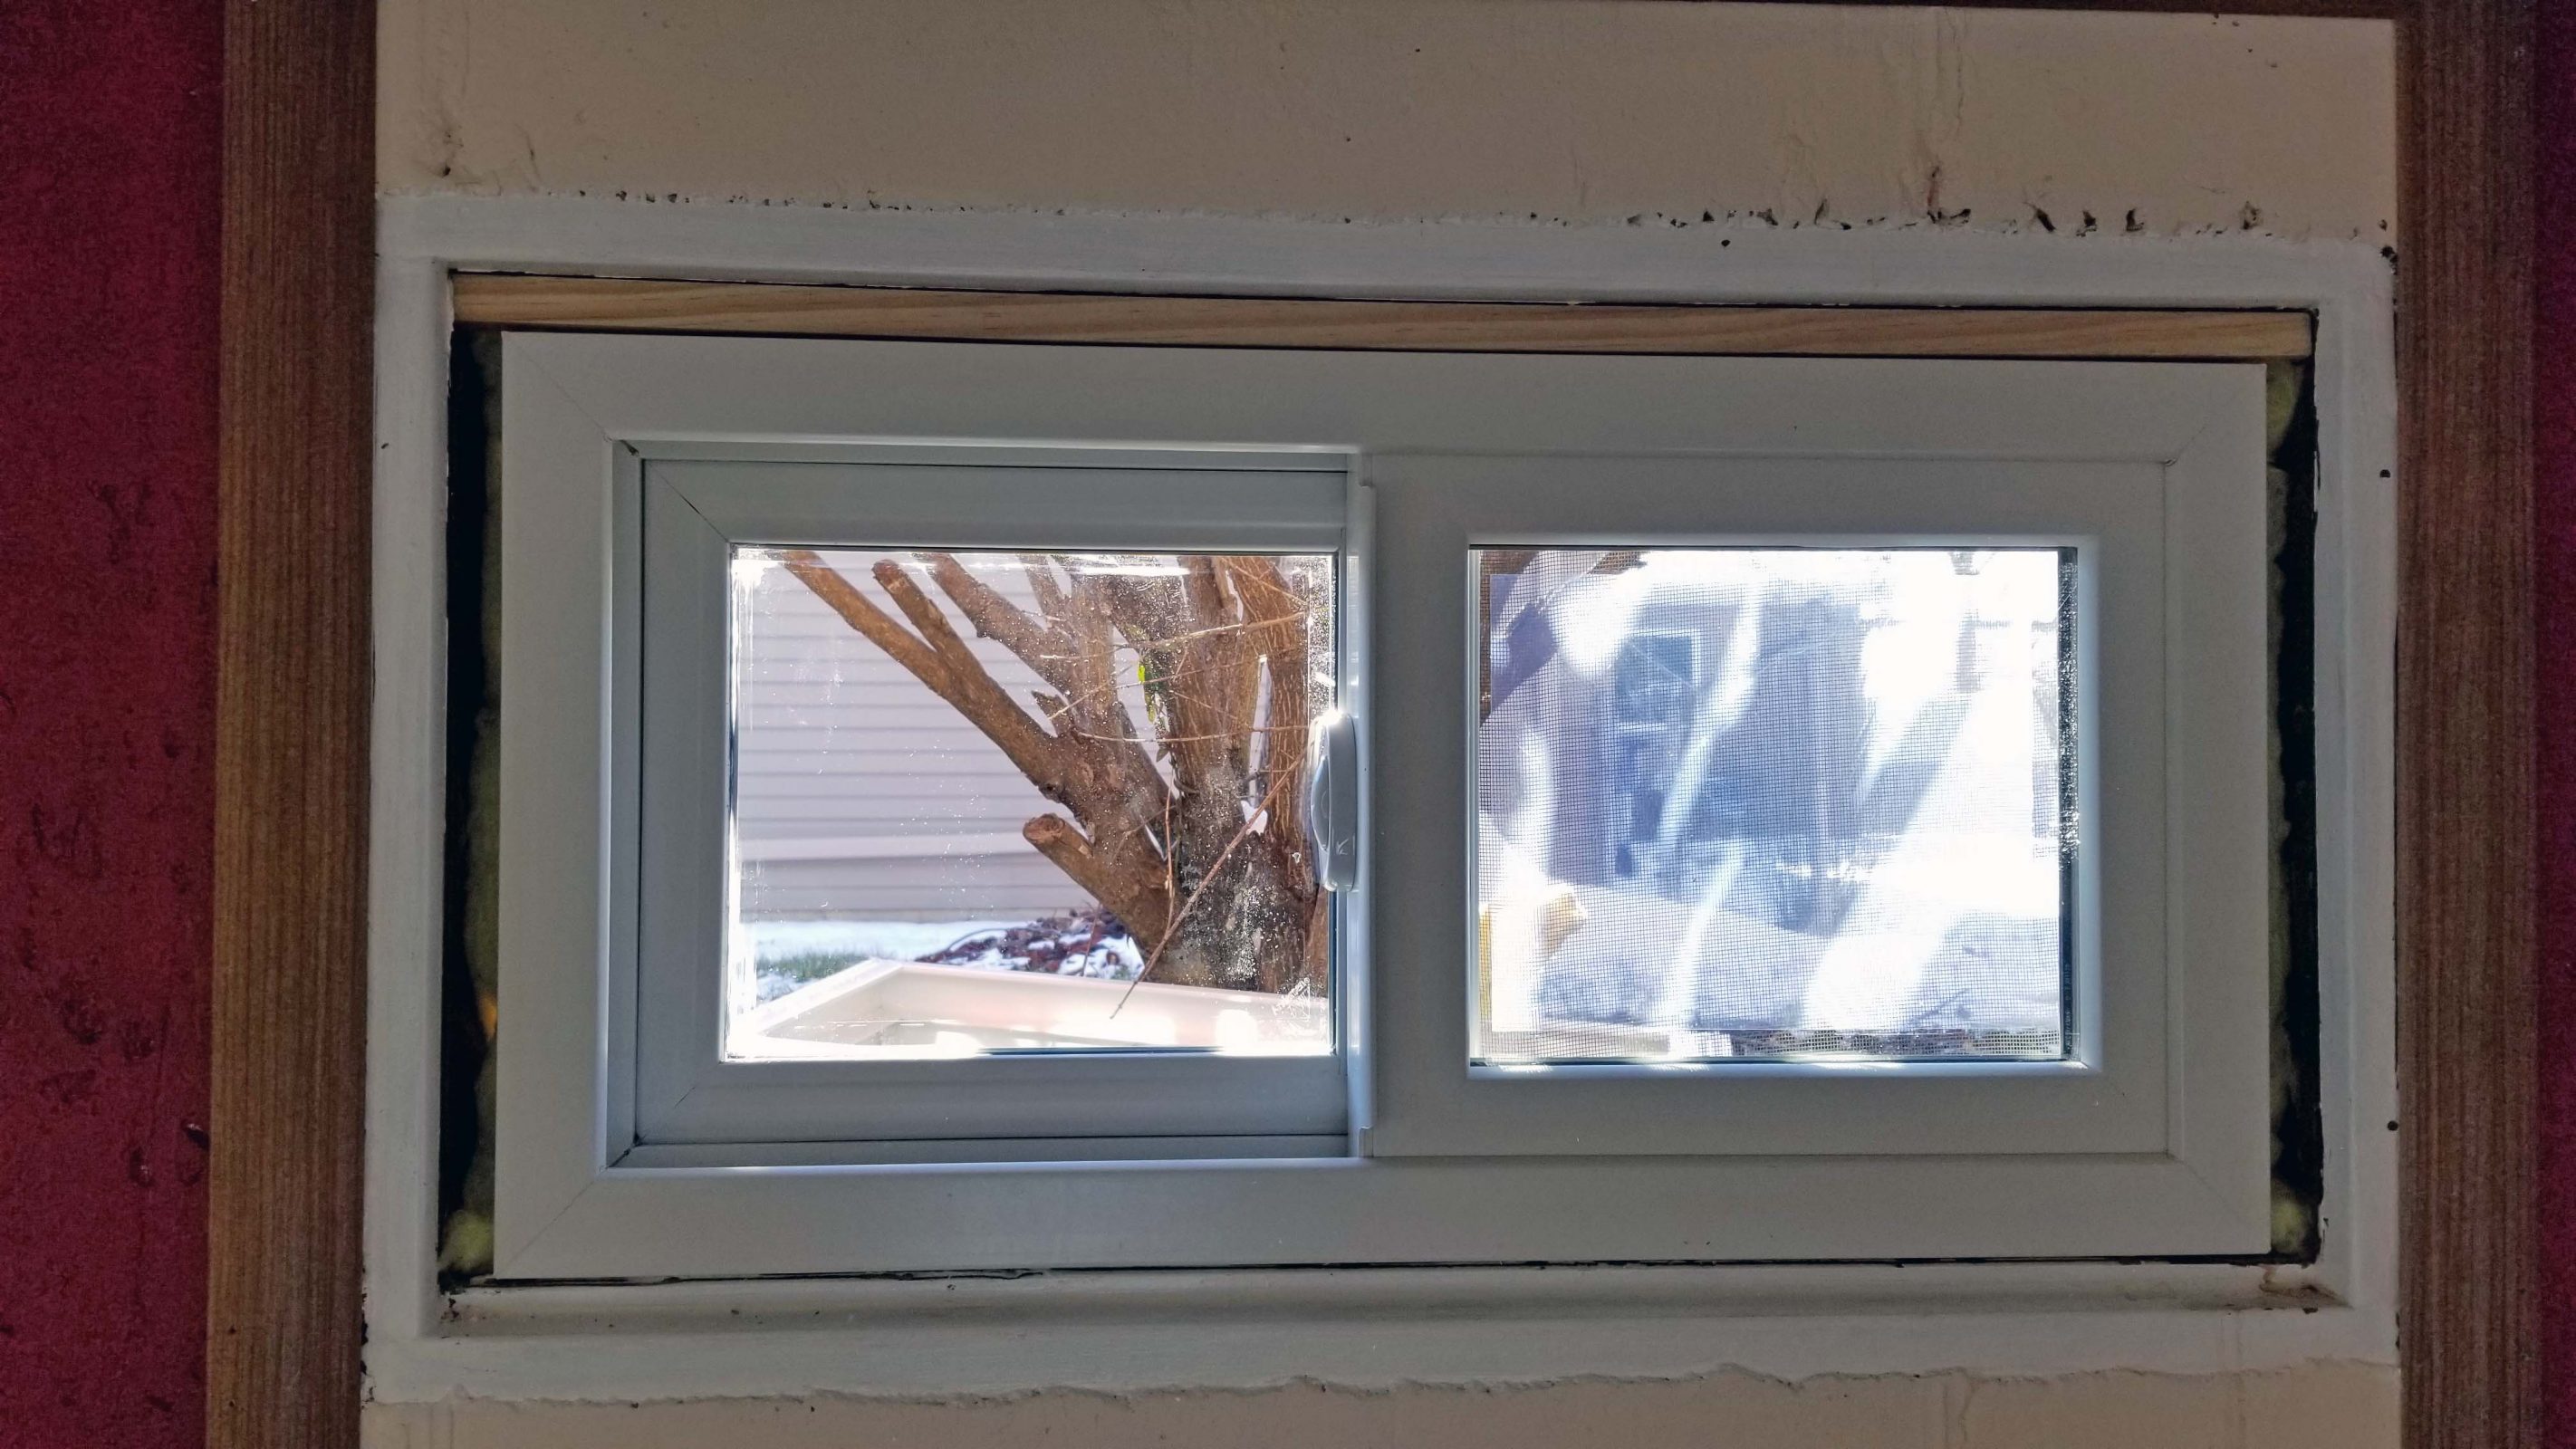
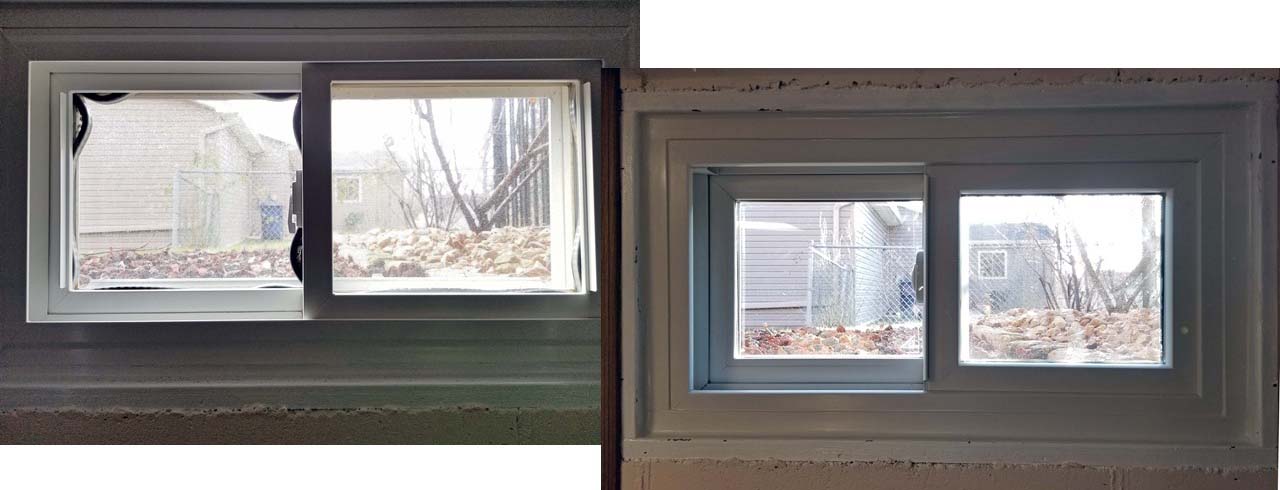
The new basement windows also have a nicer lock and a very smooth operation. Overall, though, the most noticeable difference is the absence of those ugly broken seals on the old windows (left).
Next: new valances for the new kitchen windows. I’ve already ordered the fabric. Stay tuned if you want to see them.