Since Ted and I came home two days early from our Southwest trip, we got an early start on some jobs we had to do. Number one: Ted gave the car a good, hard scrubbing and took off the grit that car washes don’t. He vacuumed, dusted, and detailed everything, including putting on a coat of wax. Meanwhile, I unpacked a month’s worth of stuff and put it away.
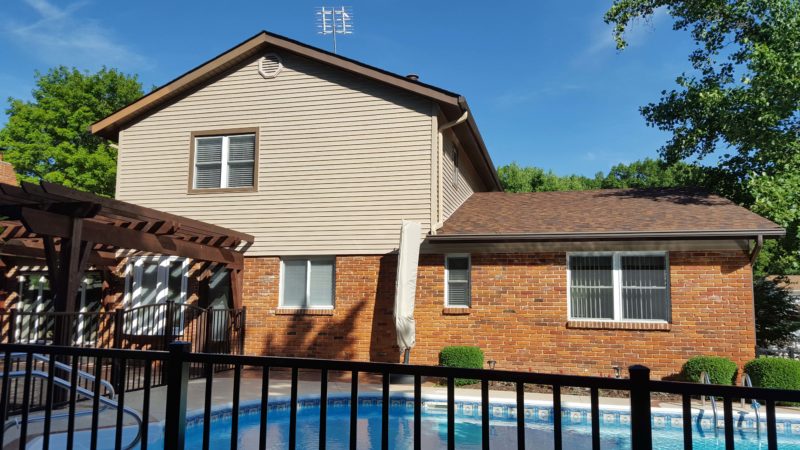
Things looked a little different than when we left home in early October.

When we left, the trees were still green and flowers were still blooming. Temperatures were in the middle 80s.
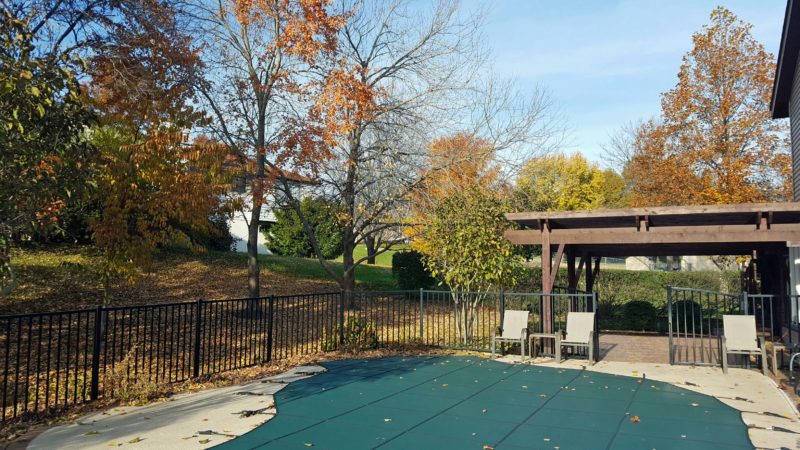
When we came home, the peak of fall color was already a thing of the past. Temperatures are in the middle 40s.
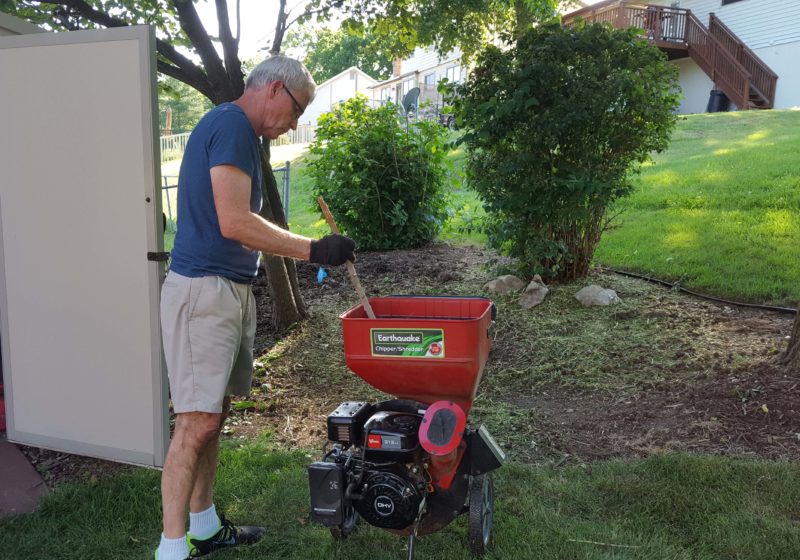
I went out to lunch with friends today (a lunch I thought I’d miss because we’d still be in Kansas), and Ted spent that time raking leaves. When I got home from my lunch date, I finished blowing the leaves in the back yard so Ted could go to buy gas for the chipper.
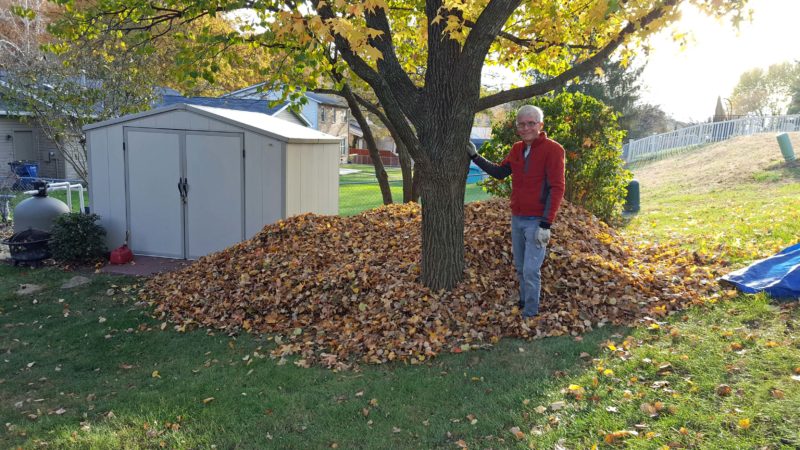
A lot of leaves had fallen in the yard!
Every year, when we rake up a big pile of leaves, Ted and I say we should jump in the pile, but we never do. This year, we did it. We stood on the edge of the pile and just fell over backward. The pile was soft and we fell deeper than we’d expected. We were completely buried and had to dig our faces out.
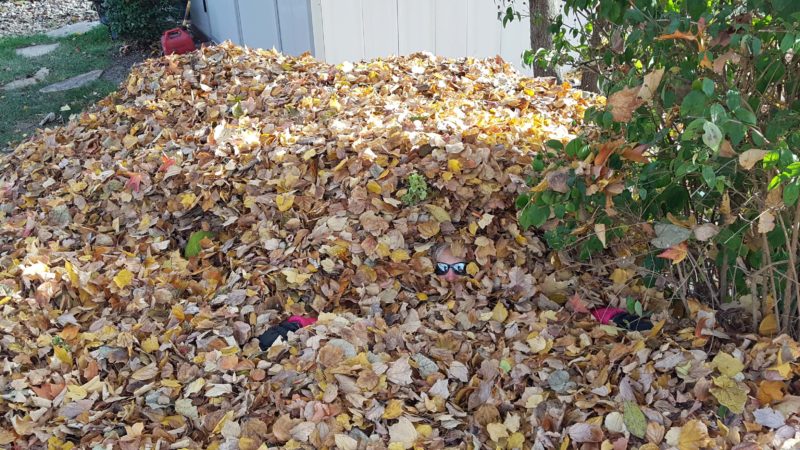
You can see a little bit of the pink sleeves on my jacket. Look between them to find my sunglasses. My legs are buried in the foreground. The dent on the left is where Ted jumped in and climbed out.
That was fun! We’ll have to do it again next year. Are we getting older, or reverting to our childhoods? First, sand sledding and now jumping in a leaf pile. After the fun, Ted started up the chipper to get rid of the leaf pile and I started dinner–a real, home-cooked meal. No hunting for a restaurant tonight.
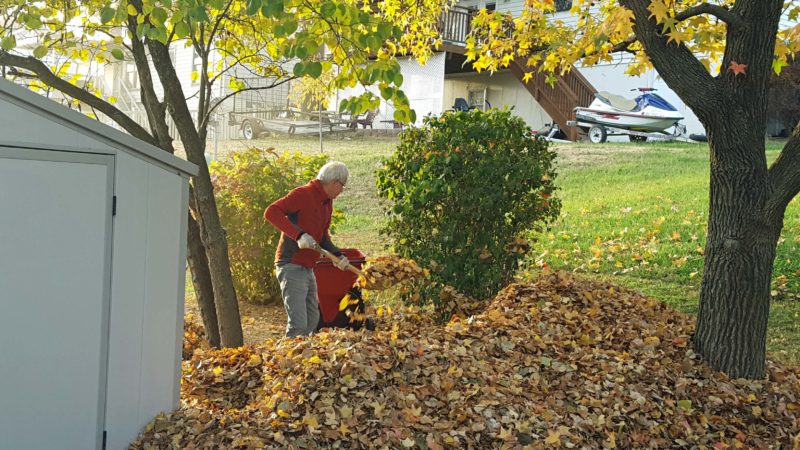
It took about an hour to make the leaf pile disappear through the chipper.
The trip was fun, but it’s always good to come home.