Now that my sewing machine cover is finished, I’m on a roll and decided to sew a cover for my serger as well. We had five rainy days in a row, so it was a good indoor project. My sewing machine came with a made-to-fit case, but my serger was sold in its birthday suit, so it needs a pretty dust cover.
Drawing a pattern for the serger was more of a challenge than doing that job for my sewing machine. My sewing machine is basically block-shaped, so I only needed to measure the dimensions of the block, then draw two rectangular pattern pieces.
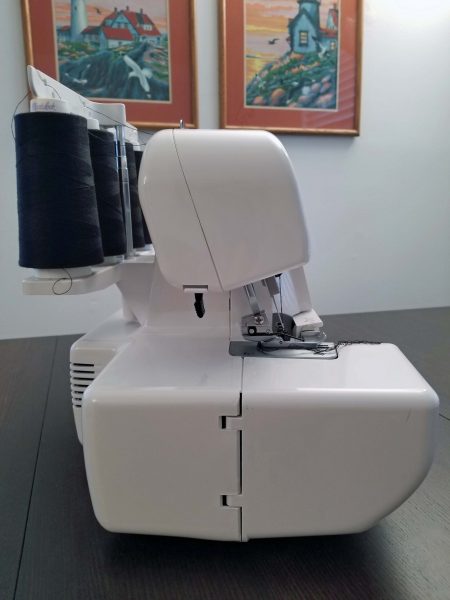
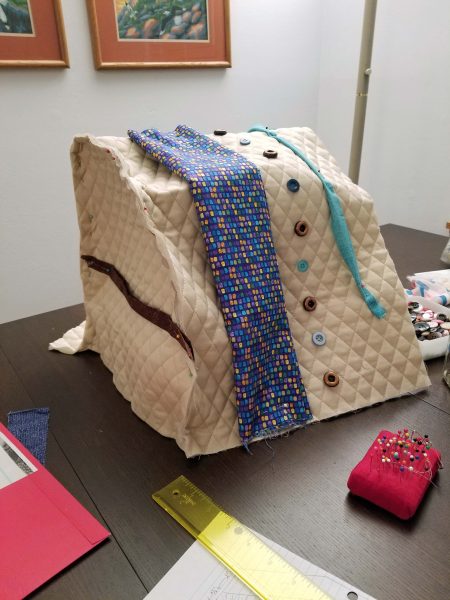
The serger, on the other hand, is–let’s say–“irregularly shaped.” That sounds nicer than “weird.” The spool stand and thread holder extend beyond the hand wheel on the right side of the machine. The cloth plate extends beyond the upper body of the serger on the left and in the front.
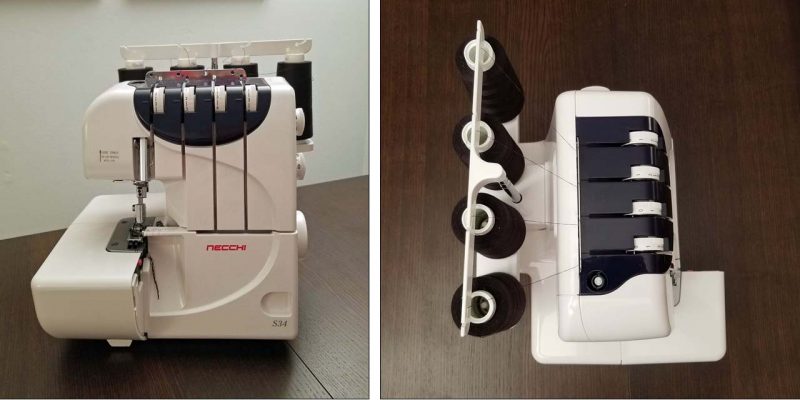
The top of the serger is offset from the bottom, and the back of the top is higher than the front. I can let the back side of the cover hang from the thread guide (the white top bar), but if I make the front square like a box, the upper part is going to sag. Where does one put the ruler to measure an odd shape like this?? I set each extended section against a wall and measured outward from the wall.
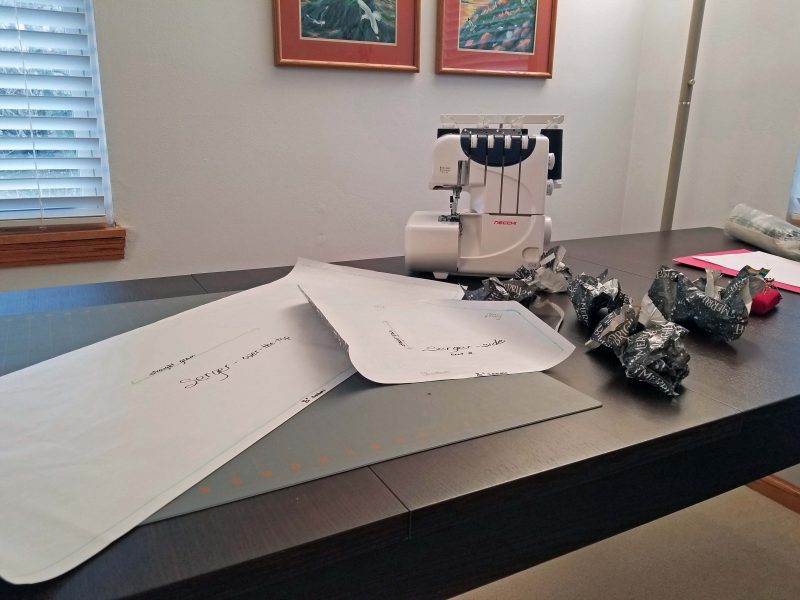
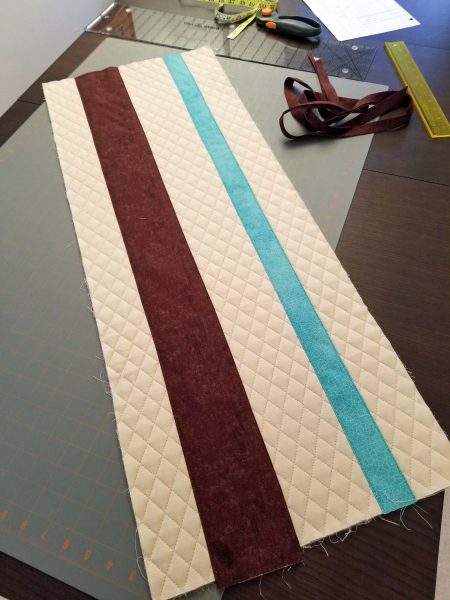
The next step was to translate those measurements into a flat paper pattern. I drew the long, over-the-top piece first, because that was the easy part. Then I had to take my height, width, and whatever measurements to draw a side piece that would shape the over-the-top piece to my serger. I drew and cut out a side piece and held it up against the serger to see if the angles and corners were in the right places. They weren’t. After a number of tries, I eventually got it right. It’s a good thing I have a lot of this ugly gift wrap left on the roll.
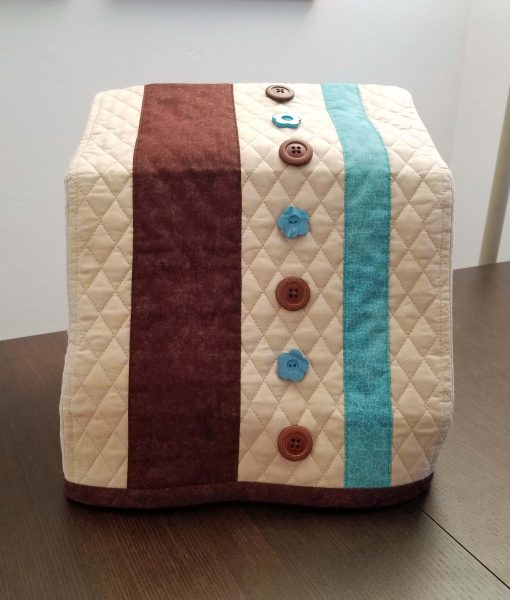
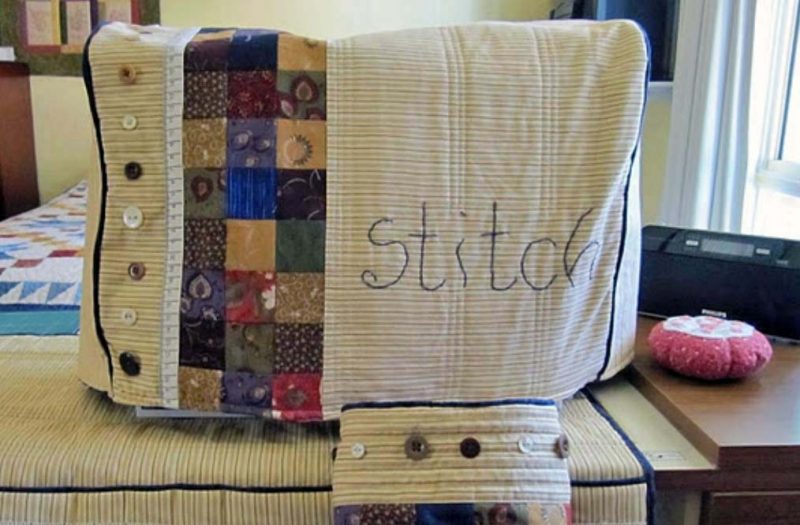
Ok, I’ve got a pattern, but what will I do to make the finished product more attractive than the plain fabric I’m using for the cover? This was my original decorative idea (thank you, Google), but it’s a sewing machine cover and my serger is too narrow to attach a fabric band, then sew the word “Stitch” large enough to be read from more than a foot away.
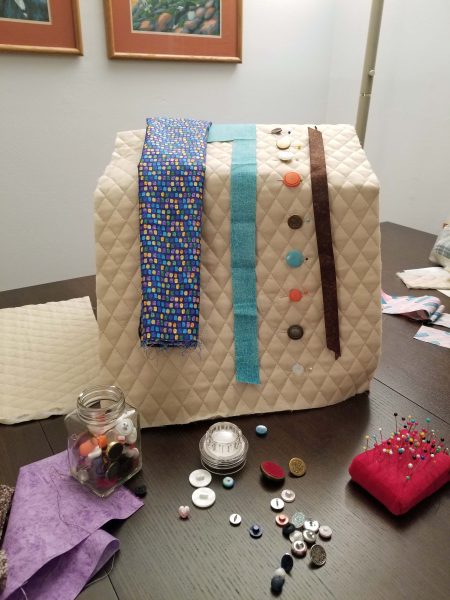
I got out my box of scrap fabric and tried different ideas, including decorative pockets. The fabrics weren’t necessarily the colors I wanted to use; I was just looking for a design style that appealed to me. My plan was to worry about the details after I created a design I liked. BTW, creative design is not my long suit, so don’t laugh.
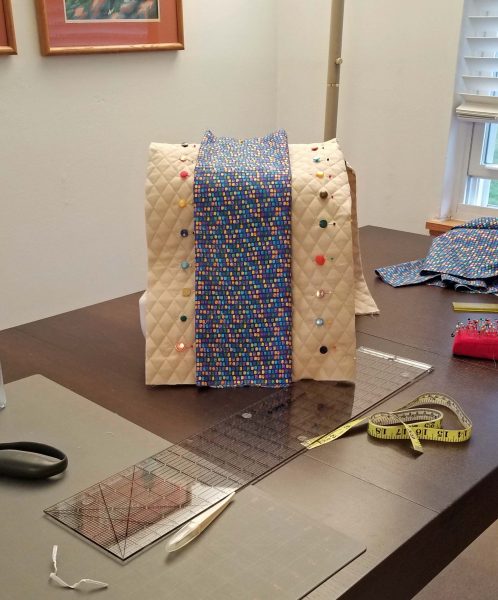
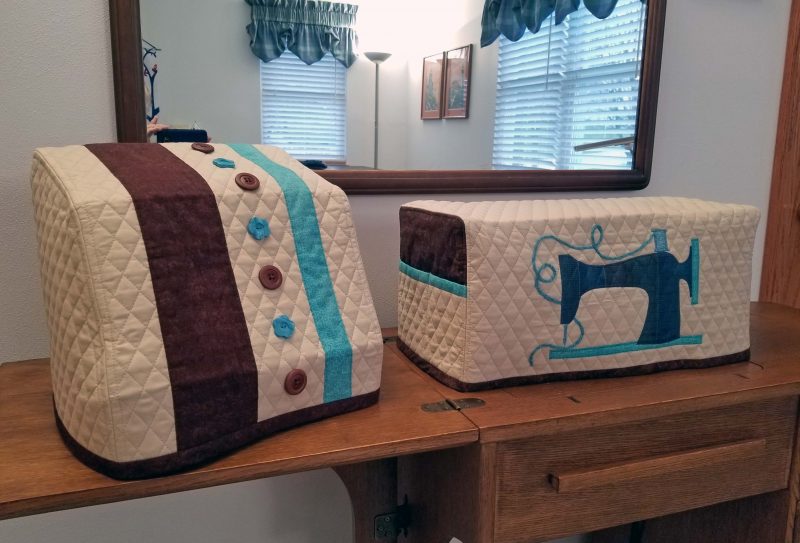
This process took hours. I finally set it aside to ponder the problem overnight. The next day I asked myself why I was trying so hard to come up with a new idea. I really like the colors I used on my sewing machine cover, so why am I avoiding using the same colors to make a coordinated set of covers for my two machines?
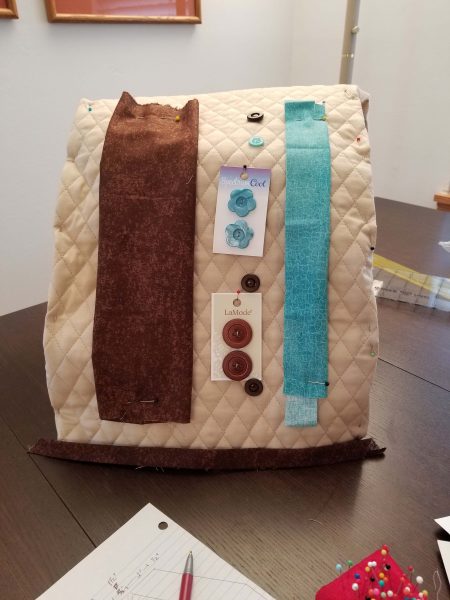
The answer: Because I used scraps for my sewing machine cover, so I’d need to buy more brown and turquoise fabric. I was trying too hard to avoid shopping for fabric when I have a boxful of scraps. I didn’t have any suitable large buttons in my button box either, so I had to buy buttons too. When I did, I finally felt good about sewing my serger cover pieces together.
My sewing machine cover had two 90-degree rounded corners on each side that needed clipping and notching; my serger cover has a 90-degree rounded corner at the back and two angles on the front that needed clipping and notching on each side. I edge-stitched the seams to keep them flat. Just like with my sewing machine cover, I cut some extra length on my fabric because it’s easier to trim it off than to add it later. I’ve got to start trusting my measurements. Again, just like with my sewing machine cover, I needed to cut off the extra length I added.

When I finished the cover, I was very pleased. The fit is perfect, all the corners and angles are in the right places, I like my decorative design, and I like the colors. I also like having a coordinated set of covers.