When we had our backyard pool installed, we were told that the liner would last about 10 years. Last summer (year 9) it looked badly faded, so we decided to replace it this spring. When the pool was installed, I was at work on the day the men were scheduled to “drop the liner.” That phrase has fascinated me ever since, so I made sure to be around to witness the liner replacement process (and to photo document it for my blog, of course). I asked the men if they minded my watching and they said no, people do that all the time. I enjoy watching professionals do a good job, so it was an interesting two-day process for me to observe.
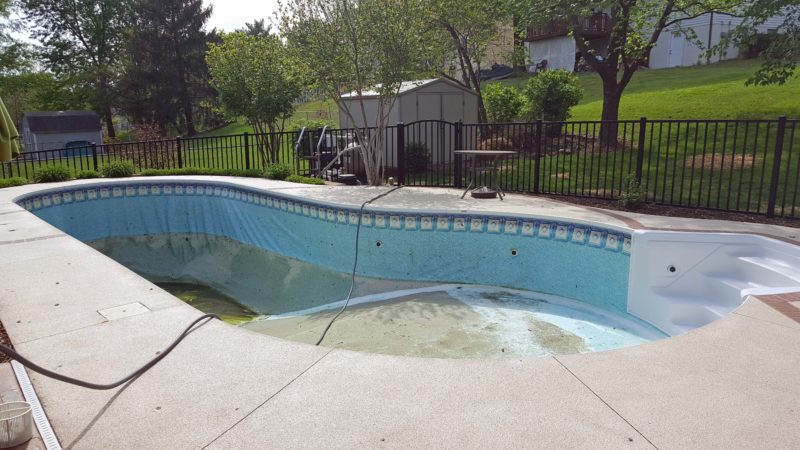
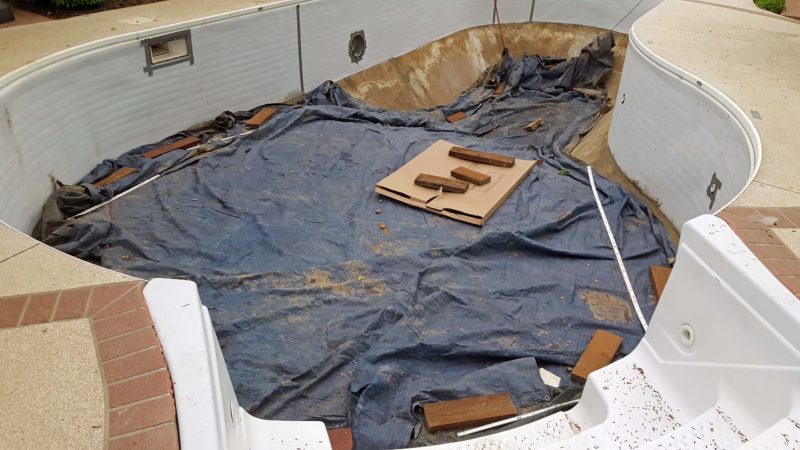
Before the workers arrived, we needed to drain the pool. That’s winter algae and dirt on the bottom. Old pictures show this liner used to have a much deeper color. We couldn’t drain the pool too far in advance because there’s a danger of the sides collapsing without water to hold them up.
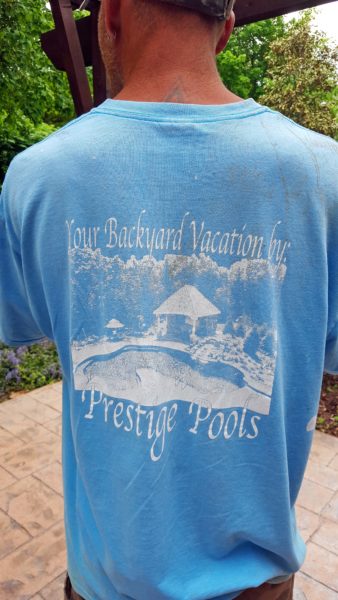
Bruce and Dustin (B & D) are ready to make our backyard vacation a reality.
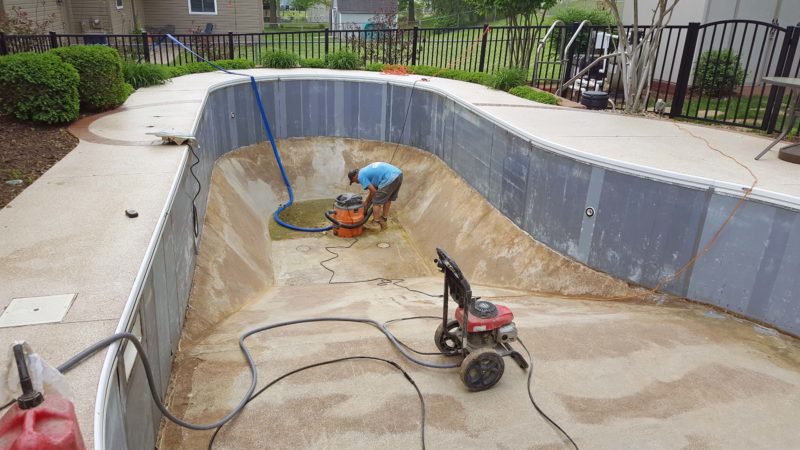
Ted and I were at Pilates when B & D cut out the old liner, so I missed that part of the process. Poor Dustin (the apprentice) had the thrill of vacuuming every inch of the pool bottom to prepare it for the new liner.
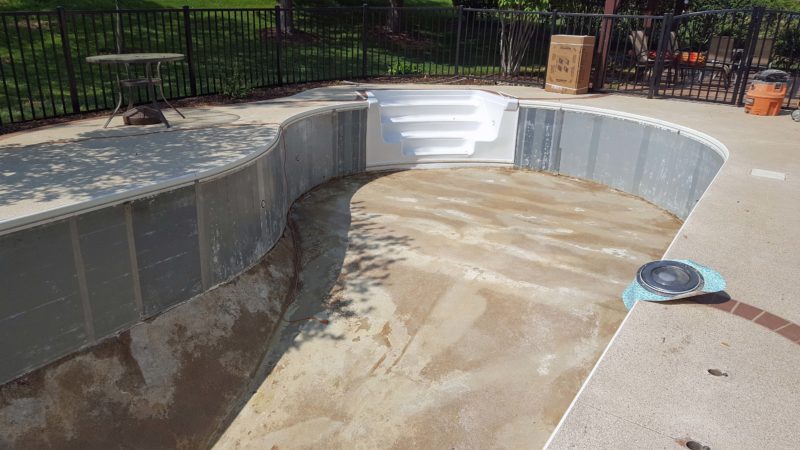
Everything is ready to go. You can see a little bit of the old liner where B & D cut the pool light out to remove it (right). The cardboard box (upper right center) contains the new liner. Check out how well I cleaned those steps so they’d look as new as the liner.
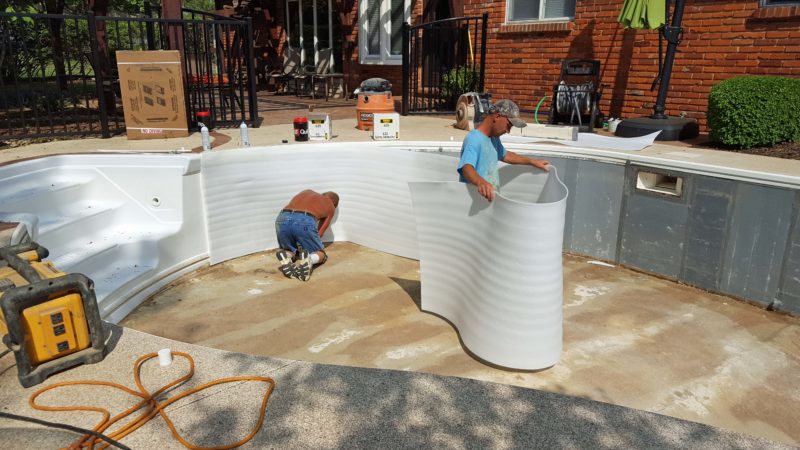
Because the vertical sides become pitted over time, B & D covered them with a layer of foam. They cut it from a large roll, then sprayed the wall and the back side of the foam with adhesive before pressing it in place.
Bruce dampened the pool bottom and then spread a thin layer of pool-crete dust (softer than concrete) over it to fill small depressions / dents that developed over time. The dampness wets the pool-crete dust enough to make it set up and harden. Now we’ll have a completely smooth pool bottom again (until new dents form).
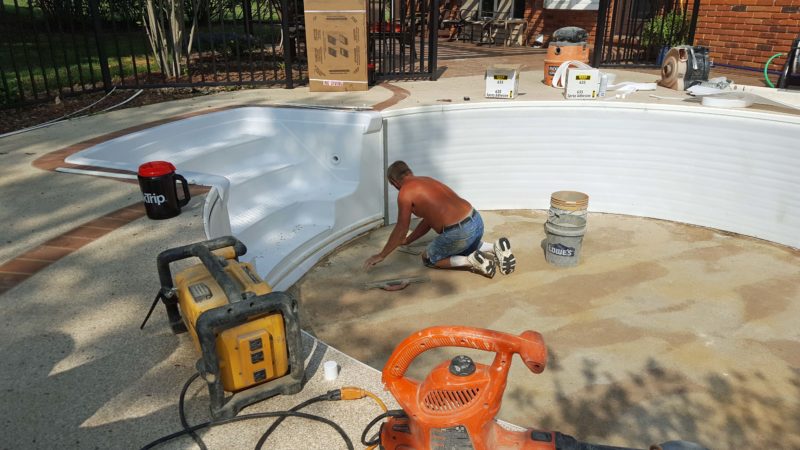
Meanwhile, Dustin located the positions of all the hardware and cut the foam to expose them. He found the skimmer (left) and is working on the light.
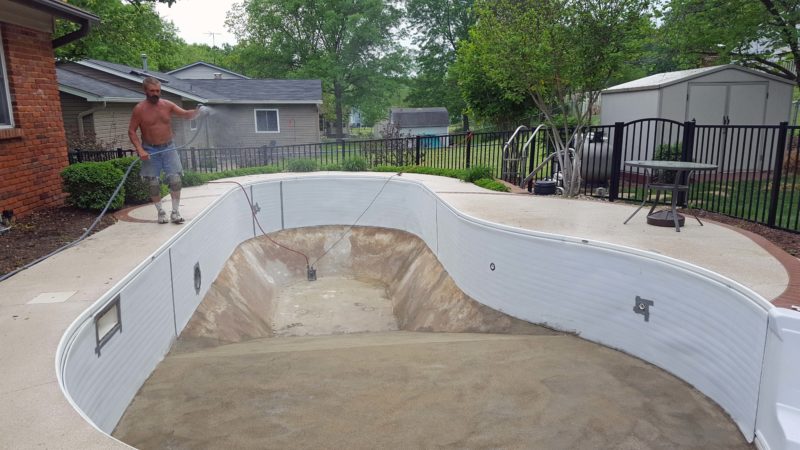
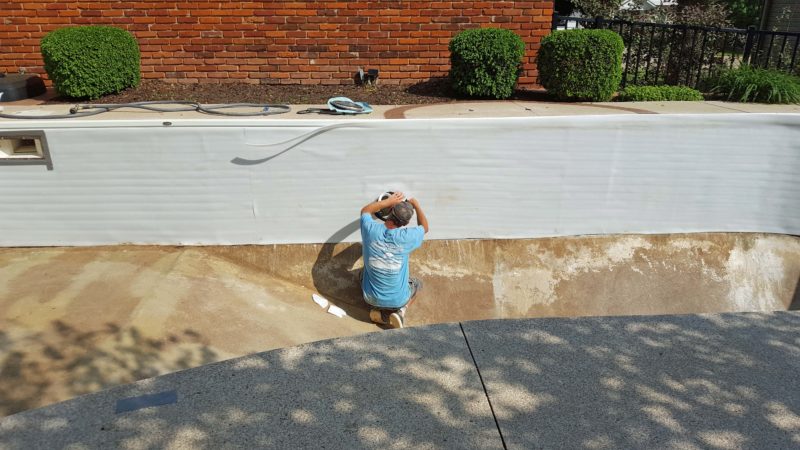
All the hardware positions have been found and the bottom has a new coating of pool-crete, ready to harden overnight. Bruce dampened the top surface of the pool-crete to assure it will all harden, leaving no loose dust (or possible dents) for tomorrow.
When B & D finished for the day, a severe thunderstorm warning was in effect for our area, so they set up a sump pump and covered the pool-crete with a tarp to prevent rain splatters from marring the fresh surface. The high wind (50-60 mph) and hard rain (0.5 inches) hit just as they were leaving our house. Good timing!
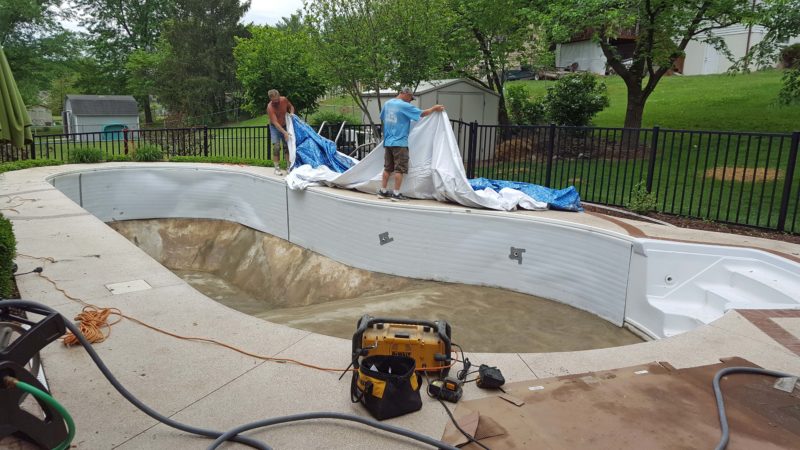
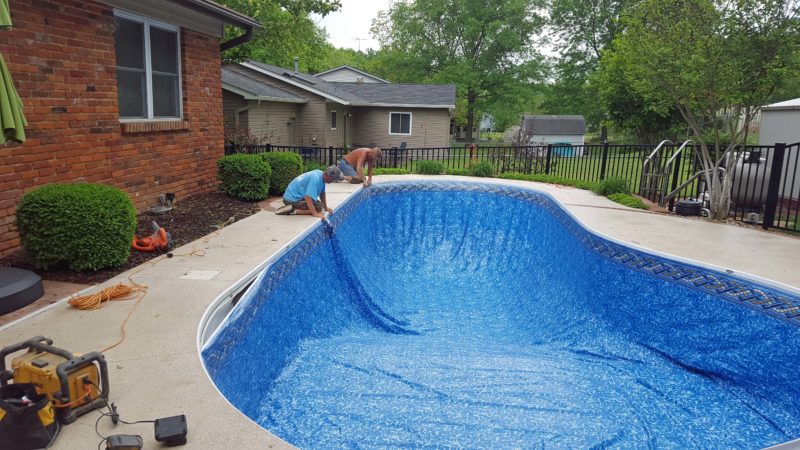
Step One of “drop the liner” is to unpack and unroll it. It’s important to begin with the liner in the correct position, so there are stickers on the back side indicating “deep end” and “shallow end.”
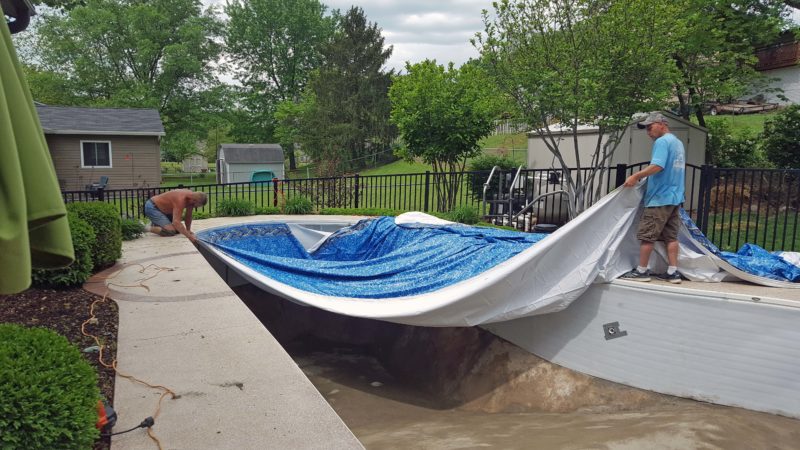
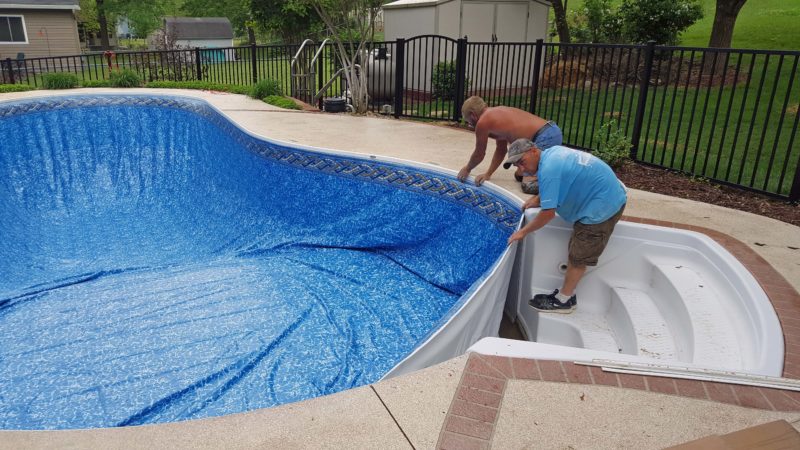
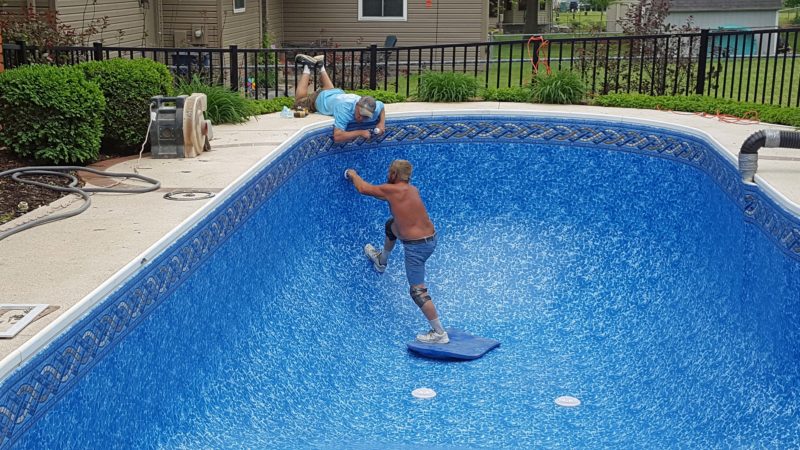
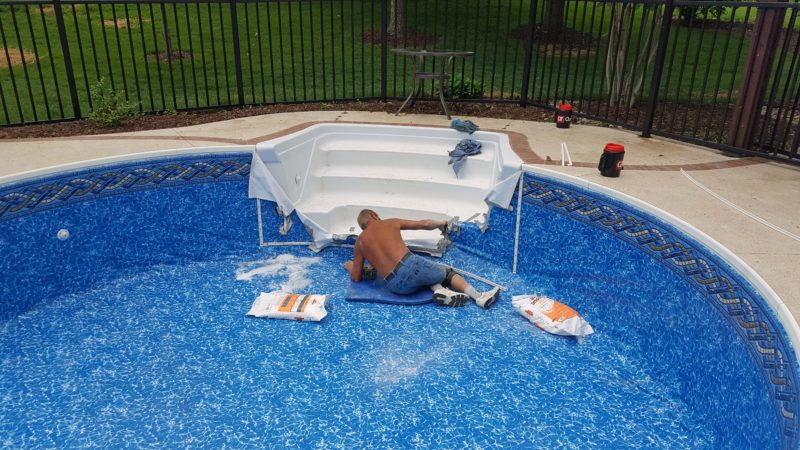
Bruce started tucking the liner into the edge to hold it in place while Dustin fed it to him, never allowing the liner to rub against the pool bottom.
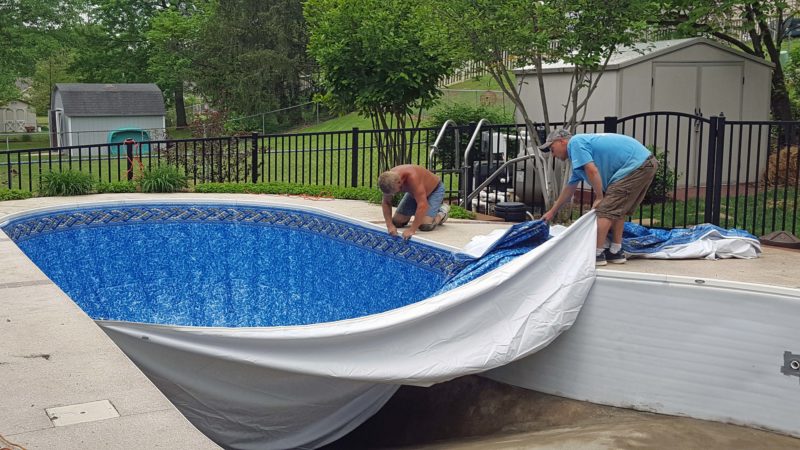
When one side was partially anchored, B & D attached the other side.
Almost finished. B & D left the open area across the steps for last.

Here’s the “shallow end” sticker at the stairs, verifying that the liner is in the correct position.
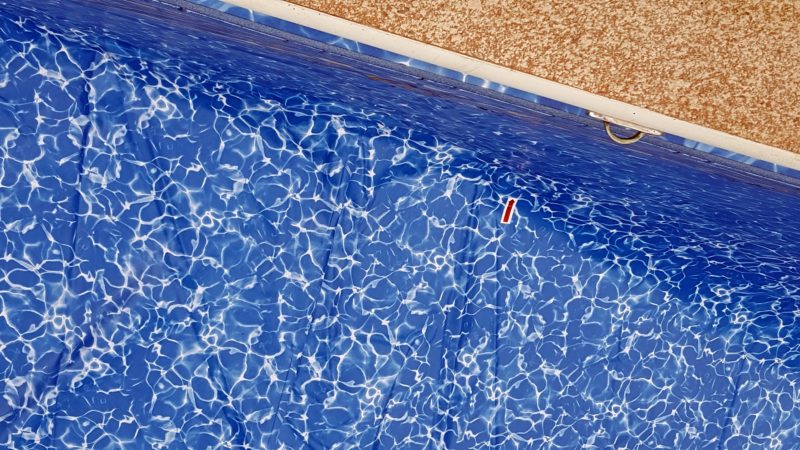
A red arrow sticker on each side of the liner indicates where the edge of the slant to the deep end begins.
The red arrows weren’t in the right places, so B & D shifted the liner around by sliding it along the groove where it’s attached. B slid some slack ahead to D, then D held the bunched-up part while B re-fastened what they had moved. They needed a 10-12 inch shift in position. When they finished, both red arrows were dead-on with the edge at the top of the slant.

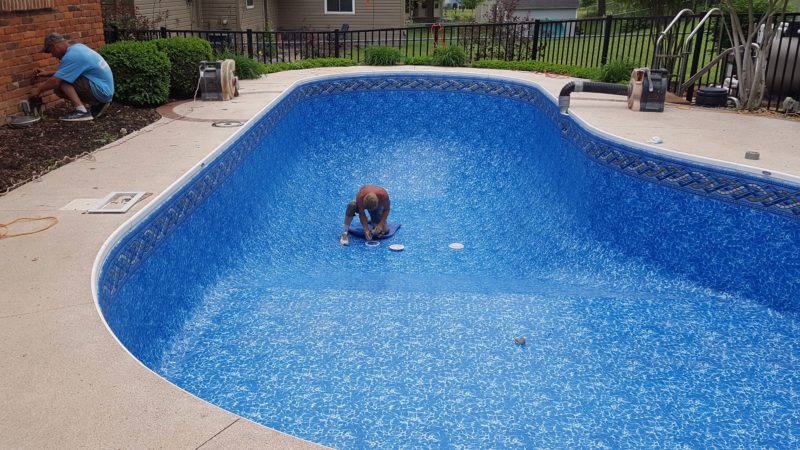
Once the liner was in place, a vacuum was inserted. We had to keep that noisy thing running while we filled the pool so there wouldn’t be any air bubbles under the liner.
While the vacuum roared, Bruce started removing the wrinkles. Option One was to kick the liner (gently, with soft shoes) toward the edge where the side meets the bottom.

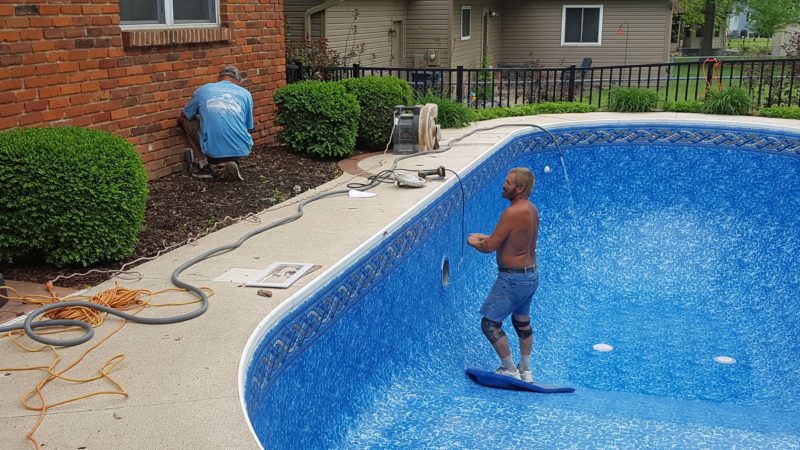
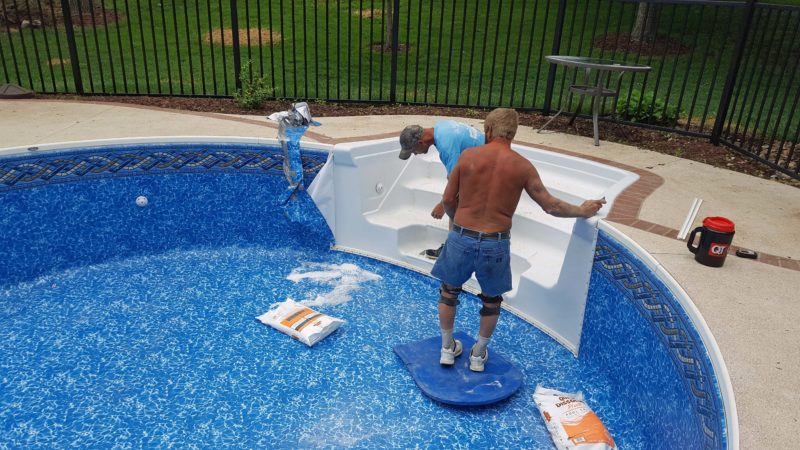
Bruce “walked out” the remaining wrinkles in the center with (what else?) duct tape. He used two rows of duct tape, releasing the far piece of tape on the side toward him while pulling the near piece toward himself to shift the wrinkle in his direction. Then he fastened the near piece over the wrinkle and repeated the process a little farther toward the edge until he could finish by kicking it into the corner as in the photo above. Slick trick!
All those hardware openings needed to be found again, this time in the liner. Bruce started with the drains, . . .
. . . then the jets, . . .
. . . and finally, the light and skimmer–coming next on the left of the light. You can see the top of the skimmer opening on the pool deck.
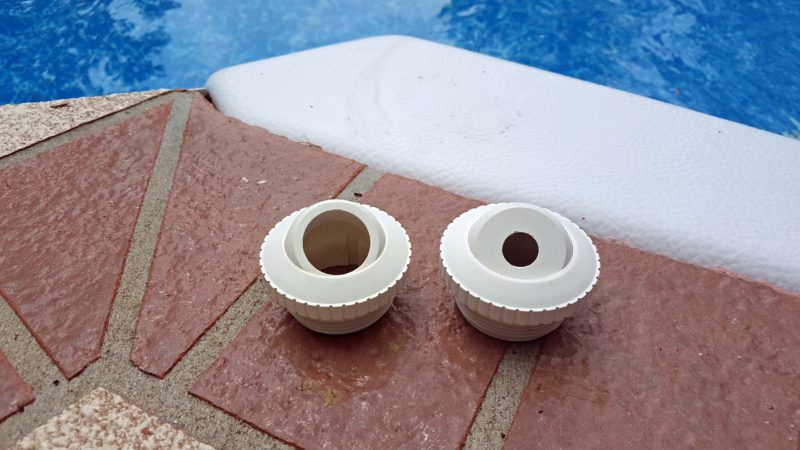
The jet hardware on the left is old; the one on the right is new. The opening in the old one is bigger because it’s been worn away by the water shooting through it over the years. Science lesson: friction and water power in action!
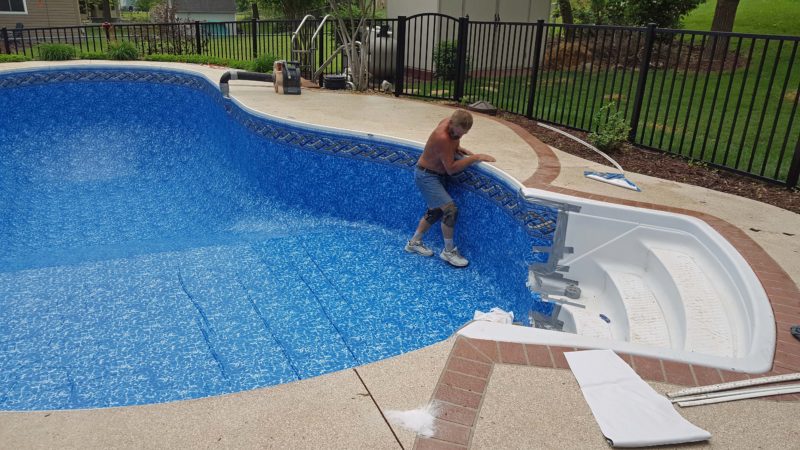
Last, Bruce cut the liner so we can access the pool from the steps.
After cutting the liner away, B & D put the trim around the opening. We have a salt system pool pump, so Bruce used salt bags (to be added to the water later) to hold the liner in place after removing the wrinkles.
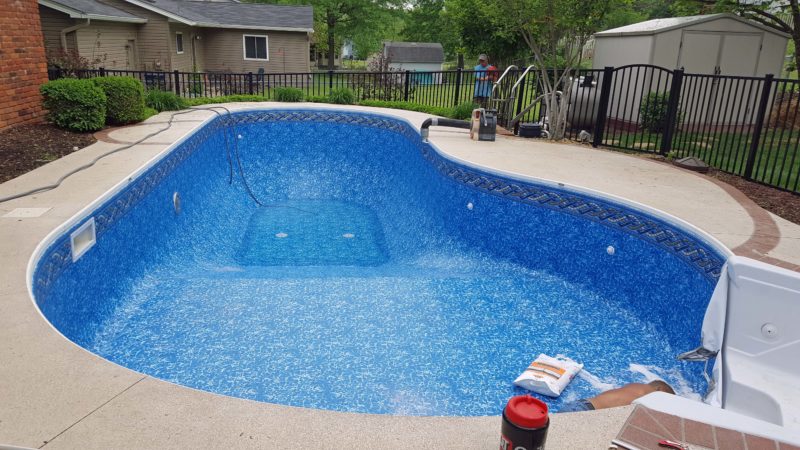
Finally, we were told to start filling the pool. Yippee! We were directed to fill it only to the bottom of the first step so that B & D could smooth out any wrinkles that developed with the weight of the water in the liner. They can’t do that if there is too much heavy water sitting on it. After they took out the 5 or 6 new wrinkles, we were good to go to the top. It took more than 14 hours with two hoses to fill the entire pool.
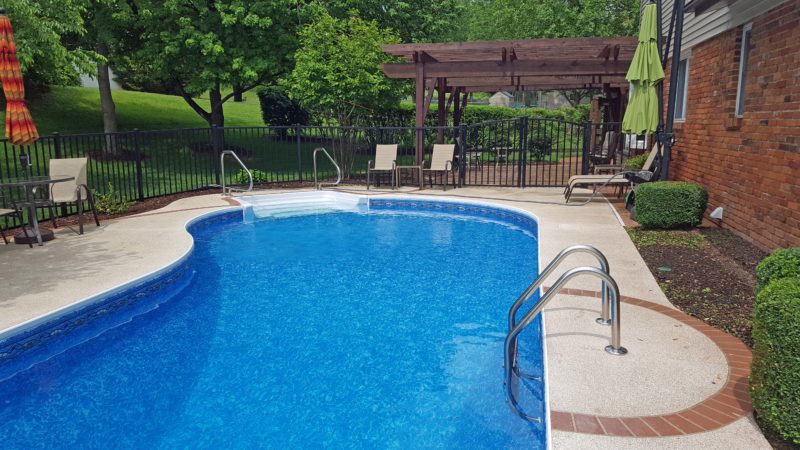
Today, a crew came to re-install the ladder and railings, to add the necessary chemicals to the fresh water, and to activate the pump and heater. Houston, we are “go” to swim!