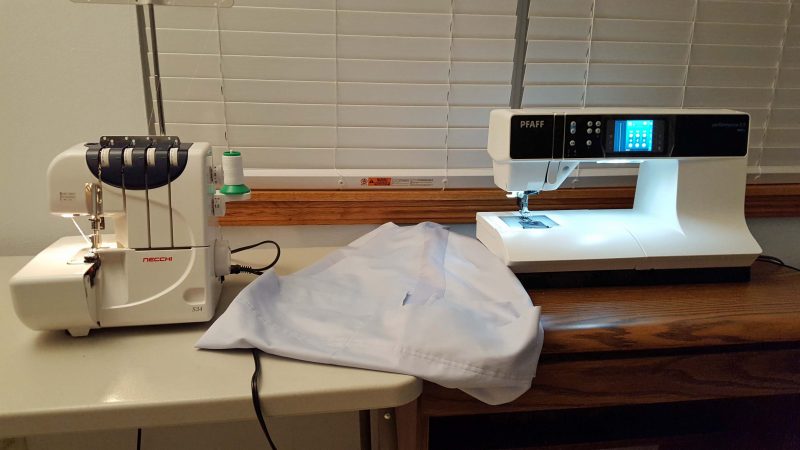
I bought a sewing machine and a serger just before Christmas, and finally had time to play with my new toys today.
The lady at the sewing machine store showed me how to knot the threads and just pull them through the serger to change colors or spools. After that, she made me thread all four spools on the serger from start to finish. She said I’d need to do it sooner or later when a thread breaks. Aaarrrggghhh!!! May my thread never break! Imagine my relief when I saw that my serger came out of the box threaded. Whew!
It took me about 30 minutes to get the sewing machine threaded and a bobbin filled. Basically, the thread pattern through the machine is similar to my old sewing machine, but all the hooks and holes look different and I had to figure out what each little gizmo looked like so I could put the thread through or around the correct gizmo. There have been some changes in the last 50+ years. Last week, I bought some remnants so I could practice sewing and get used to my new machines. I sewed and serged one six-inch seam, then declared myself ready to roll. Confidence, yes!
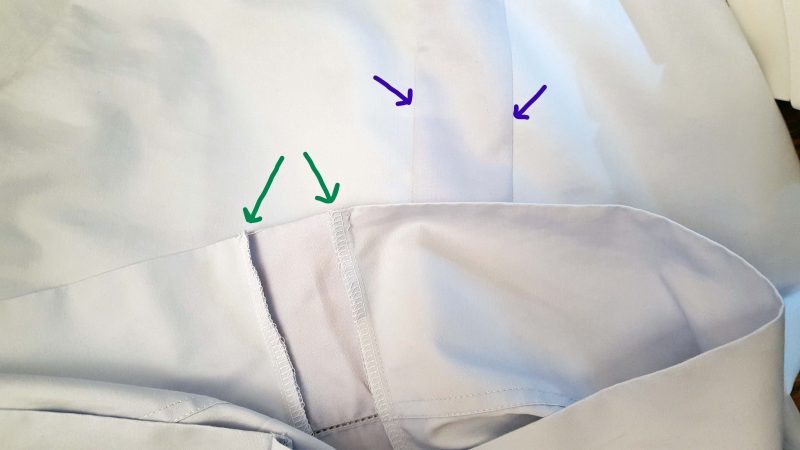
My bed pillow is fat and has to be stuffed tightly to fit a standard pillowcase. That makes the pillow so hard, it’s not comfortable. Being a clever seamstress, I bought an extra matching pillowcase, cut a strip from it, and add the strip to the “real” pillowcase to make the pillowcase a little wider, allowing the pillow to be softer. We had to buy new sheets for our new mattress, and today was the day to ditch my old pillowcase and adjust a new one for my fat pillow. Success and a new pillowcase for me tonight.
Most fun I had: Automatic needle threading and automatic thread cutting. Woo-ee!
Most important thing I learned: It takes a lot more time and space to set up two portable machines than to open one machine that’s installed in a cabinet. I need a better set-up for future sewing.

Serger, pillowcase, and sewing machine.

Finished expanded pillowcase. Purple arrows show the outside; green arrows show how I can do serging on the inside now. Mm-mm good!