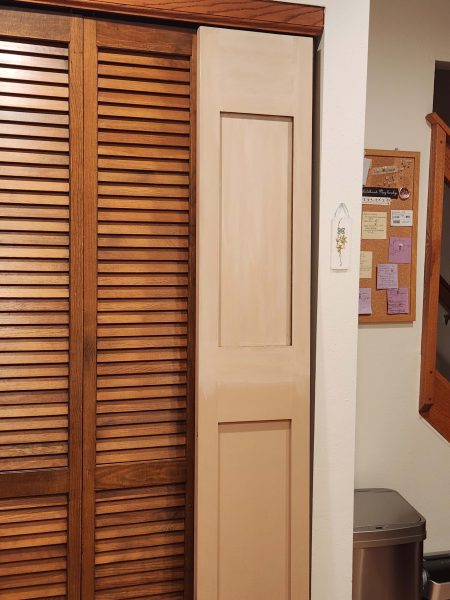
When Ted and I updated our kitchen in 2023, we replaced all the cabinets, but we kept the original 46-year-old louvered pantry doors because we didn’t know what style of new doors we wanted. (The cabinet manufacturer did not make bifold doors.) If we could see the new cabinets in place, we thought it would help us decide what kind of doors would look nice with them. Unfortunately, that didn’t help at all. Searching websites for bifold doors didn’t help either. The doors we liked were not bifold, and sliding or swinging panel doors were not an option, given the space we have to access the pantry. As time went on, the old, louvered doors looked worse and worse to us and more out of place with the new cabinets, but we still hadn’t seen anything we liked.
One night, I was reading a book and descriptions of the house in the story kept mentioning shaker doors and shaker cabinets, etc. If “shaker” was going to come up so often in the story, I needed to know what kind of picture to put in my mind while I was reading, so I searched for images of shaker doors. When I saw them, I showed the images to Ted, and bingo! They were just what we needed to complement our cabinet doors. The problem: all the doors came primed, unfinished, or finished with a color we didn’t like. Before we could move ahead and order the doors, we needed to decide how to finish them. When we pictured a uniform coat of paint, it seemed like a huge, 4×8 blank, block-like look, and we didn’t want that.
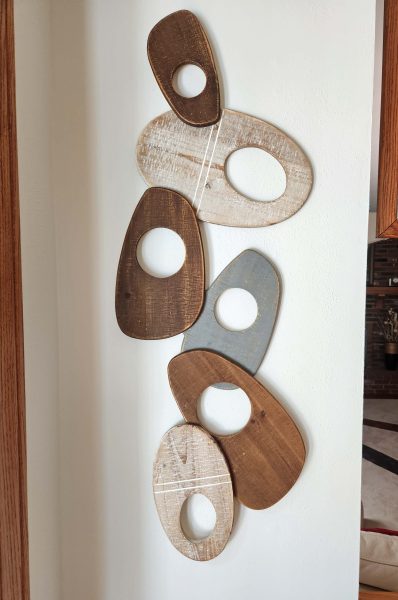
As I was looking around our kitchen one day, my eyes fell on the light parts of this wall sculpture we have, and a light bulb went off in my mind. I held the light pieces over our louvered doors and against the wall paint, then against one of the kitchen cabinets, and it looked good. Whitewash, I thought. That’s the finished look we needed! It would be more visually interesting than solid-color doors.
It wasn’t that easy. We took the sculpture with us to select paint samples that would look nice with a whitewash over them, but we didn’t like any of them. I contacted some painters for guidance–and perhaps a quote to do the job for us–but they didn’t seem to know what we were talking about. How tough is it to put on a decorative coat of paint? Did we really think we could do this?
Next, we went to an art studio for help, but they specialized in decorative glass and metal pieces, not walls or furniture. No one seemed to have any idea who else we could ask, and we didn’t want to order the doors until we knew how to finish them. Lacking in-person guidance, I went to YouTube to look for whitewashing videos, hoping for a clue. There were a lot of videos about whitewashing, but except for learning that the paints need to be diluted with water, I didn’t see any finishes that looked like what I had in mind.
While I was searching, however, I came across a video with “colorwashing” in the title, so I clicked on it. It was closer to what I was looking for, but the lady was painting walls, and that wasn’t the look we wanted. Still, that gave me a new word to search: colorwash. Whitewashing videos far outnumber colorwashing videos, but I came across two that were doing what I knew Ted and I wanted to do. I played them, took screen shots, and made notes. (Once a student, always a student.) Feeling confident we could handle this, Ted and I ordered bifold, unfinished shaker doors. We wanted to finish the doors at least two weeks before the carpenters arrived to start our laundry room update so that the paint would be completely dry and wouldn’t chip easily if it bumped against something during the installation process. We had to get going.
And then the stress began. The doors were pretty expensive, and neither Ted nor I come close to being described as “artistic.” I can draw stick people, line outlines of a small house, and trees like first-graders draw them–a brown stem with a green cloud-like top. Ted might not be even that good, so I started getting stressed about how the responsibility of artistically finishing the doors might fall on me and how I might ruin expensive doors. Then I remembered something my mom used to say: “The only things I don’t know how to do, I just haven’t learned yet.” That’s a good axiom. I decided take Mom’s advice and to give colorwashing a try.
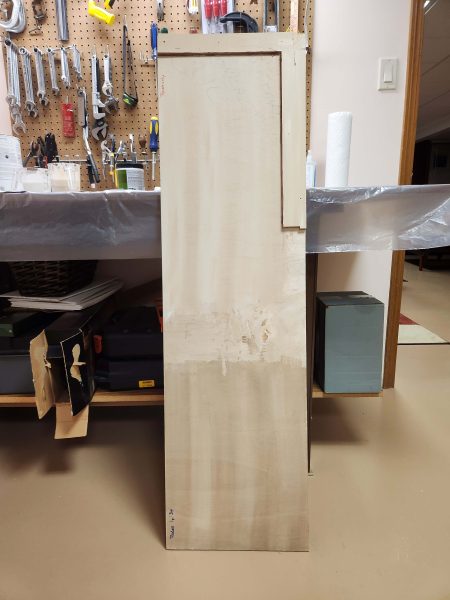
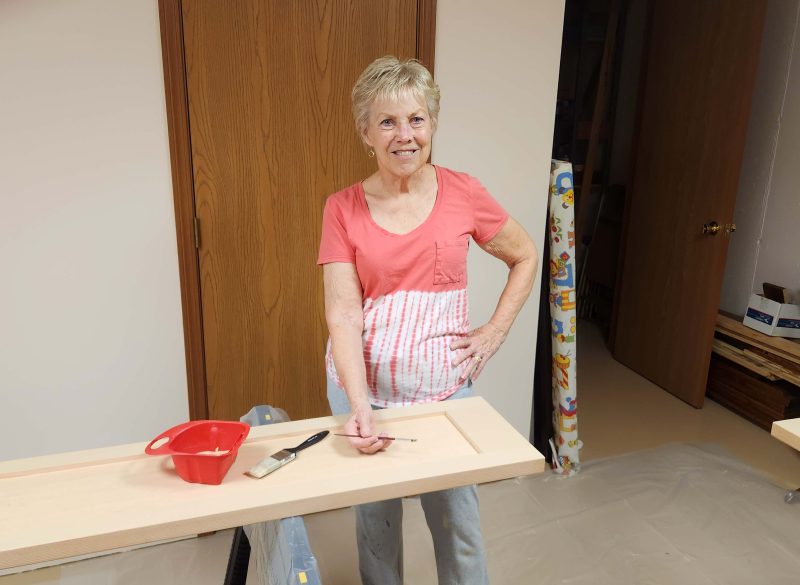
The videos mentioned that practicing before doing the real thing is a good idea. I definitely agree, so we went to Home Depot and asked where we could find a flat, naked piece of wood smaller than a 4×8 sheet of plywood. The man walked us to the back corner of the store, pulled a sheet of wood about 18 inches by 4 feet out of a large trash can, and handed it to me. There were no tags to scan, so I asked him, “How much?” All the wood in the trash can was scrap lumber, so it was free. Great!
The first thing we had to do was select a color for the base paint and a color for the wash paint. We also bought the supplies the video told me we’d need: regular and feathering paint brushes, small containers to mix the paint and water, measuring cups/spoons to measure the proportion of water to paint so we could repeat it for the next batch, etc. We started with sample-size cans of paint in case we had chosen the wrong colors. (Remember, not artists.)

Spoiler alert: Step-by-step instructions of our mistakes and successes follow, just in case we forget how to do it another time in the future.
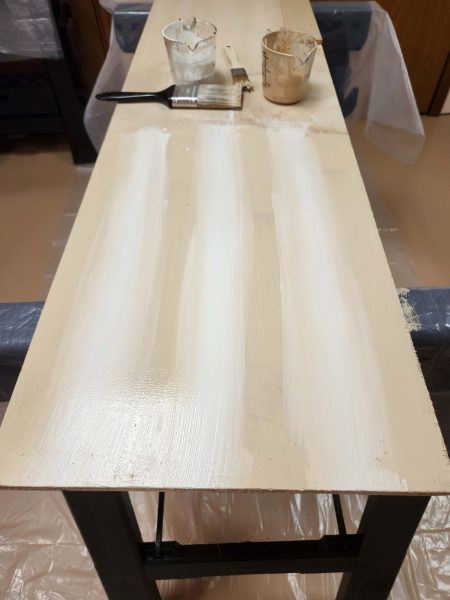
We started by putting two coats of the base color on our Home Depot practice board.

We tried different water-to-paint ratios and different brush strokes. Some on-line advice suggested a 3-to-1 ratio of paint to water, but that was too runny. After several tries, using a quarter-cup of base paint and gradually adding fractions of a teaspoon of water to the wash paint, we liked the look and the working viscosity of the paint with a wash ratio of 12 parts paint to 1 part water–a long way from 3-to-1!
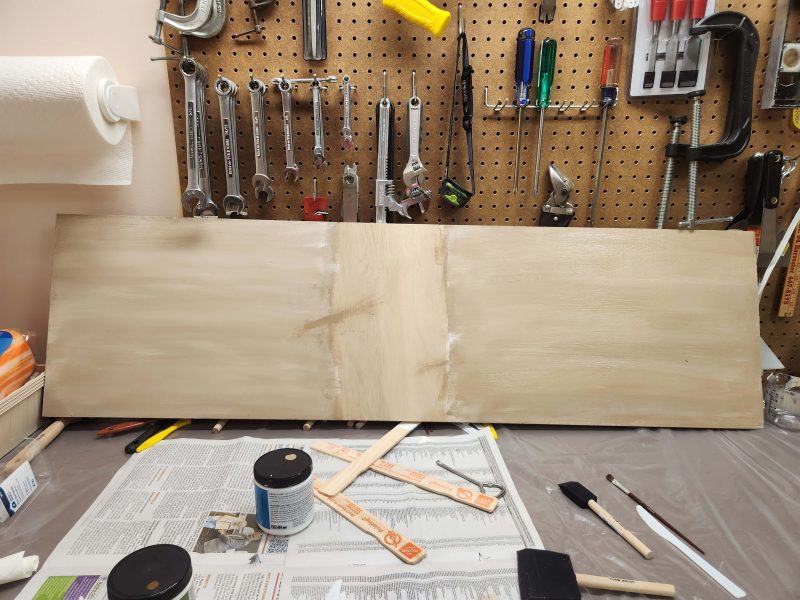
When we thought we were close, we took the sample board to the kitchen to check the color match. Not good. It was far too yellow.
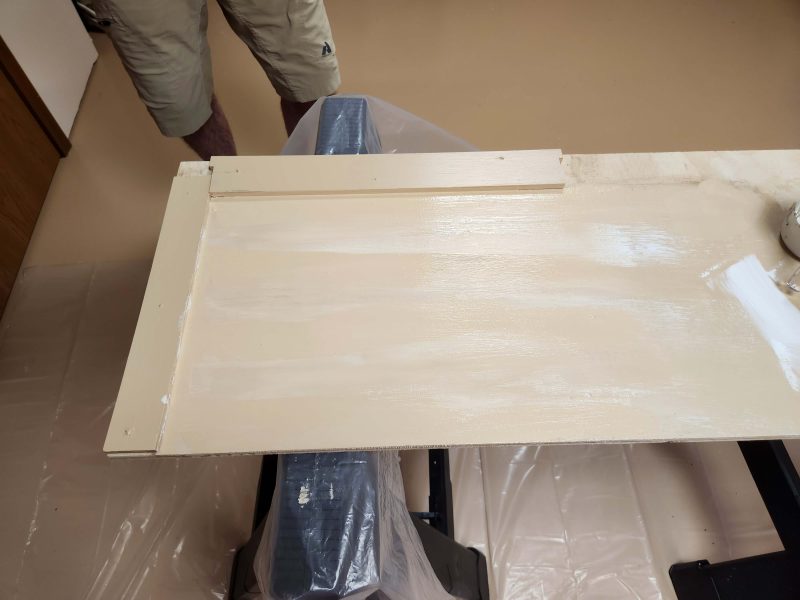
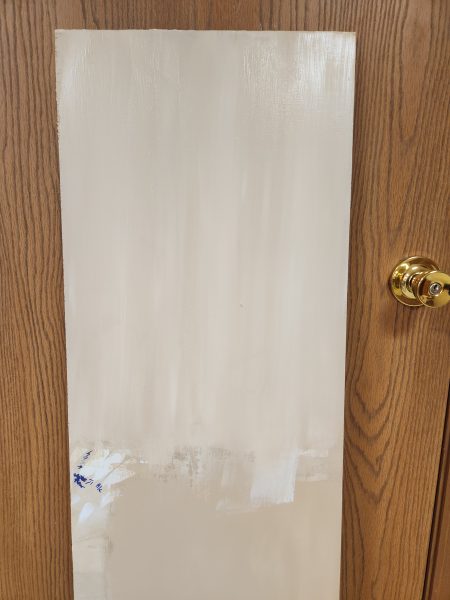
To get rid of the yellow cast, we decided to experiment with the extra-white ceiling paint left over from our 2022 house update. First, we brushed alternating columns of white over the dry base color.
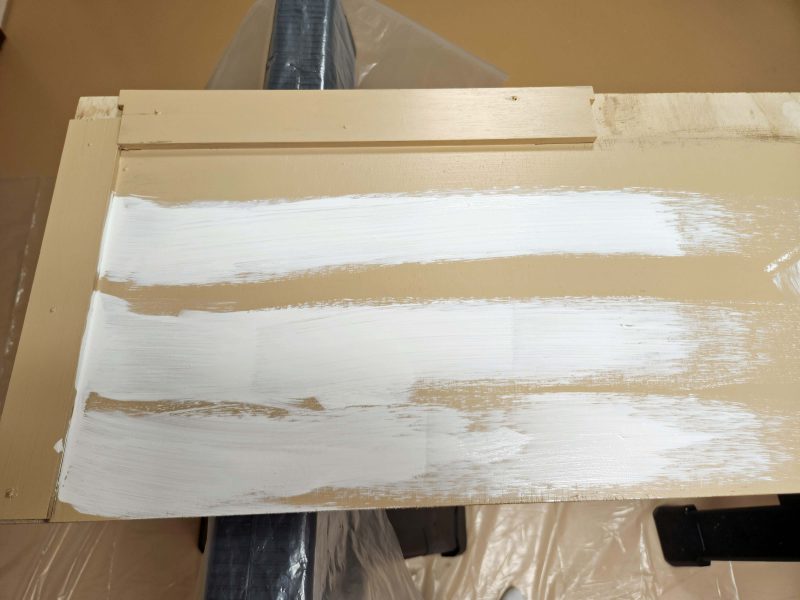
That didn’t work because the wet paint couldn’t blend with the dry paint, so we got stripes instead of a faux wood-grain look.
Then we tried it again with a fresh coat of wet base paint.
The wet-on-wet was better, but still turned out too stripe-y, so we tried dashes made by tapping the end of the paint brush on the wood.
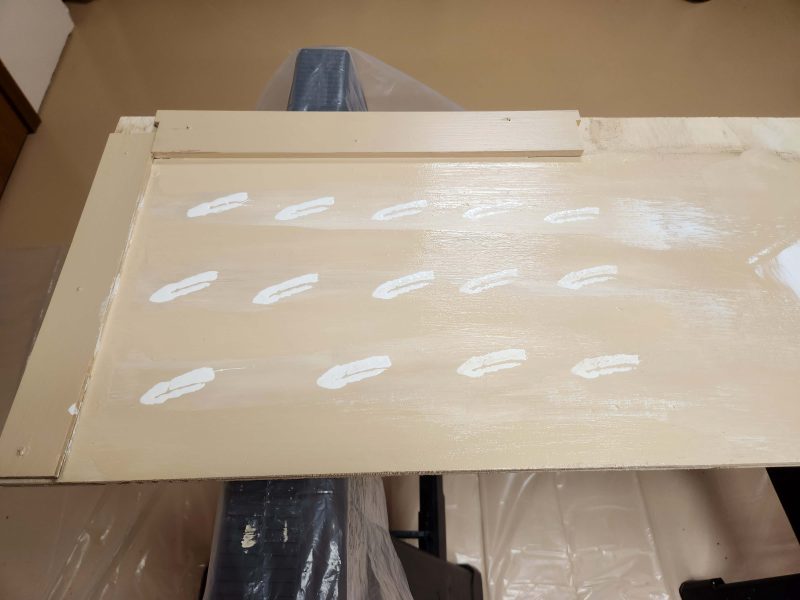
That also looked too much like white stripes and was too white instead of evenly blended with the base color. While that paint was still wet, we dotted the white stripes with some of the base color and blended that in.
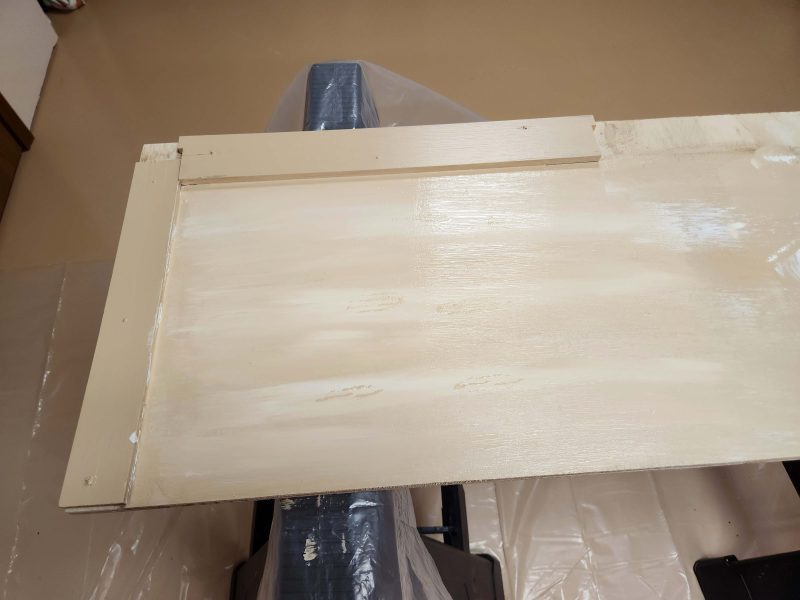
Not bad. That helped. The color looks better, but the stripes are still too visible and the finished look is too white. We went back to the practice board, re-painted it with the base color, and tried some other techniques. We soon lost count of how many coats of trial paint we applied to both sides of the practice board.
We’d been wondering if it would add visual interest to the doors if we painted the inside of the door trim edges dark brown. We found a can of brown paint left over from another project and tried it.
After days of experimenting with methods of how much to thin the paint, how much of each color to use, how to apply the wash color, and how to satisfactorily blend the two colors, we decided we were close enough to give colorwashing a go, but to be safe, we’d begin by working on the back side of one door. The only way to see the color on the back of the doors after they’re installed is to remove them and turn them around. If the colorwashing didn’t work, we could just paint over it with the base color again–our original plan for the back sides.
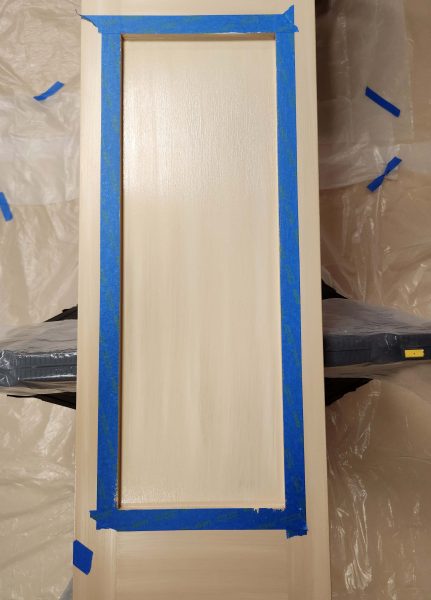
Good-bye, practice board. We went back to the basement and put two coats of the base color on both sides of the doors.

Working on the back side, we decided to try staggering, narrower streaks of white to avoid the striped look we’d been getting.
Staggered wet white on the wet base color is looking good. Keep blending.
There we go! Success! Just a little more blending is needed.
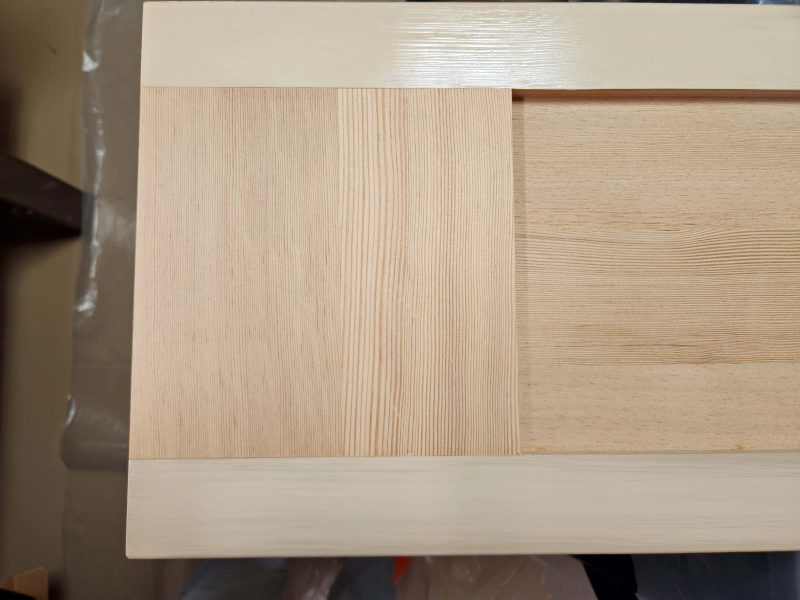
Our practice board pattern and color looked good when we compared it to the kitchen cabinet doors, and the back of this door matches it, Great!
We wanted to try the brown trim in a more realistic form than the practice board.

We only did the lower half of the door–again, because it was the back side and it was going to be re-painted in the base color anyway. We took it upstairs to see how the colorwash and the brown accent paint looked with the cabinets. The conclusion: the colorwash is satisfactory; the brown trim is a no-go.
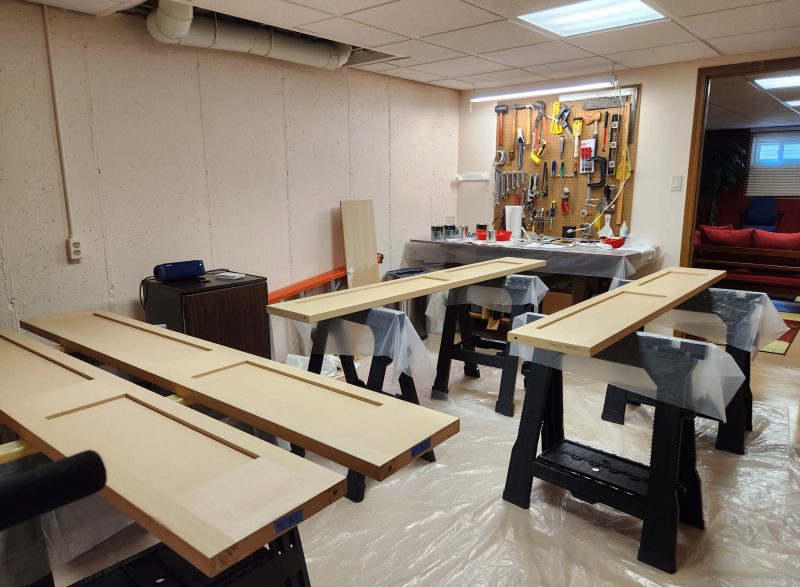
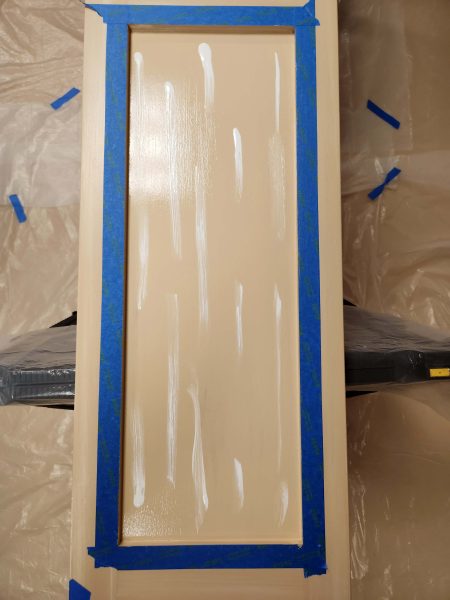
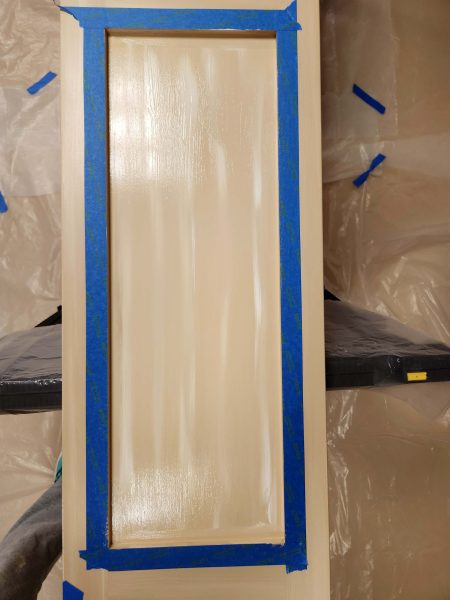
We went back to the basement to paint over that back side and to start colorwashing the front sides of all the doors. We decided to do the long, narrow outer trim strips first because we thought they’d be the easiest.
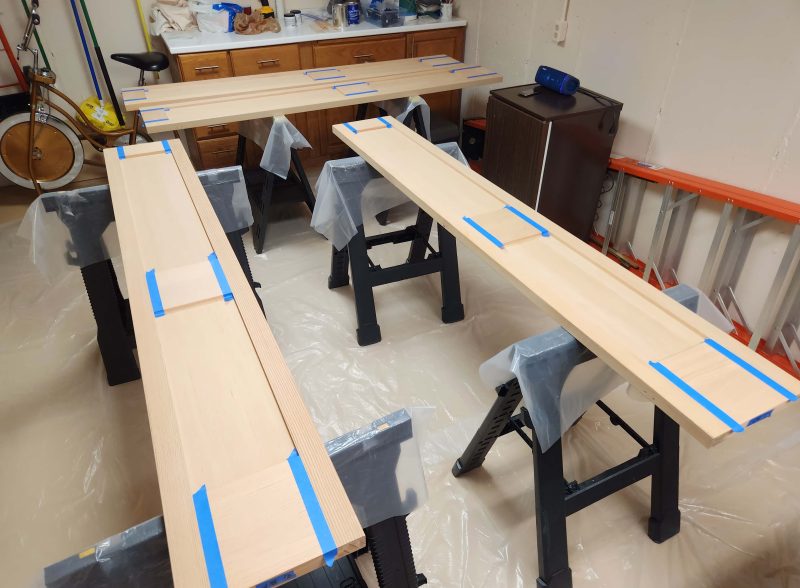
The blue tape left nice clean lines to colorwash in a horizontal direction next.
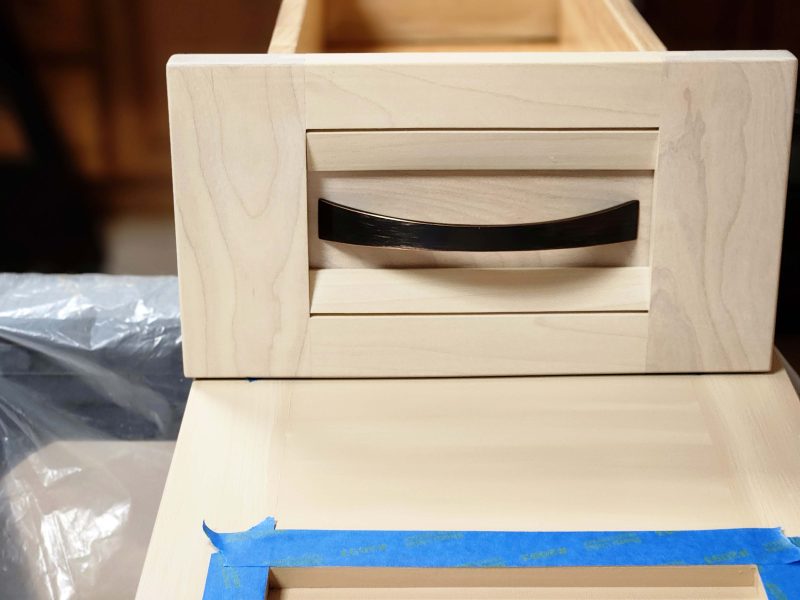
When we finished the front of one door, we pulled out one of the kitchen drawers to check our color match. Awesome!
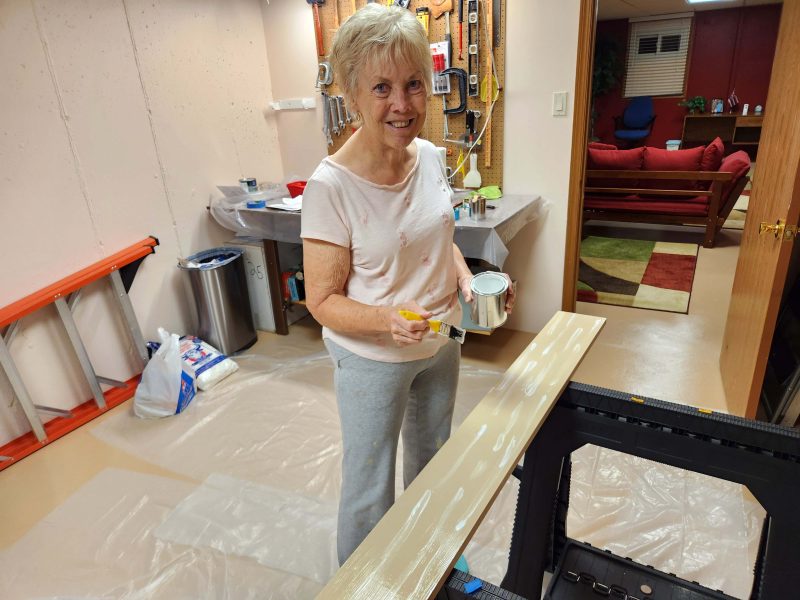
With everything figured out and working well, we could really get moving. Here’s Ted painting the base color on the inner trim.
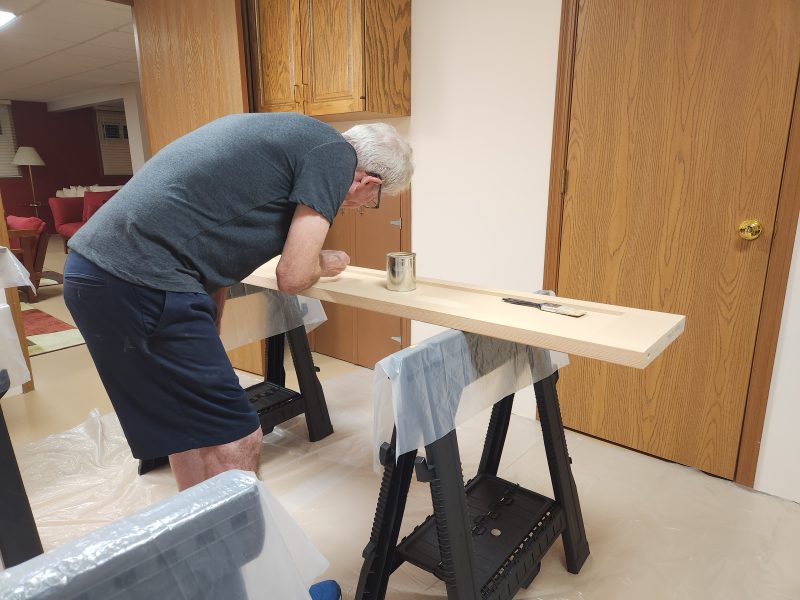
My job was to paint a skinny white line along that raised edge and then to blend it with Ted’s base color to colorwash the inside trim.
It took us about ten days to get from our first practice board trial to the last of the colorwash. Once we figured everything out, we averaged about an hour per door (front side only), including taping, painting, and colorwashing. We did the same thing on all four doors at once, then let the paint dry overnight so we could tape off the next section. It took three days to finish all four doors–vertical panels one day, horizontal panels the next, and inner flat surfaces last at just over an hour per day. After all the stress I suffered, what a breeze! Another thing my mom used to say was that anything you know how to do is easy. Right on, Mom!
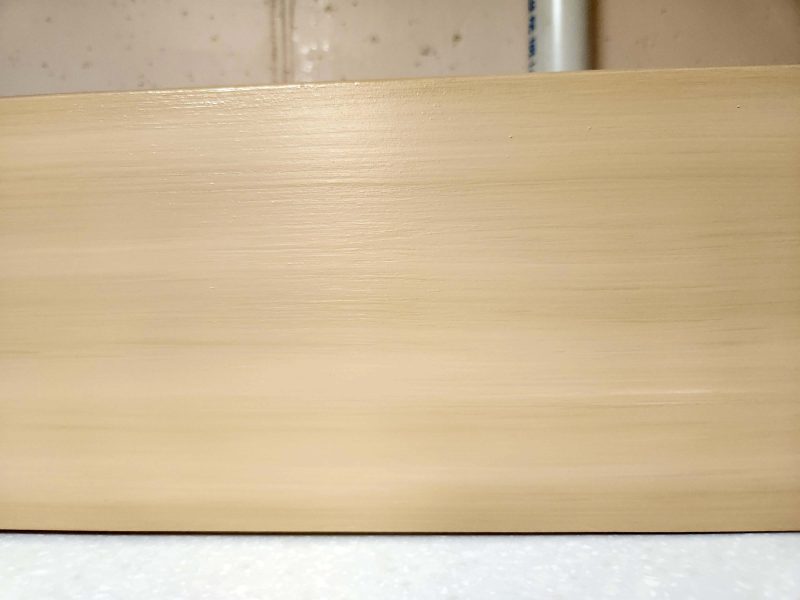
The doors are finished. Here I am, colorwashing the header that conceals the track from which the doors are hung.
This is the finished header trim. The camera picks up every detail. It actually looks far less striped in person.
We did a (slightly) better job of colorwashing in some places than in others, so we arranged the doors in the order we wanted them hung and numbered them. That put the less-than-perfect areas in the shadow of the island and the best areas in the daylight. (Clever, huh?)
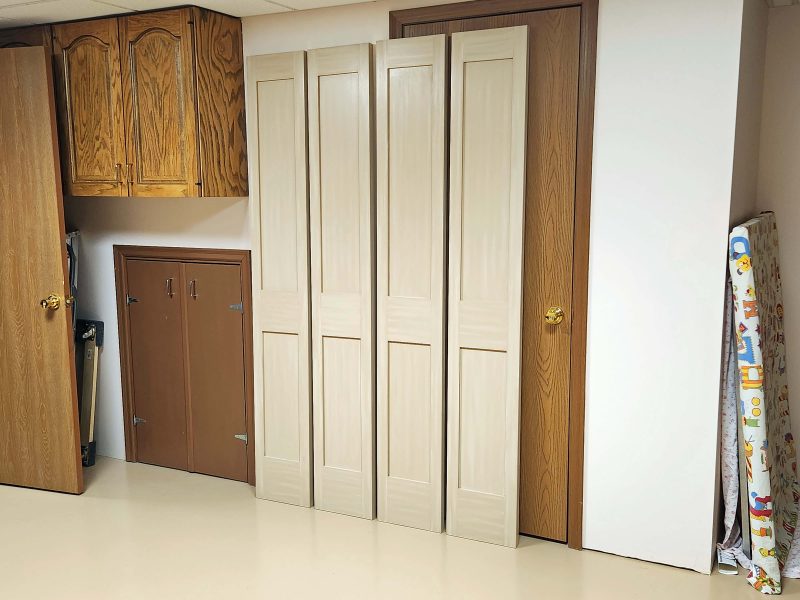
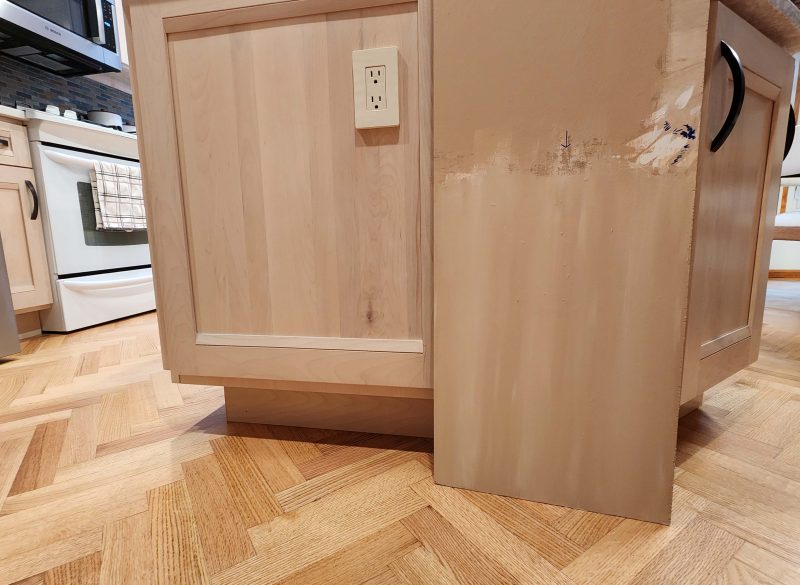
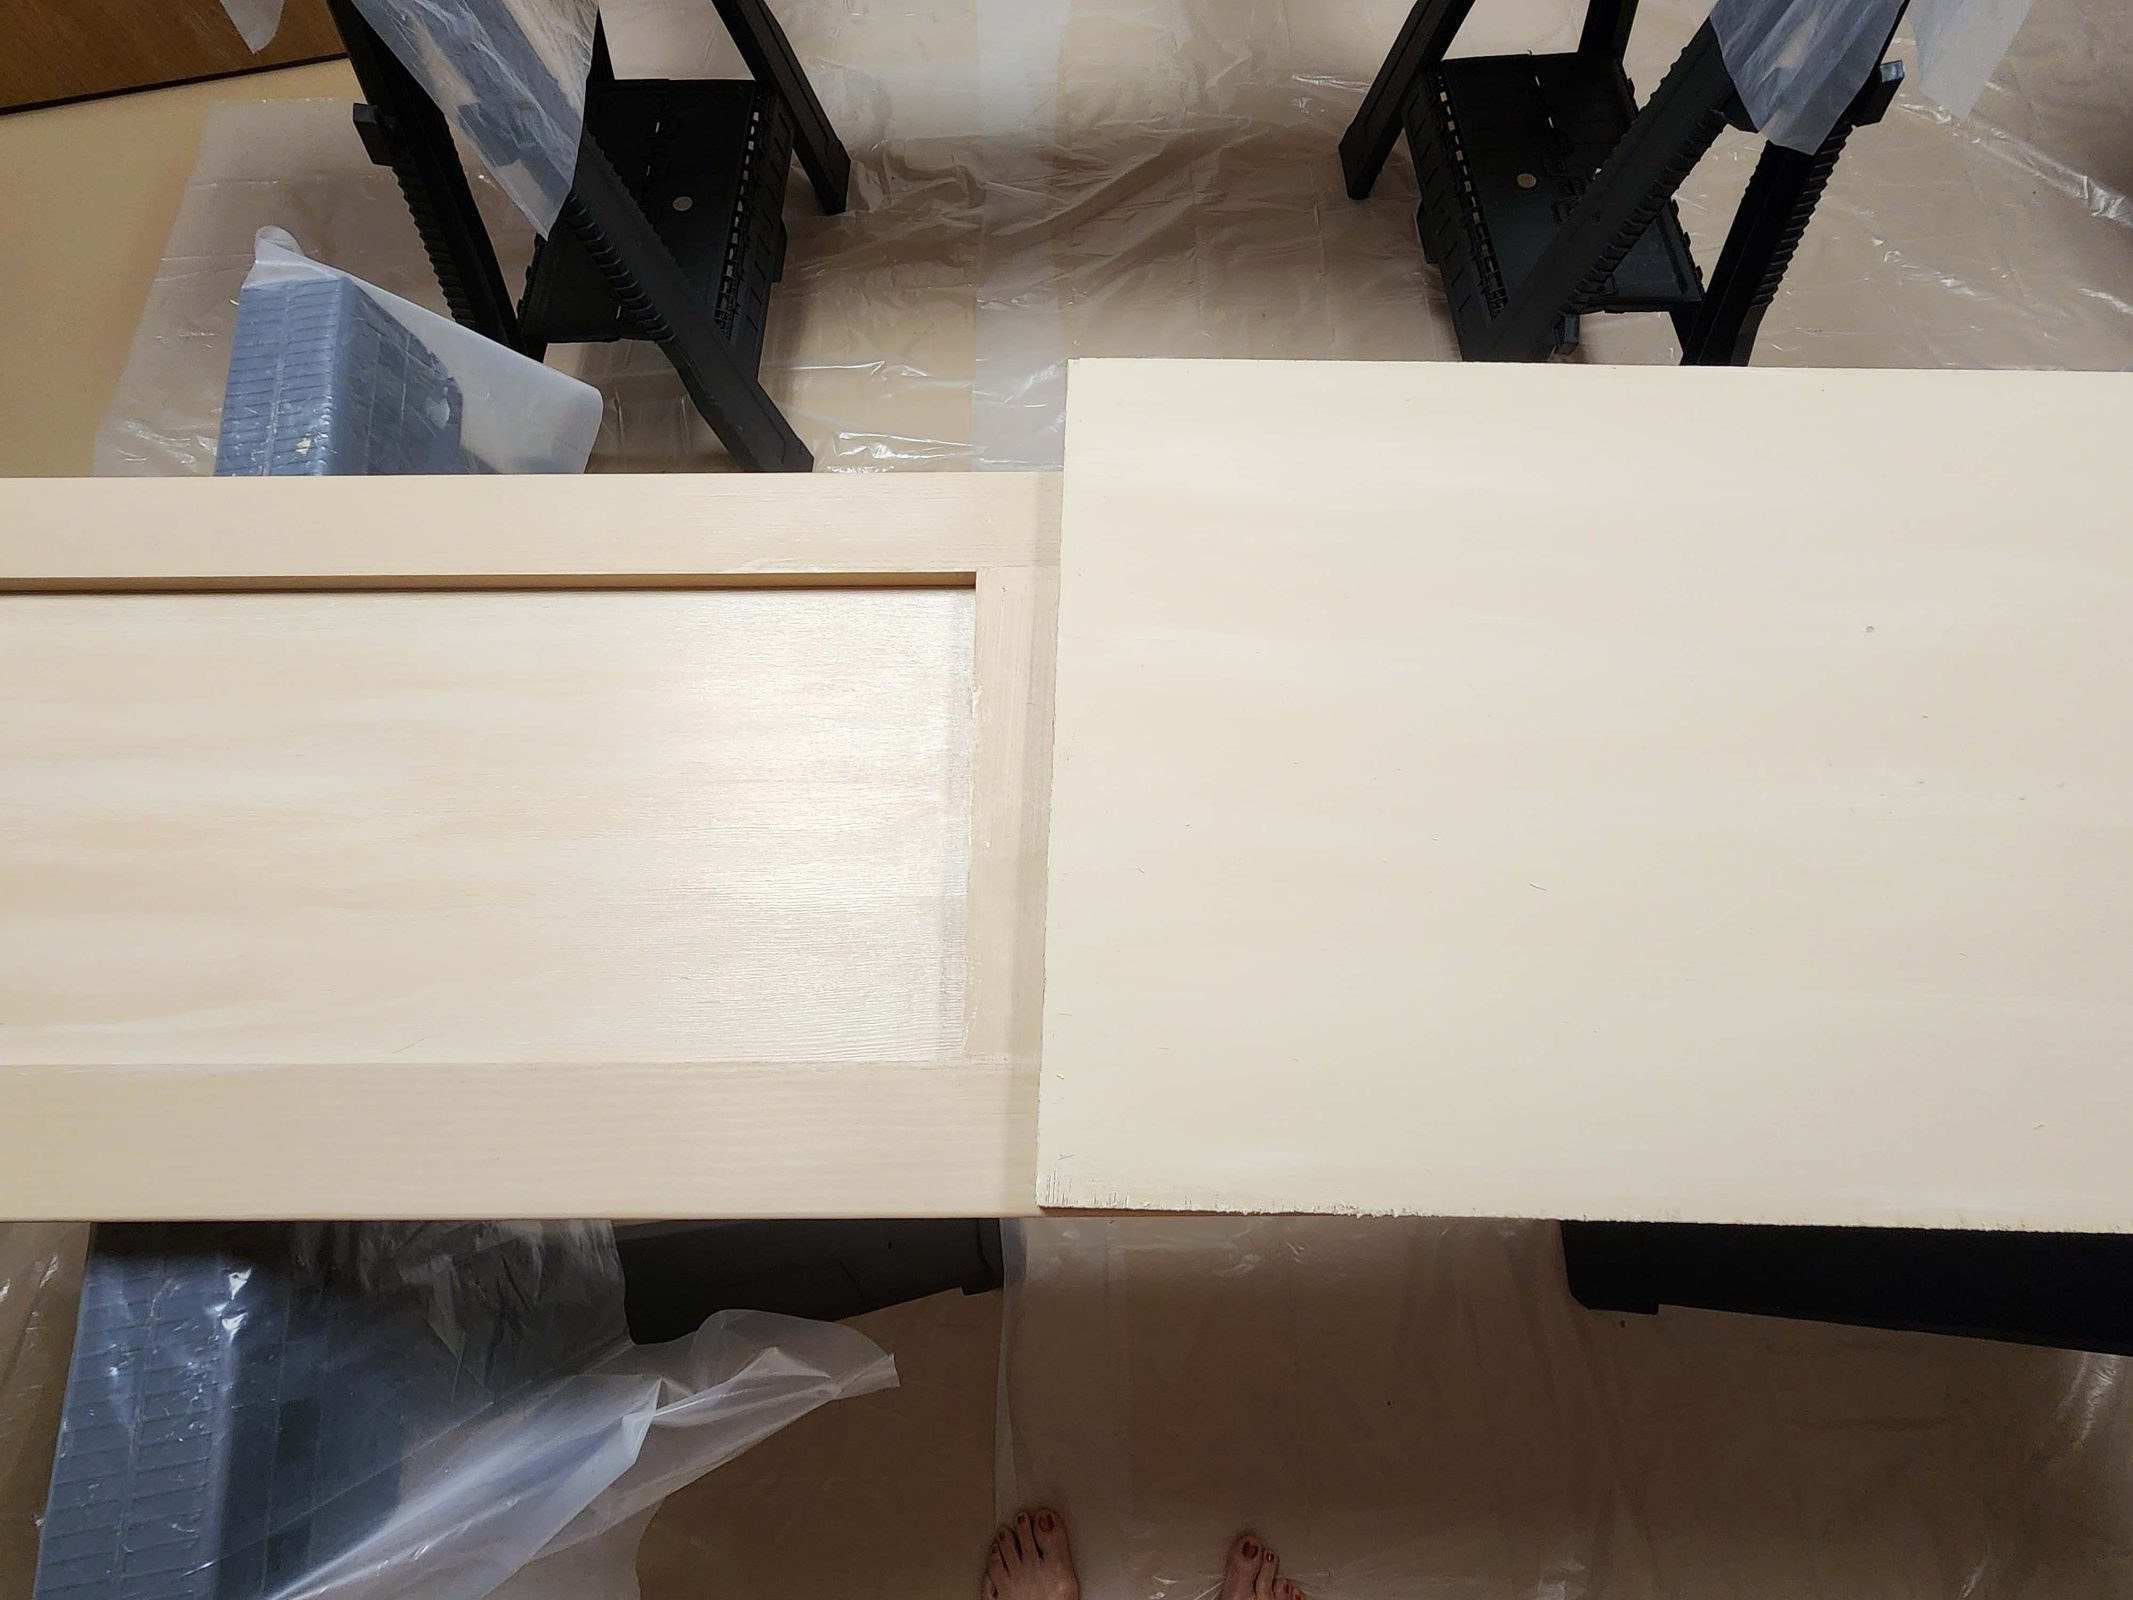
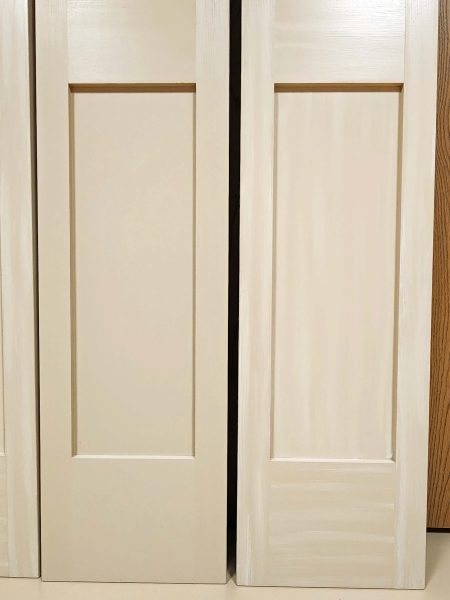
The door on the left is a back side with the base color. The door on the right is colorwashed.
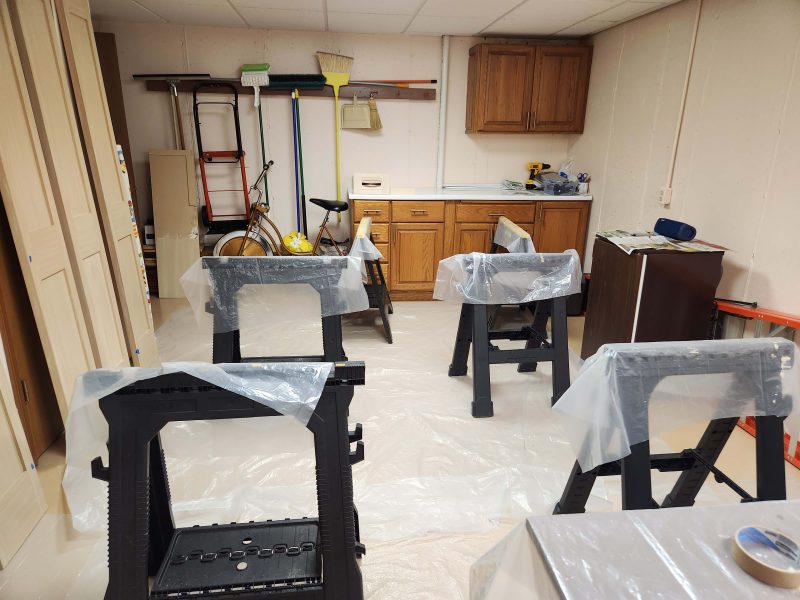
We’re finished! It’s time to put away the sawbucks and the painting tools.
When everything was cleaned up, we celebrated by taking a walk along the riverfront in St. Charles and stopping for hot fudge sundaes at Kilwin’s. Mm-mm good!

As Mom said, anything you know how to do is easy. Now Ted and I know how to apply a colorwash. Need help with your project? Give us a call. 🙂