The laundry room and pantry door stories should come first, but the carpenters–who were doing all three jobs–finished the basement first, so that’s where I’m starting.
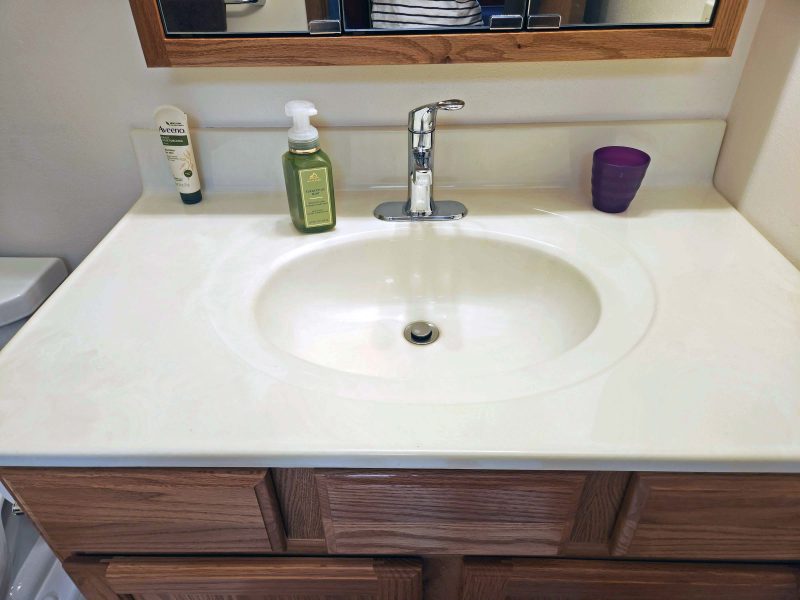
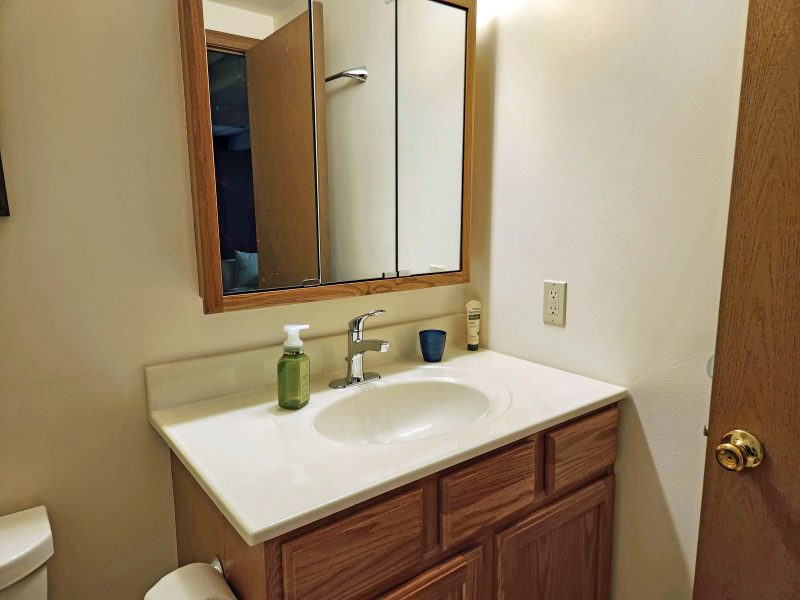
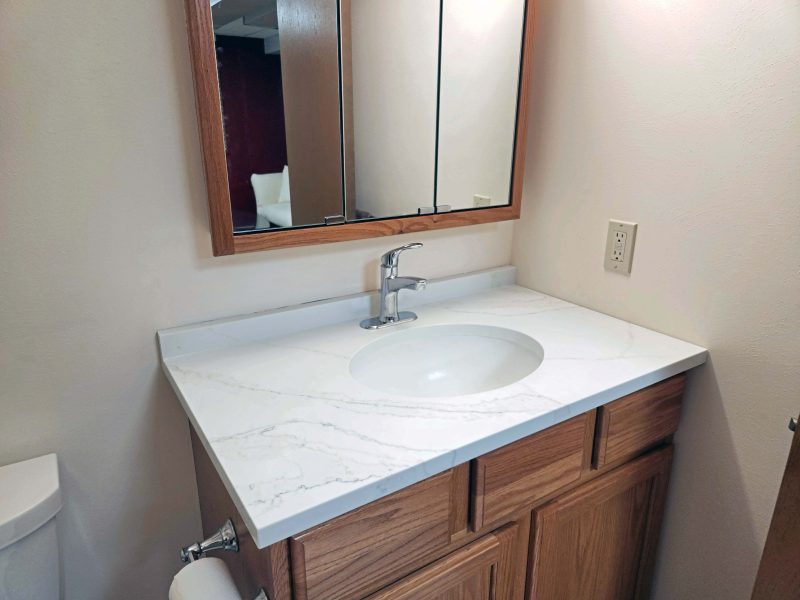
First, the basement bathroom. The sink in the next two pictures doesn’t look too bad but, in person, it had yellowed greatly and looked awful with the white tile floor, the white toilet, and the white shower. It was time for a new vanity top.
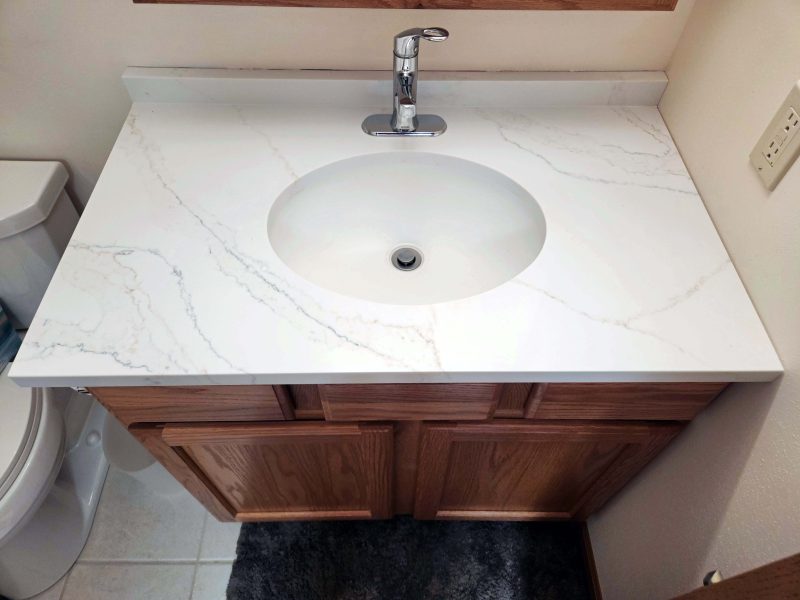
Our old sink was Corian; this time we chose quartz. While I was talking with the sales lady about the quartz top, she mentioned that the quartz used for countertops is not actually made of rock because quartz is not a rock. I tactfully did not correct her that quartz is, indeed, a real rock and that “quartz” countertops are fabricated to look like actual quartz rock. Here’s the not-real-quartz pattern we chose. It gives the bathroom a nice, fresh look.
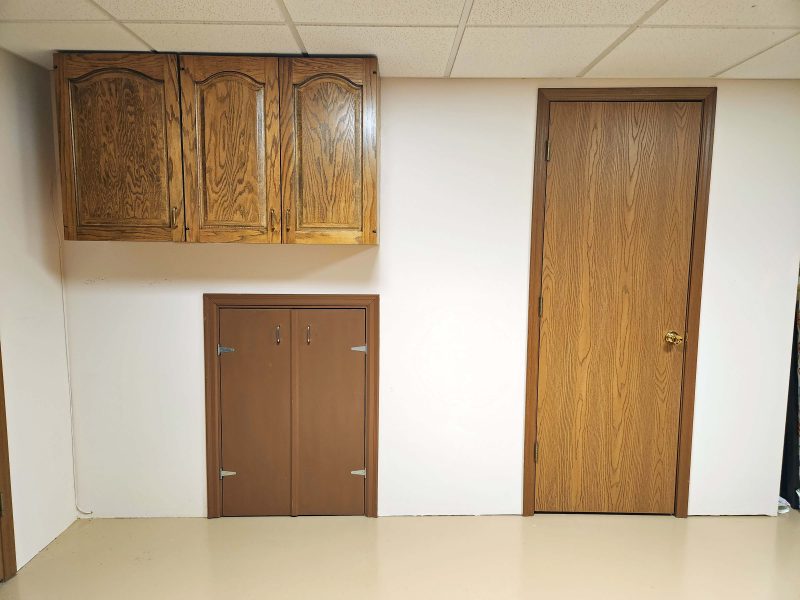
Back in 2023, when we updated our kitchen, we had some of the old kitchen cabinets installed in our basement workshop. There weren’t enough kitchen cabinets in the sizes we wanted to finish the job, so we planned to add old cabinets from the laundry when we updated that room. These are the last of the original cabinets that came with our new house 46 years ago.
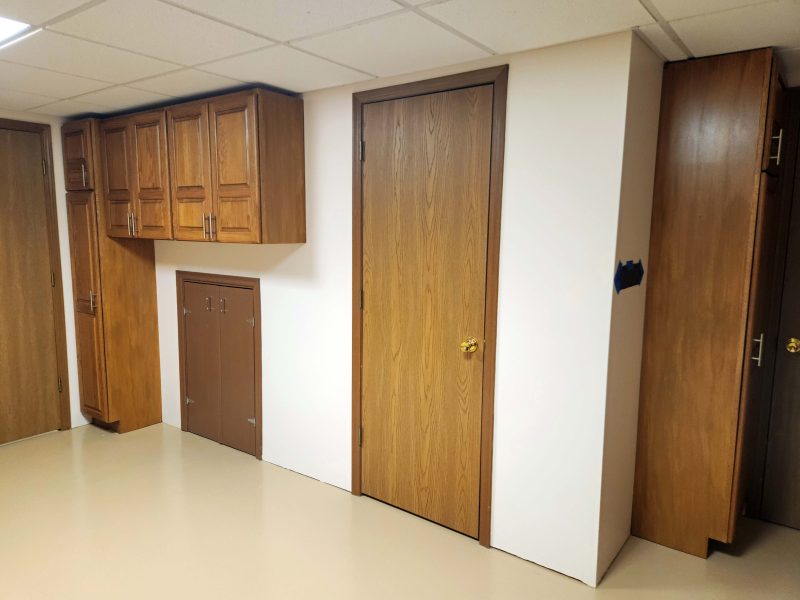
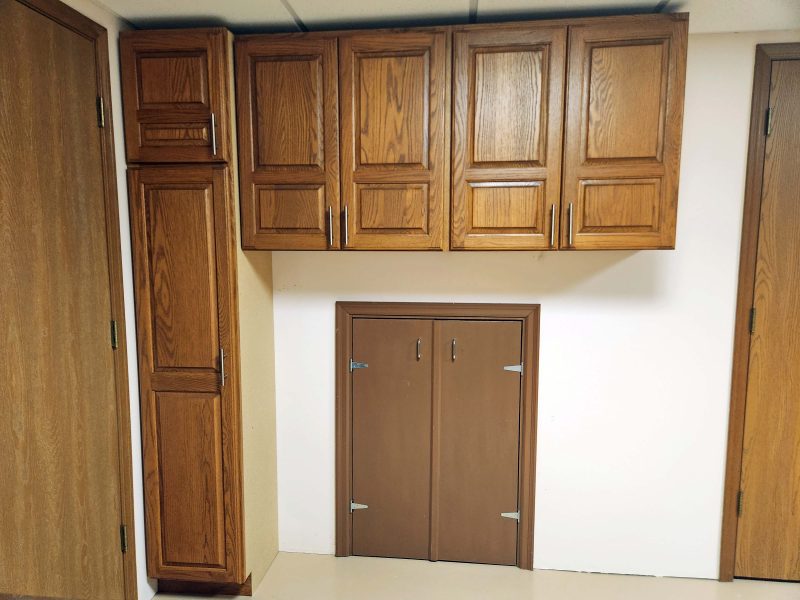
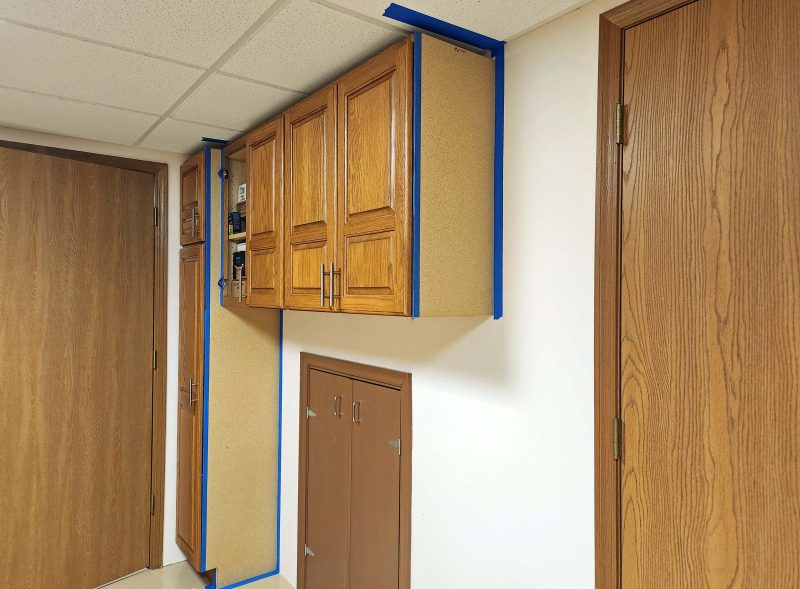
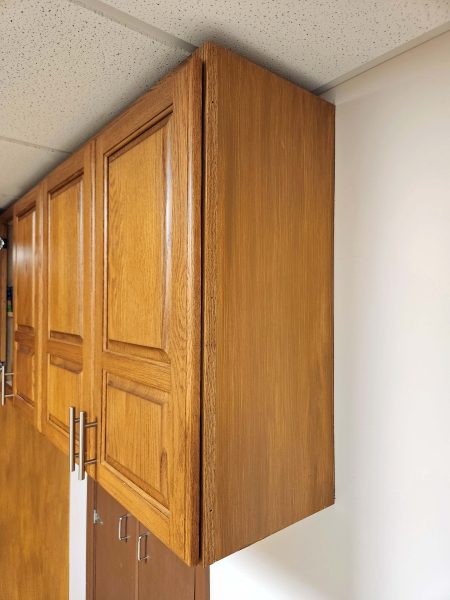
Now, those three (antique?) cabinets have been replaced with four (relatively) “new” 27-year-old overhead cabinets and a utility cabinet, plus another utility cabinet around the corner of this wall. The laundry room cabinets live on!
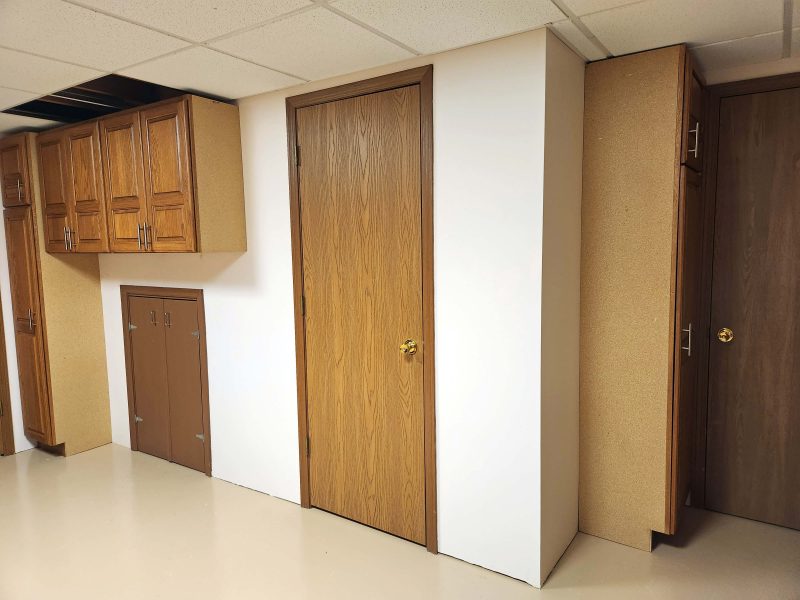
I didn’t like the seeing the three unfinished sides of the cabinets (they were originally against other cabinets or walls), so having learned how to colorwash (story coming up), I decided to colorwash the unfinished sides. Note: The crew replaced the missing ceiling tiles a few days later.
I got out my practice painting board, Ted and I selected paint colors that seemed to match the colors in the wood of the cabinets, and I went to work, trying a variety of styles and colors to choose which looked best. They were mostly awful!
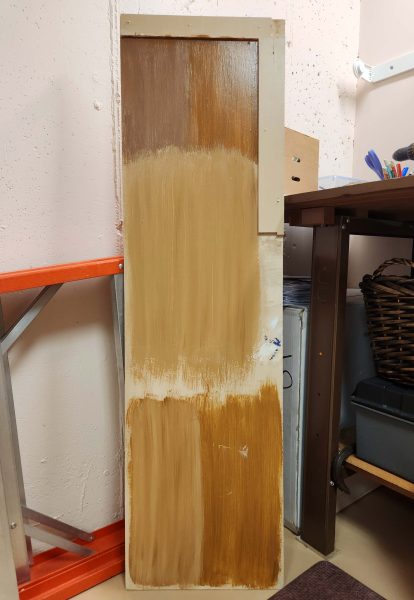
A closer look at the top right sample on my practice board showed a possibility. The base color paint showed through the colorwash paint, creating a wood grain appearance. The idea seemed so simple after what we went through with the pantry doors (yes, coming up). Just put on two coats of the base color and paint over them with a single coat of the wash color? How easy is that?!
I had to remove a cabinet door to paint the upper strip on the utility cabinet. Then I taped all the edges and started painting.
Here you can see the start of the first coat of the base color. The second coat looked far more uniform, as second coats usually do.
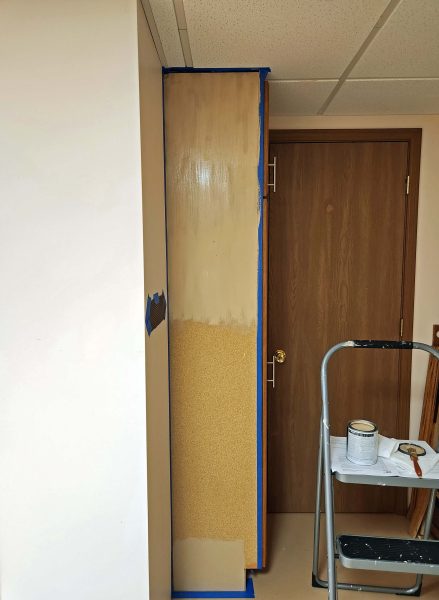
Here’s the faux wood grain look of the wash color. I used a feathering brush to smooth out the streaks a bit.
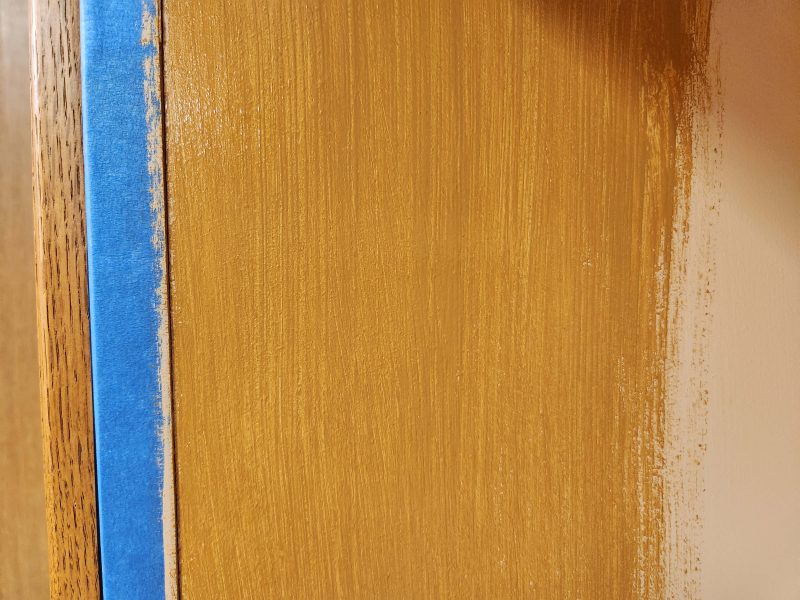
And here’s the result.
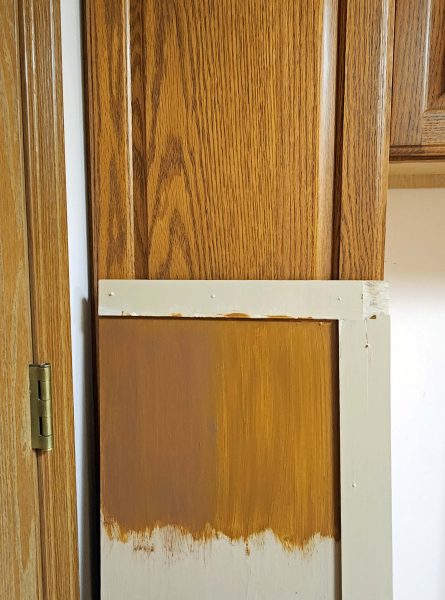
The strip between the two cabinet doors in the photo below is colorwashed. I think I achieved a pretty good color match.
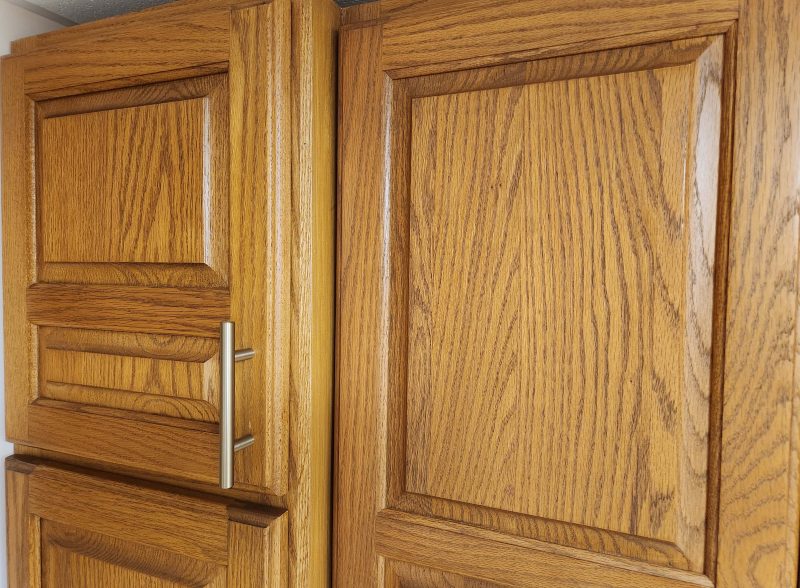
We like the finished look much better than those unfinished panels.