Ted and I started updating the interior of our house in 2022. We made electrical changes (halo lights in the ceilings, a light wall in the family room, etc.), we had all the walls painted, and we replaced all the carpeting. In 2023, we updated the kitchen. After that, the only remaining jobs were to refinish the hardwood floor, update the laundry room, and get some new pantry doors. Our current pantry doors were in the house when we bought it new 46 years ago. They held up well, but their age was showing.
We started by going to our favorite contractor to start planning the laundry room update. Of course, working with his designer, making choices from samples, selecting the cabinet style we wanted, etc. all takes time. Then the stuff has to be ordered and the contractor has to find a place in his schedule to do the job for us. Meanwhile, we decided to get started on refinishing the hardwood floors, which would take less time. In fact, they did the job a week after I called and finished it in four days. Wow!
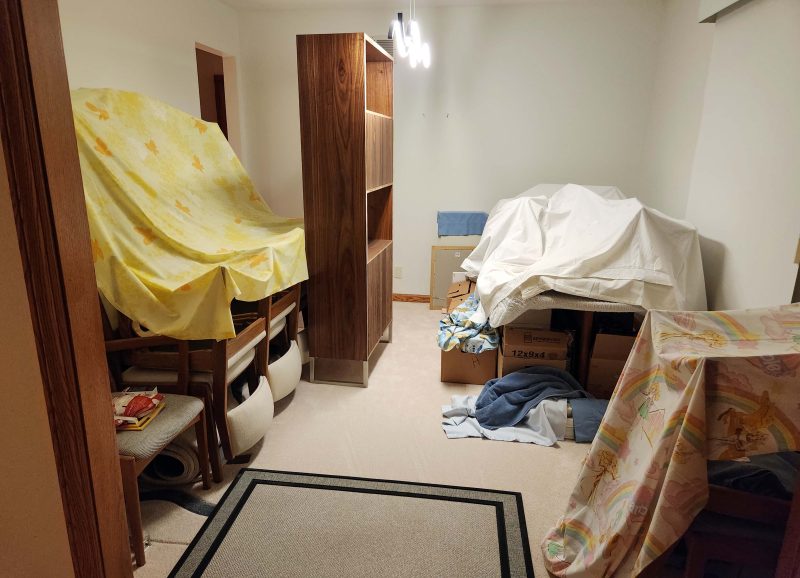
We started by emptying the pantry and the closets so the team could work on those floors.
We knew everything would get dusty from sanding the floor so, as long as we were taking down the blinds, we decided to wash them. There was lots of floor space to do it.
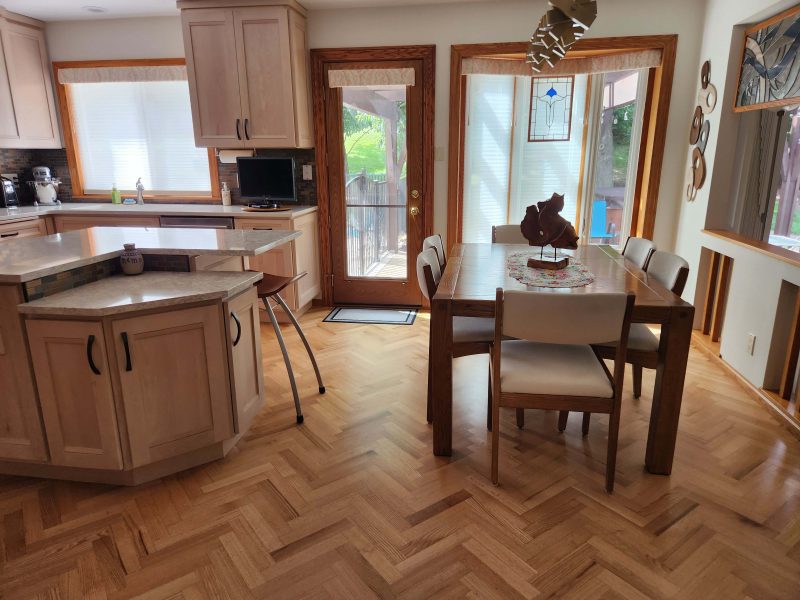
Everything got piled in the dining room, where it would be out of our way during the project.
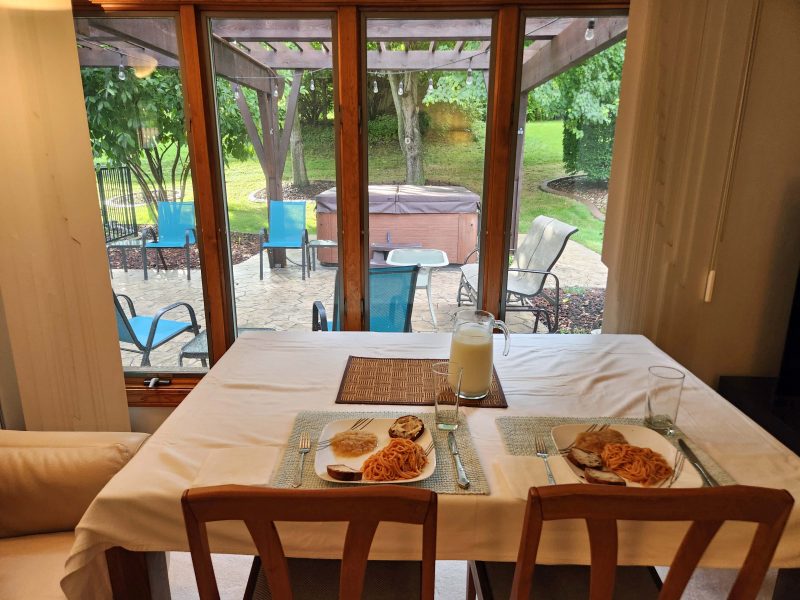
We moved the kitchen table to the family room and took out the leaves to make it smaller. That gave us a window view while we ate meals during the work time.
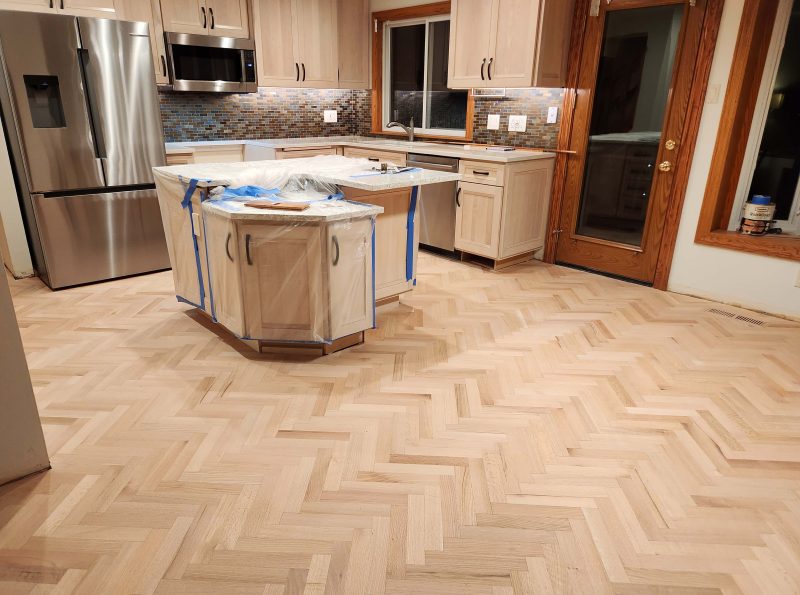
Then the team of two arrived to start working. They spent a block of time protecting as much as possible from the dust they were going to create. They wrapped the refrigerator doors separately to allow us access to the refrigerator. We could also use the microwave.
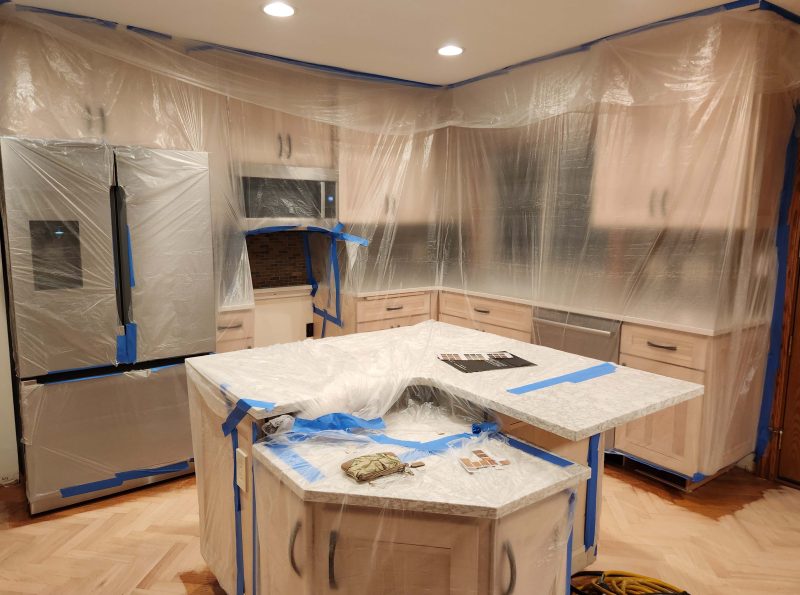
The stove was moved to the family room.
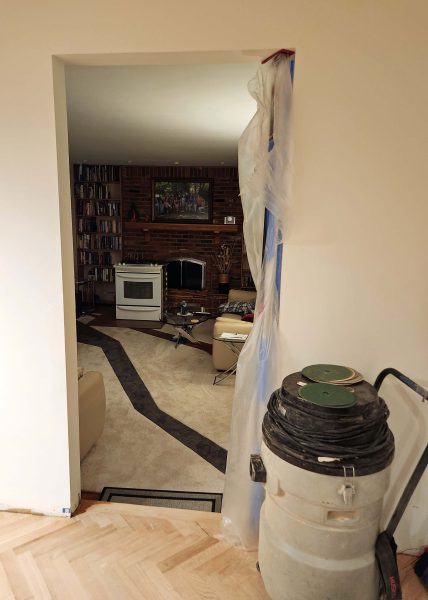
They covered the doorways with plastic and wrapped one vertical edge of the plastic at each doorway around a spring tension rod. That allowed us to use other rooms–we just had to move the rod aside far enough to squeeze through, then put it back against the door frame.
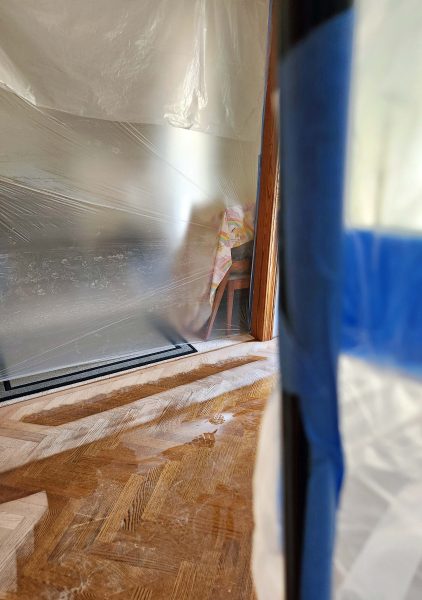
Then the mess began. “Dusty” isn’t a strong enough word, although the plastic coverings helped a lot. After the entire job was finished, Ted and I cleaned the entire house, including wiping down the walls.

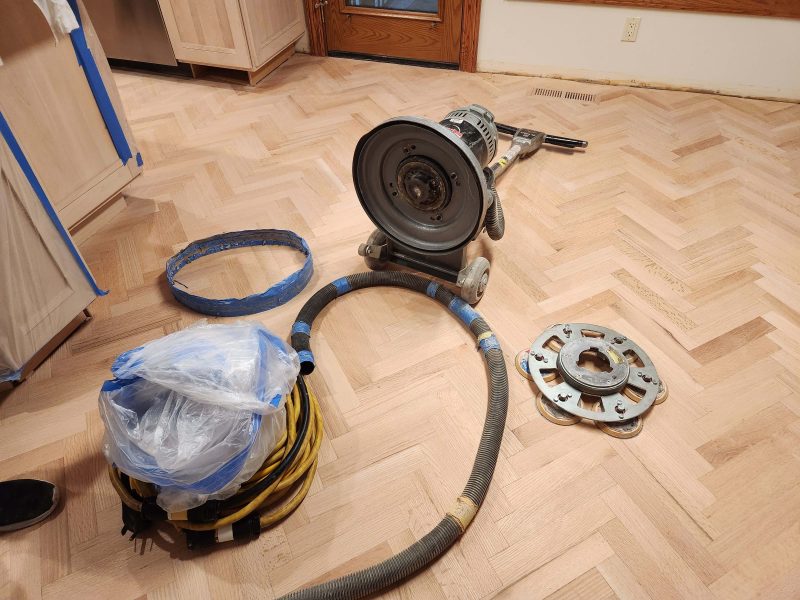
This is a view of the bottom of the sander. The large disk on the floor spins and each of the six smaller disks on it also spins. All that action prevents sanding strokes from showing on our herringbone floor pattern.
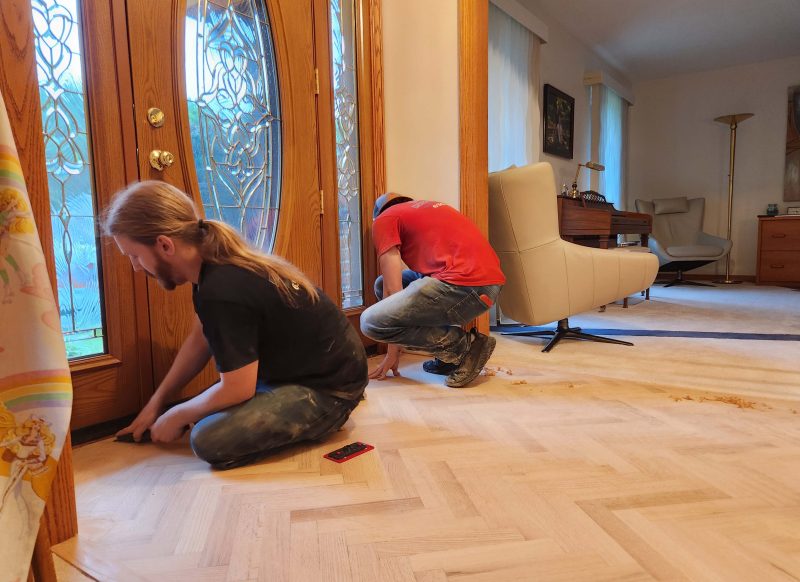
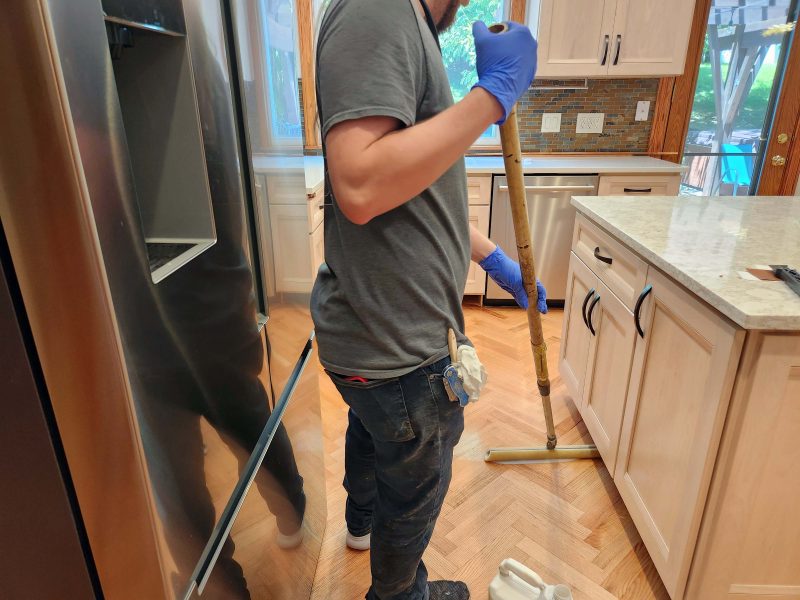
The edges and corners needed to have the old stain and varnish scraped off and sanded by hand. You can see some of the scrapings on the floor in the center right of the photo below.
When everything was sanded, it looked so light and clean that we hated to put a colored stain on it. It felt really smooth too, compared to our 27-year-old pre-refinished floor.
From an array of stain colors, we were allowed to choose four to be applied to the floor to help us select the one we wanted. From our four choices, we went for “natural,” the lightest one.
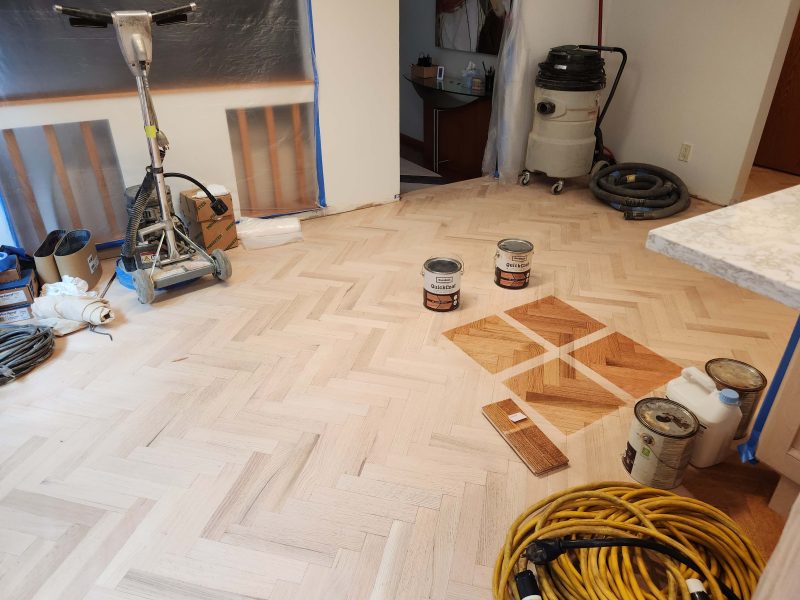
For the finish coat, we chose a low-sheen finish, rather than a gloss.
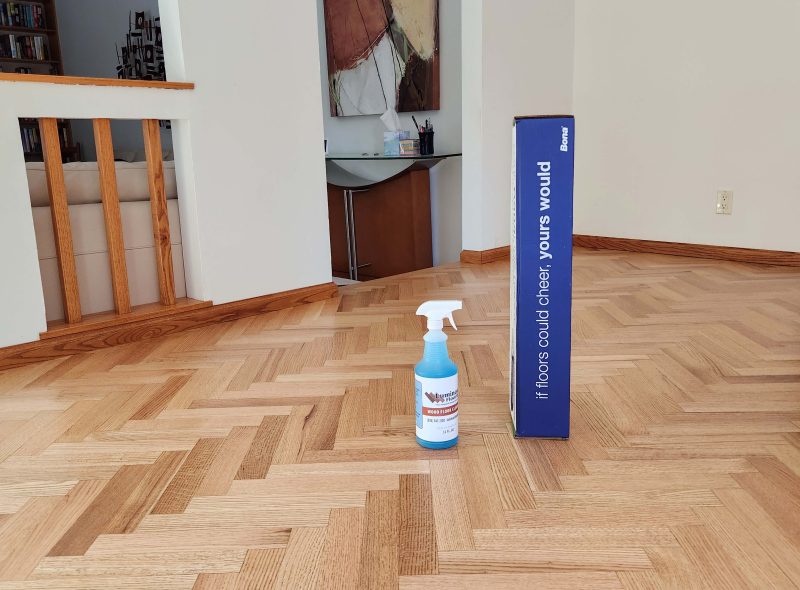
When the guys finished the job, they left a little gift for us–wood floor cleaner and a Bono mop.
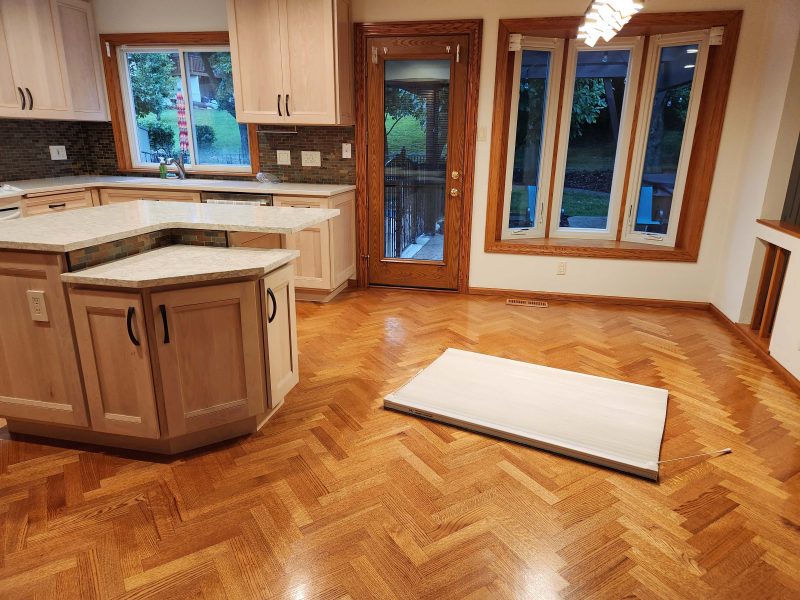
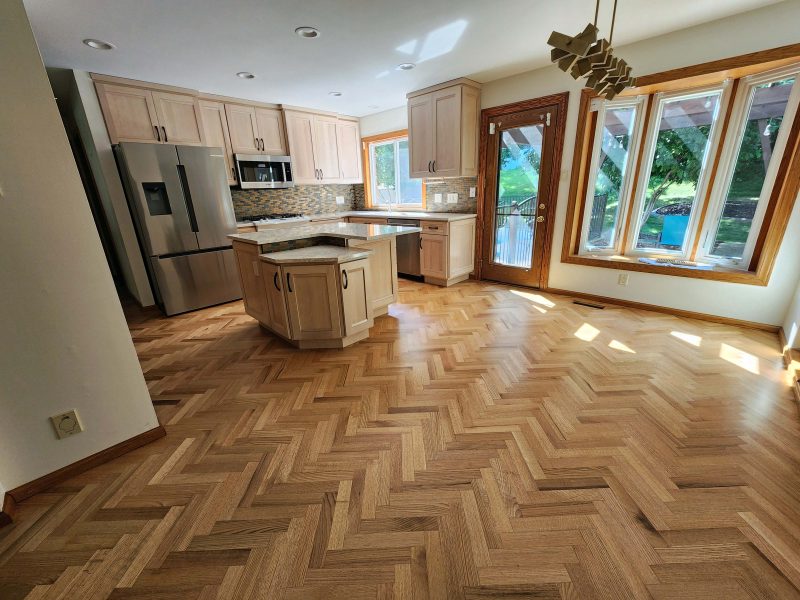
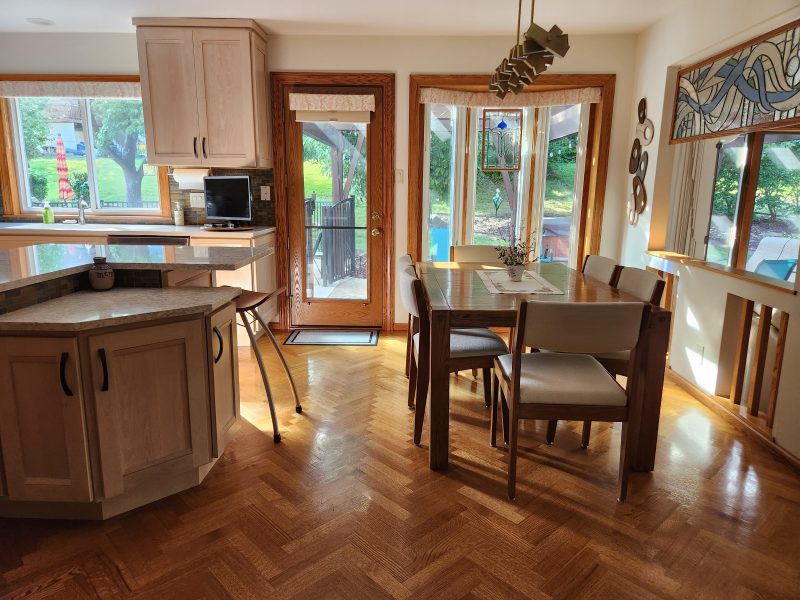
The following are before and after pictures of the floor. We can’t believe how much depth and color are revealed with the lighter stain! It’s even better than the clean, sanded look.
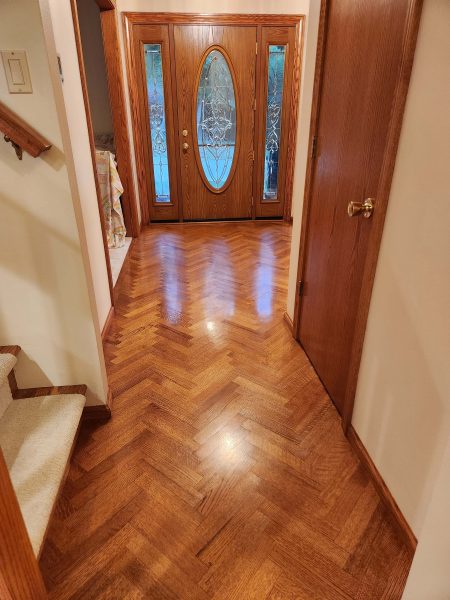
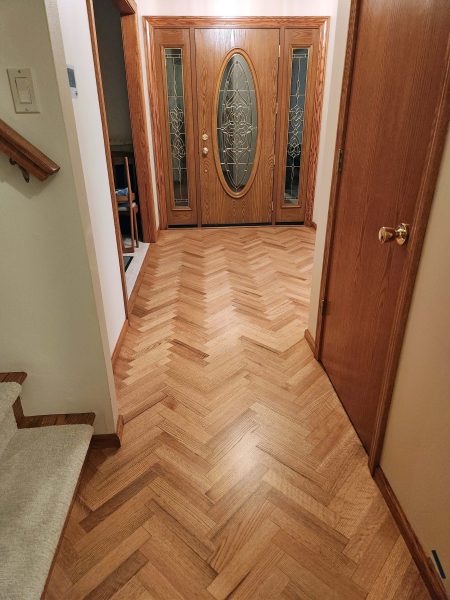

This floor extends to every exterior door and to every first floor room, as well as to the stairways for access to the basement and to the second floor. On the day the finish coat was applied, we needed to leave the house for a few hours to let the finish dry enough to walk on it with socks, so we went out to dinner.
On our way home, we saw a rainbow–a good sign for a successful, beautiful project.