Ted and I are finally finished with the contractor jobs we needed to update the interior of our house. We started in August 2022 and finished in November 2025. We never believed it would take this long, but life got in the way and we put things off until–in frustration–we just said, “Let’s get it finished!” And that was all it took. Sometimes, you just have to bite the bullet, or whatever.
Here are the 46-year-old pantry doors that came with our new house back in the 20th century. They’re “builder grade,” but held up well. Still, 46 years! It’s time for a change.

If you read my colorwashing story, you might remember that, when we finished colorwashing our new pantry doors, we set them up in the basement and marked them 1, 2, 3, and 4 with blue tape in the order we wanted them hung in the kitchen. We knew the doors were one inch too high for the pantry opening, so we painted the tops with the base color and left the bottoms bare because we knew they were going to be sawn off. In addition, I added a strip of blue tape with a message to “cut excess length from bottom.”
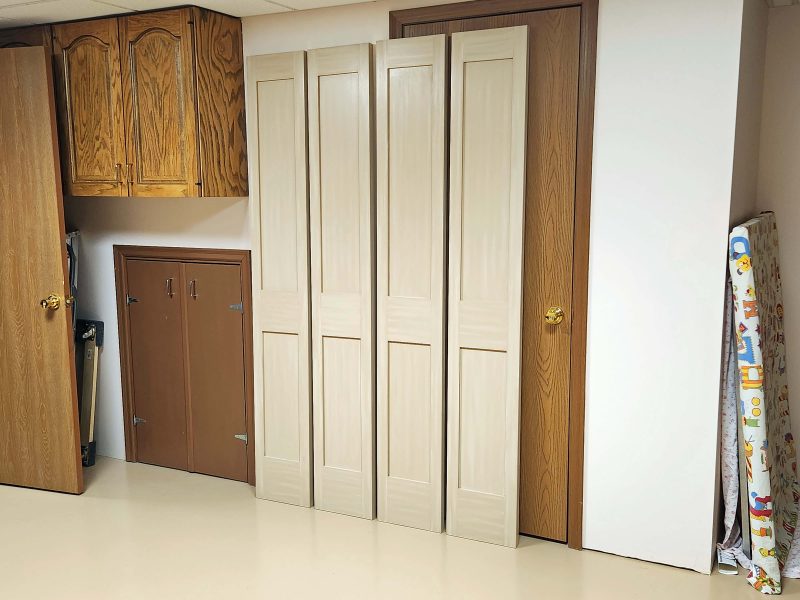
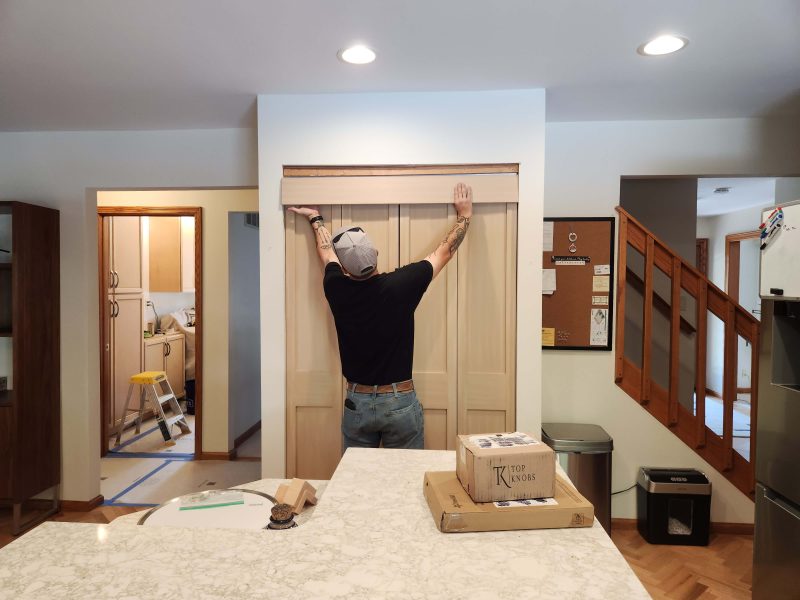
Sadly, good intentions can go awry. What’s wrong with this picture? I’ll give you a chance to look closely before you read on.
If you didn’t see the problems, look again and you’ll notice that (1) they are hung upside-down; and (2) the one on the left is hung backward with the plain side, rather than the colorwashed side, facing outward. I felt sick when I saw this.
Before speaking to Mike, the carpenter, about the problems, I went online and looked up all kinds of door images. Just as I thought, when there is trim on a door, the wider piece of the trim is always on the bottom. Confident I was right, I said to Mike, “You know they’re upside-down, right?” His response was a puzzled, “They are?” Then I mentioned that one was also backward, and he was equally mystified. To compound the error, he’d already cut off the extra inch in height at the tops of the doors, because he thought those were the bottoms.
The doors were shipped to us in pairs and were already hinged together. We removed the hinges to colorwash them. Mike must not have noticed the holes where the hinges could be re-attached, because he drilled new holes on the opposite side of each door to fasten them in this order. Now each door had three sets of hinge-holes (my term) on both sides. Since we’d had the doors standing as they should be installed, lots of nasty thoughts were running through my mind, but I managed to keep them to myself.
The problem was that Mike had only been working for Jimmy (the owner/contractor) for three months. Christopher, Mike’s more experienced mentor who was working on the laundry room cabinets, left for a short while to finish a different job, and instructed Mike to begin installing the pantry doors. Before Christopher left, he asked if Ted and I minded if they used our old door track (already installed) instead of the new one. I was puzzled, but figured, if it worked, it could be fine. Christopher went on his way and Mike kept working. Neither Ted nor I was feeling very positive at this point. In retrospect, I wonder if Christopher was trying to simplify the installation for Mike by not making him install a new track.
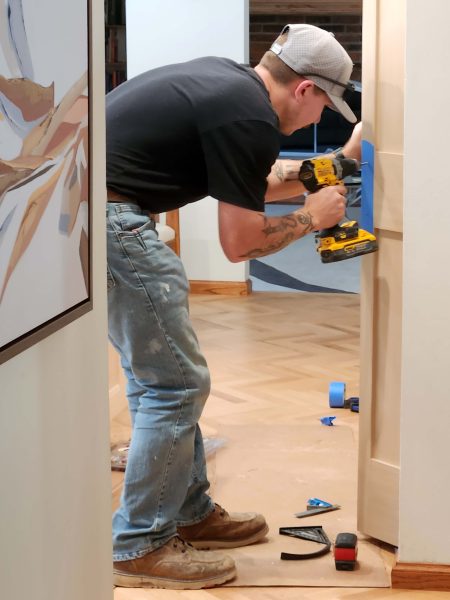
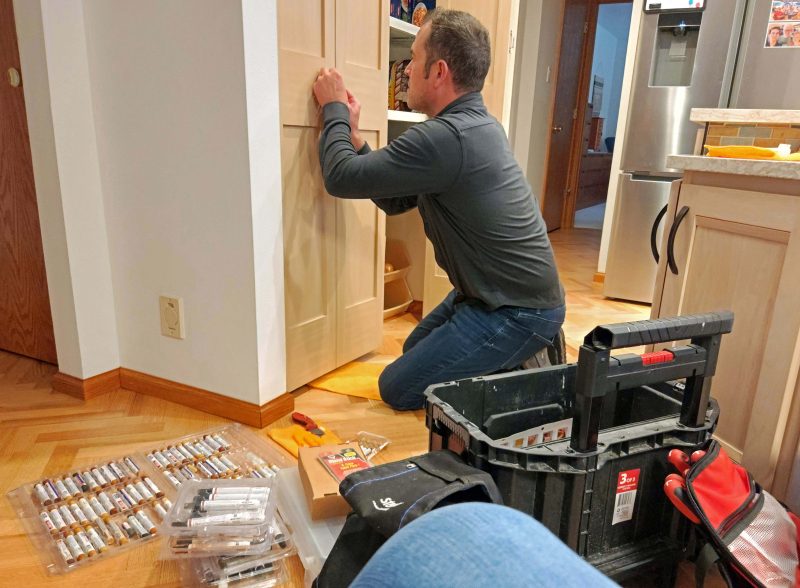
The installation was undone, the doors were turned to the right positions, the hinges were moved to where they belonged (at the original holes), and here’s Mike, drilling holes to attach the door pulls.
The final step (we thought) was to hang the door header. The edges on the lower edge were slightly rounded; the upper edges were cut square. At least Mike hung the header with the rounded edges at the bottom and didn’t have to re-do that too. (He apparently realized the value of my blue tape messages, so the arrows and words indicating “top” and “bottom” helped him this time.)
Unfortunately, the saga of errors continued.
(1) When the doors arrived at our house, all three hinges on one pair were bent. That package (a wooden crate) must have experienced trauma during the shipping process to shift the panels enough to bend the hinges. The guys couldn’t straighten the hinges, so they bought new ones. As it turned out, the replacement hinges were thicker than the original ones. When the doors were closed and the hinge plates on adjoining doors met, they made the doors too wide to function in the doorframe. The guys had to buy another set of thinner hinges. We were getting a lot of hinge-holes in our doors.
(2) The doors were not hung perfectly level, so when we opened and closed them, they rubbed against the outer walls of the opening and against each other in the center. Not only was this wrong; it was going to gradually wear down the wood and the walls at the contact points and scratch off our carefully applied colorwash on the center sides. Looking at the doors, it was easy to see a wider gap between the door and the wall at the top of one door and at the bottom of the other. It was also easy to see that one end was higher off the floor than the other.
(3) The new doors are much heavier than the old louvered ones. On the old track, the new doors opened too far and–the best I can describe it–backed up on themselves. They had to be pulled by hand from the wide-open position because the door pull had the wrong torque to do that. When they removed the old doors, the guys discarded the stoppers (spring-like things that fit inside the track). Without a stopper, the doors opened too far. The guys had also discarded the new hardware.
At this point, Jimmy brought in Tommy–a master carpenter–to see what could be done. Tommy did a better job of filling the extra hinge holes and he worked hard to level the doors. Unfortunately, to rotate the doors slightly to level them, he had to cut more off the top, which had already lost an inch that should have been removed from the bottom. Meanwhile, he was looking for something he could use that would provide a stopping point to keep the doors from opening too far, but he found nothing. Ted and I were becoming increasingly frustrated and unhappy. I was going to say, “Why don’t we just buy new hardware?” when Tommy said, “I think we should just buy new hardware.” He called Jimmy, who brought over some new hardware. Then Tommy rehung the doors, and made a few adjustments.
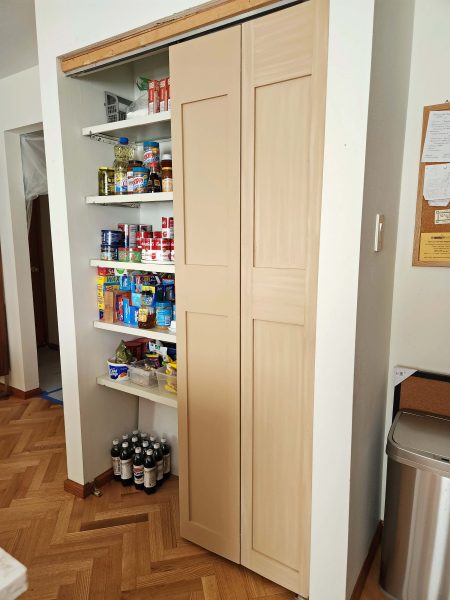
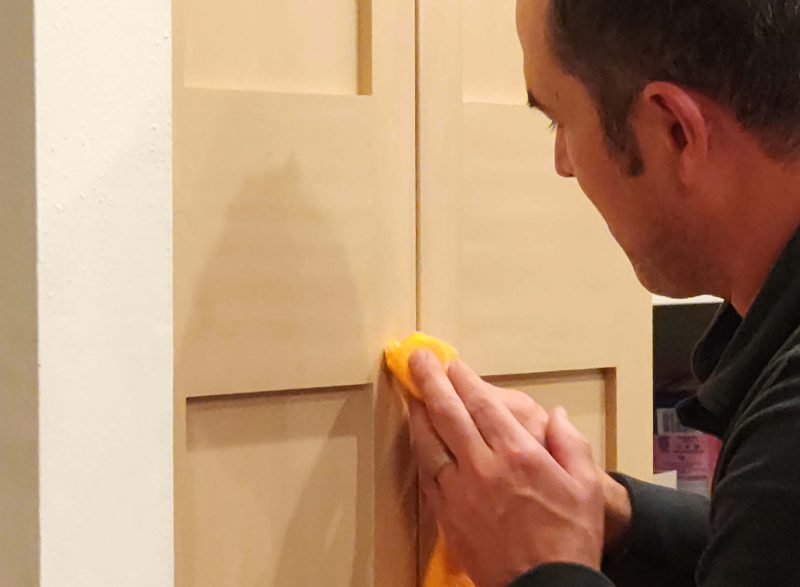
We thought the saga had ended, but the doors still didn’t work well. Jimmy came back to evaluate why they didn’t work as they should. After repeatedly opening and closing the doors using a variety of pulling/pushing touchpoints, he determined that moving the door pulls from the outer door panels to the inner panels would provide a different torque and would solve the problem. The downside: it would leave visible door pull installation holes on the outer door panels (more unnecessary holes on our doors!), but he thought he could fix that. He decided to try fixing one hole before drilling new ones. (Good idea.) Here he is, matching colors and applying them, blending them, smoothing them, etc.
In the photo below, he’s smoothing the lower hole. The upper hole is invisible, so he did a good job. It took him about an hour to get the right blend on the first hole; in another hour, he finished all three of the other holes. Twenty more minutes covered drilling new holes and re-installing the door pulls. Again, Jimmy is a good guy. He didn’t charge us for all those hours Tommy put in correcting and adjusting Mike’s errors, nor for the new door hardware. From what Tommy said (he was a talker), Christopher now knows that he should not leave a mentee alone on a job.
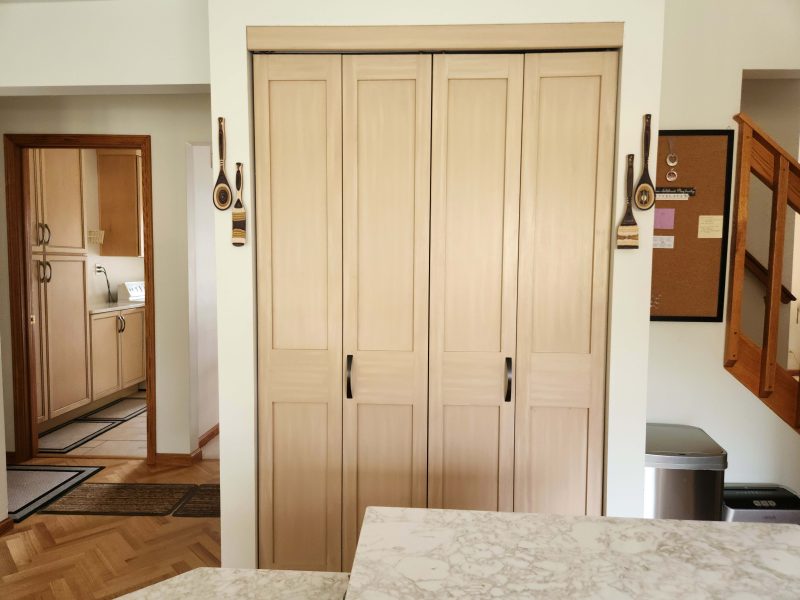
Everything works. The doors look nice. Ted and I are still disappointed with the process, but we accept the solutions. If you don’t know the saga (too late!), you won’t notice that anything was wrong. Ted and I have chosen to believe that, sometimes, things just go wrong, and this time it happened to us. Neither of us thinks it would be more fair if it had happened to someone else. Jimmy and Tommy did everything they could to make things right at the company’s expense, and it’s all good in the end. Don’t the new pantry doors look nice?