The severe thunderstorm that struck our area a few days ago destroyed our pool toy storage shed, so we had to buy a new one. Assembling the new shed provided us with an afternoon outdoor project in beautiful weather, so it was (mostly) fun.
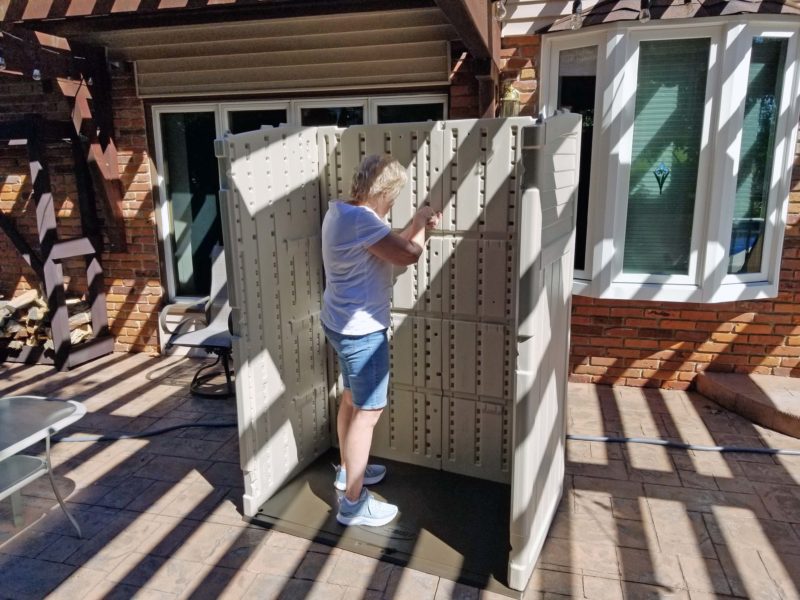
The basic shed assembly wasn’t too tough. There were eight pieces: a floor, two side panels, two back panels, a roof, and two doors. I like putting things together and Ted is a Master Assistant when I’m working on stuff. He let me do most of the assembly work while he handed me tools like a surgical aide and held pieces in place while I joined them together.

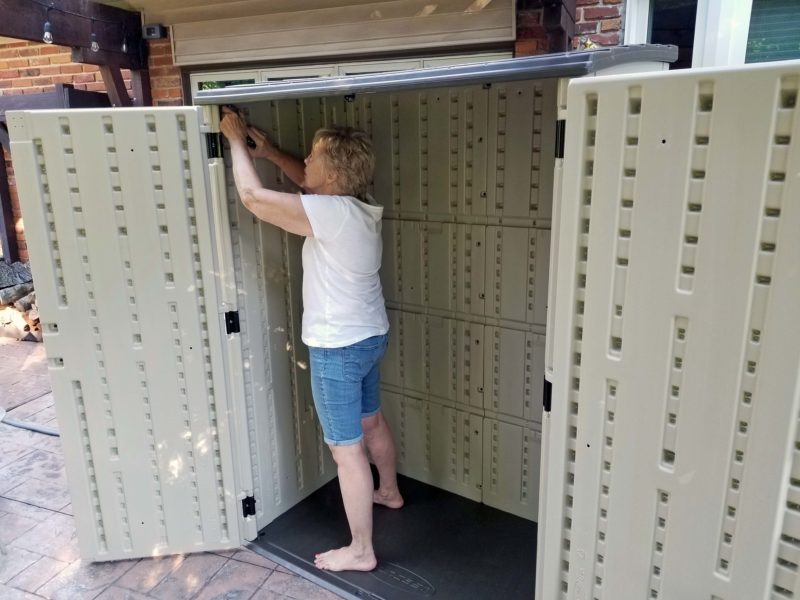
Everything was pretty straightforward except attaching the doors and finishing the roof. The black metal hinges on the doors (photo below) snapped into place and then required a bolt through each hinge for extra security. With one of us working on each door, I think Ted and I spent more than 45 minutes trying to get those 6 bolts screwed into place. We managed to get the top and bottom ones in tightly, but eventually gave up on the middle ones. It looked and felt like the metal exit holes for the bolts were smaller than the diameter of the bolts. We could see the ends of the bolts in the holes, but we couldn’t make the bolt threads turn their way through those holes. We finally made an executive decision to let the top and bottom bolts do the heavy hinge work on the doors and to let the snapped-in-place middle hinges go along for the ride.
It was easy to snap the roof onto the two hinges on the back panel, but we wondered what would prevent the front of the roof from blowing upward in a breeze. The pictures and directions for finishing the roof were confusing, but we finally figured out how to position the steel support bar in the surface maze of the roof. The roof locking piece was more of a mystery. Eventually, we found a place on the roof where it would fit and a notch on the side panel that would hold it and lock the front of the roof to the top of the side panel. Now it won’t flap up and down in the wind.

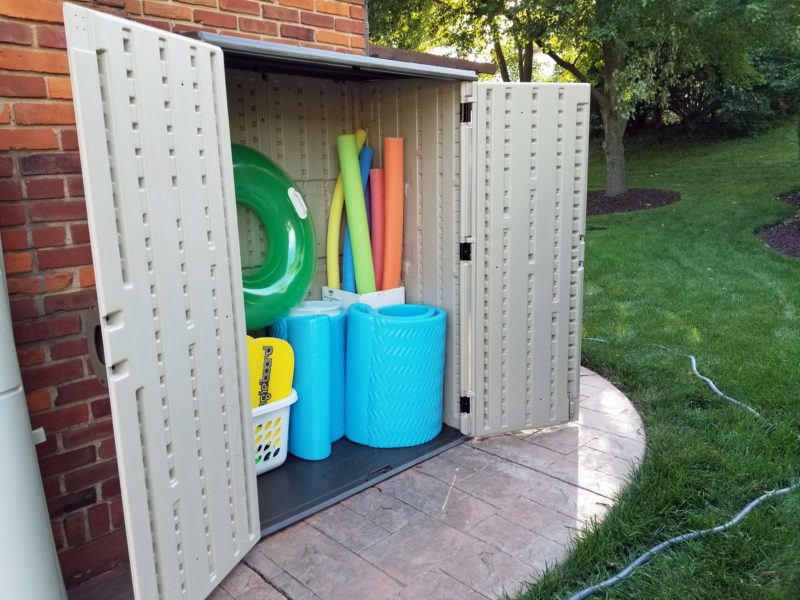
With everything feeling secure and looking good, we put the shed on our flat dolly, wheeled it into place, and added the pool toys.

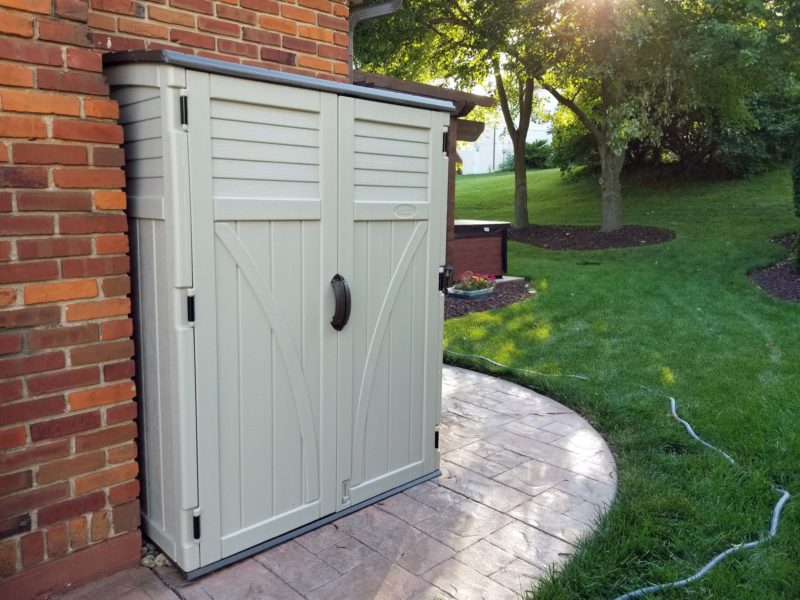
All set! It looks good and it’s guaranteed for 10 years. We had a good run of 11 years on the old shed, which is now at the recycle center, preparing for its next life.
While we’re here, look at how the storage shed fits into the corner of the chimney and the house. The storm winds pulled the old shed out of this nook, ripped off the padlocked doors, turned the shed around, flipped it over, and threw it into the open area in the right center of the picture, all while keeping the pool toys inside. Mother Nature is a crafty old gal!
